| RaidMax X1 ATX Gaming Case - Page 5 of 6 |
Installation:
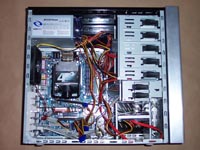
Installation works like any other. You put in your motherboard port panel, and install the appropriate motherboard supports. Then set your motherboard into place and screw it down.
Remember that when you are installing your drives you will need to remove the other side panel to put in the tool-less brackets. This is a little annoying, but certainly it doesn't cause a negative impact. The side panels are secured with normal screws. For a case that is tool-less, I expected some thumbscrews to hold the panels on.
Here you can see the system fully installed. Turning the system on, all the lights activate and the front LCD display lights up in red. The case looks incredible all lit up! Being a mid-tower case, you can't expect to have a lot of space on the inside of the case, but the change in the hard drive bays does free up some space.
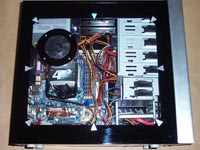
As always, I don't like to see the entire drive cages through the window. This is a personal preference, so I can't fault them for this. I think it would be nice if case manufacturers did something a little different; if they are going to show the drive cages, paint them so they look better than the flat gray. I would suggest a nice coat of the high gloss black, or a blue color to match the LED fan.
 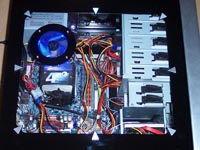
The paint finish on this case is flawless! It has a great mirror finish, which reminds me of a high gloss car body. Here you can see how much of a mirror finish it is. The side panel window also has a mirror finish, but I was not able to get a good picture of it.
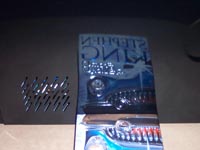
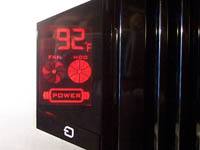
Here is a nice view of the front LCD display panel. You can see the temperature here is listed in F; I was not able to switch it over to C. For the American market this shouldn't be a major issue, but being able to switch between the two temperature types would be very helpful. You can also see the fan rotation icon (which is animated) and the hard drive icon (which is also animated). Finally, you have a power indicator. The front LCD looks great, but seems a little out of place, with the side fan being blue. Changing the side panel fan to a red LED fan would make it look even better. It would have been great if the fan icon could also indicate fan speed, or even implement a fan controller.
Please read on to the next page for more... Next
Page 1 | Page 2 | Page 3 | Page 4 | Page 5 | Page 6 | Home | Forum | Content Index
|
|
|
|


