Included Accessories (continued):
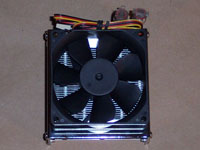
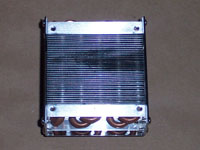
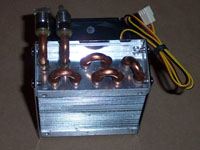
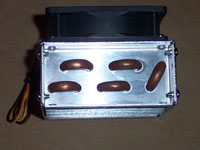
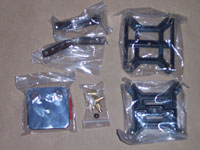
Next in line is the additional radiator. This is designed to replace your external 80mm fans. The fan itself is nothing unusual, it is a standard black 80mm case fan and you could replace this with any other case fan if you wanted to. What makes this unique is that it's not just a fan; it is also a radiator to give it a little additional cooling boost. Looking at the exhaust portion, you case see the many fins that is used to pull heat away from the copper tubes. On the ends of the unit you can see the intake and outtake valves, along with the way the pipes were bent to circulate through the unit. On the end with the intake and outtake valves, you can see they put some epoxy around the tubes where they connect to the radiator. Some solder would have been preferred, but the epoxy should hold very well.
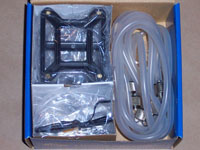
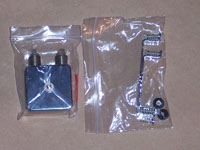
Additionally, we have a box that includes all the extra accessories that you will need. These are all packed away neatly so you can take out only the pieces you need at the time you need. In the top left of the box, you find various items that make up the CPU block. This includes clips, and retainers for any modern CPU, along with thumbscrews for the P4 installation. You will also find the CPU cooling block in this section.
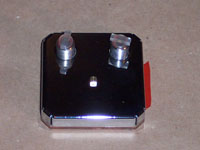
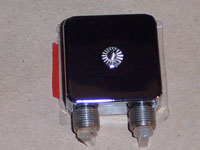
Taking a closer look at the CPU cooling block, you won't find anything unusual. The main block includes an intake and an outtake valve. The top side of it has a nice high gloss chrome finish. After you remove the protective cover, you can see the bottom of the copper block also has a high gloss mirror finish.
 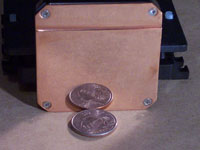
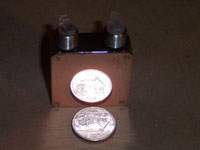
For a VGA installation, you will need some additional accessories to attach it to either the Nvidia or ATI video cards. Taking a closer look at the VGA block, you will see there is the required intake and outtake valve, and a little screw tip that will be used to secure the block to the video card. The finish on the VGA block is the same as the CPU block, a nice high gloss chrome finish. Once again, removing the protective cover you can see the base of the VGA block is made of copper, and has a high gloss mirror finish.
Please read on to the next page for more... Next
Page 1 | Page 2 | Page 3 | Page 4 | Page 5 | Page 6 | Page 7 | Home | Forum | Review Index
|
|


