| Maxtop Diamondback CSX-502 ATX Mid Tower Case - Page 2 of 5 |
External Features:
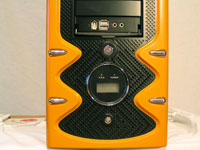
After unpacking the CSX-502, I immediately noticed the extremely bright orange color and sleek black finish of the case. Upon closer inspection I noticed the front panel temperature indicator, along with the front USB and Firewire ports. Overall the case feels stable and well made, everything is as it should be.

Maxtop has included a top mount carrying handle which is a great feature to have when lugging the case around to LAN parties. USB and Firewire slots are also present, although Maxtop didn't include the actual hardware. Headphone and microphone jack slots are also available for your convenience, again I didn't receive any actual jacks, but the slots are available. I thought not including the hardware was a goof on their part, as I honestly cant imagine it being that much of an added cost.
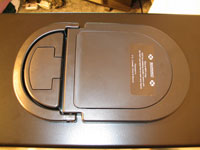 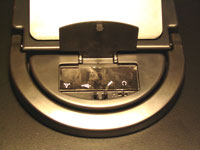
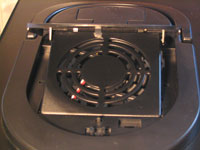
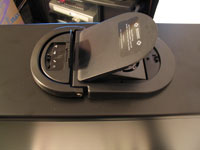
Pictured below is the top dual speed stealth fan, aptly named because of the pop-up mechanism that I must admit is quite nifty. With the light push of the finger the fan pops up automatically and turns on through the use of a pressure switch. The fan can be switched between high and low with an easily accessible toggle switch. If you look closely one might notice that the high/low switch was mounted on the wrong side. It was incorrectly glued into place on the USB/Firewire side of the apparatus. I assume this is just a lack of quality control and doesn't bother me that much as it can be moved easily.
The front panel temperature display provides an easy to read gauge that accurately measures whatever heat source you desire. The temperature probe is easily maneuvered throughout the case, but one thing lacking is the length of cord attached to the probe. The cord is rather short and limits the range of products one can monitor. It was easily propped up on another wire and left hanging to monitor ambient case temps, it could snake its way over to monitor hard drive temps as well. It was quite difficult to get the probe to reach the graphics card or the CPU, and this was something that I thought would have been better designed.
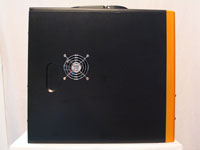
With the case turned to its side there isn't much to explain. The door is solid and feels well made, the recessed handle makes it easier to attach and remove the panel. I would have liked to have seen a window here just because I like all things flashy, but that doesn't make the case any worse off.
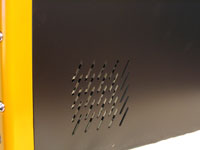
Not until after I had installed my system into the case did I notice that there is a hard drive exhaust vent as well. It allows for an 80mm fan to be installed to either push or pull air around the hard drives. This is a great feature that further aids one in keeping the case, and as a result, CPU temperatures under control.
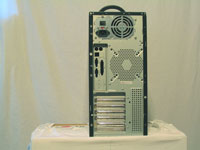
The view from the back of the case is what one would expect. Power supply, PCI bays, motherboard ports, and room for one (1) 120mm exhaust fan. Looking closer I come to find the vent is designed to allow for one(1) 92mm or one(1) 80mm exhaust fan to be installed depending on your preference. To me it seems a 92mm fan would be best, it will provide the most airflow without being restricted by the design of the exhaust fan vent. The vent itself appears that it would block some of a 120mm fans airflow. A fan was not provided for this location.
Please read on to the next page for more... Next
Page 1 | Page 2 | Page 3 | Page 4 | Page 5 | Home | Forum | Review Index
|
|
|
|