Interior Inspection:
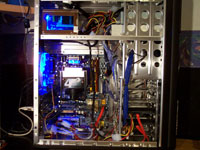
Removing the side panel, you can see a few of the advanced features of this case. There are five (5) internal 3.5 hard drive bays, tool-less expansion slots, and a removable motherboard tray.
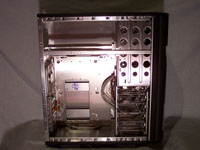
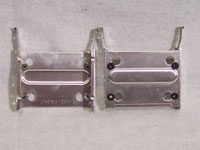
The five (5) hard drive bays are removable, and placed in a different layout than is usually found. This gives you total access to any jumpers, and the connectors. Whether it gives any performance increase over the normal layout, I can't say, but it's a nice change as I have found that installing hard drives near the RAM or video card can sometimes be an obstacle. As I mentioned before, the hard drive bays are removable. On the hard drive trays, Thermaltake has built them so that they will reduce noise from your hard drives by installing vibration dampeners.
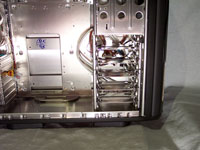 
On the back of the case, you can see the rear 120mm led exhaust fan as well as the tool-less expansion slots. The case ships with a blue LED fan. Since this is a standard fan, you are able to change it to the 12cm fan of your choice. If you prefer to use screws to mount your expansion cards, you can do that as well. Just don't lose the tool-less slot cover.
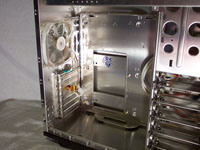
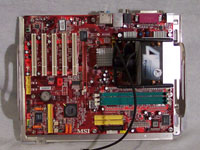
Here you can see the removable motherboard tray. The tray is made out of a lightweight aluminum, which makes it a little flimsy without a motherboard installed. At the top of the tray are the only screw holes that connect the tray to the case using two thumbscrews. Along the left edge of the tray (the side that would be the closes to the power supply) there are two guides that help ensure the motherboard tray is installed properly.
With all of the components installed it's finally time to take a final look at how it all looks.
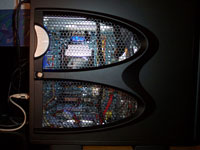
Here you can see the system through the "honey-comb" openings on the side panel. Not much is seen through the "honey-comb" opening, but it is just enough to show off part of your system. With this look, you can get any power supply you want, as it will not be seen through the side panel. Once the system powers up, the LED rear fan lights up which you can see here as well.
 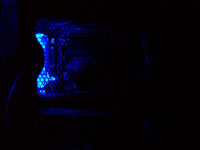
The only other light on the case is on the front fin. There is a blue LED that sits behind the fin. This is merely a highlight LED, and not designed to be overly bright. Not much light comes from this case; if you have this case in a room where you sleep, you don't have to worry about the lights from the case keeping you up at night.
Please read on to the next page for more... Next
Page 1 | Page 2 | Page 3 | Page 4 | Home | Forum | Review Index
|
|


