| Serener GS-L01 Fanless Mini-ITX Case - Page 4 of 6 |
Installation:
The installation of a system into the Serener GS-L01 is more involved than any system I had assembled before, but it doesn't need to be overly difficult. Logic Supply has created a manual (available from them in PDF format), that takes you through the major steps with images and detailed text instructions. After completing the installation myself, I provided a few comments to improve the manual and hope to see a few of the finer points covered in greater detail in future versions.
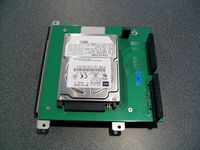
The first step we will document is the installation of the hard drive and optical drive. The hard drive is attached to the PCB first, and is slipped onto the drive connector and then secured through the board using some countersunk screw holes. The optical drive is then attached to its drive connector, and attached with four screws from the side. The screws provided for the optical drive were too long and actually interfered with the opening/closing of the drive door, but Logic Supply is aware of this and it will be corrected in other kits.
The next step was to strip the M10000 motherboard of its heatsinks and to give the chips a good cleaning. VIA uses a thermal pad and a total of four spring-loaded pins to mount the heatsinks, which I found weren't making the best contact with the chips they were intended to cool. After the motherboard spent a bit of time in the freezer, the thermal pads were brittle enough to allow the heatsinks to pop right off, and then the residue was all cleaned off.
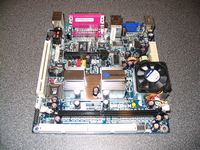 
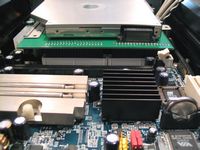
Next, I did a dry run to see how well the heatpipe cooler fit on the board. With some thermal paste smeared on as my indicator, I found that although the contact was better than on the stock coolers, it wasn't as good as I would like. The universal nature of this design allows for compatibility with a few boards, but doesn't guarantee a perfect fit on any of them. At this point the southbridge cooler was also attached using the included thermal pad.
 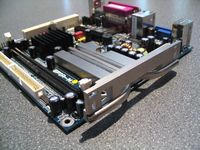
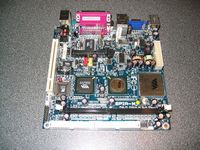
The board was then placed into the case, and the heatpipe cooler was attached to both the motherboard and the side wall of the case. Thermal paste needs to be applied between the heatpipe cooler and the CPU and northbridge, as well as the side wall of the case in order to get the best heat transfer possible.
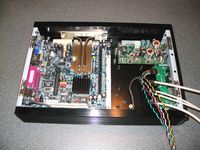 
The drive bracket was then literally popped into place, and secured with four screws. Have I mentioned I really like this aspect of the design? The below left image shows a close up of the data connections for the optical and hard drives. Once booted up with this setup the system automatically detected the hard drive as the primary channel master device and the optical drive as the secondary channel slave device.
 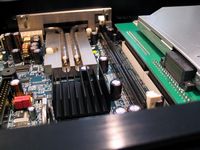
This novel design for installing the drives is also one of the reasons this case can only be used with a handful of Mini-ITX boards. You need to have two IDE connectors, and you need to have them exactly where they are located as shown.
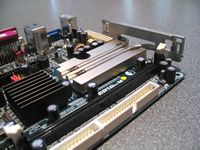
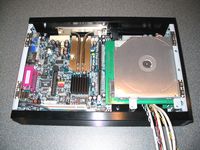
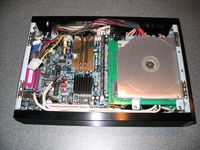
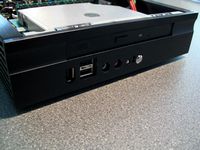
The below left image shows all of the cables connected, with the system ready for a test run. The below right image shows the fit of the optical drive in the front face of the case.
Please read on to the next page for more... Next
Page 1 | Page 2 | Page 3 | Page 4 | Page 5 | Page 6 | Home | Forum | Review Index
|
|
|
|


