| Titan Bianca CPU Water Cooler - Page 2 of 3 |
Quality:
The Titan Bianca suffers mostly due to its lack of quality. During the installation and use of this product various problems were noted. The first issues noticed during assembly were the poor correlation between the instructions and the pieces that made up the kit. The lack of detailed instructions may make installation for novices relatively difficult. What follows is a detailed explanation of the problems that were experienced during installation.
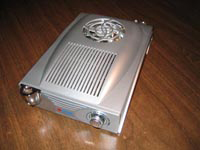
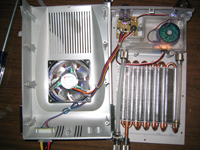
Pictured below are the Titan Bianca's inner workings. The unit contains the typical components of a water cooling kit. The unit consists of a radiator, fan, reservoir and pump all bundled into one. The unit is neatly packed and organized in the plastic case. Although everything is conviently packaged inside this small plastic unit, it also leads to potential problems. Upon opening the case, I noticed how small all of the components are. The tiny pump obviously does not provide the flow professional water cooling solutions can (such as the Thermaltake Big Water). The pumps size seems inadequate at best.
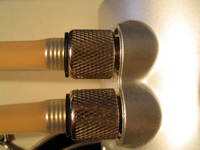
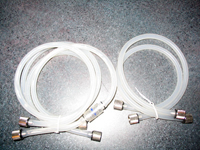
The next problem I had during setup was hooking up the tube containing the water flow valve to the outlet port. The type of connection used is one with a brass female end that screws onto a brass male end. The brass ends unfortunately did not match in size, I had to switch the lines putting the tube containing the water flow valve on the input plug. Luckily I was able to make it fit with the valve pointing in the right direction along with the flow of water back into the unit. This was opposite to the directions listed in the provided instructions.
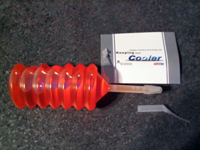
During the process of filling the reservoir with a 50:50 mixture of coolant and distilled water, I ran into quite a problem. The mixture was to be fed through the rather tiny fill port with an injector that the coolant arrived in. This alone was a rather slow and time consuming process. I found that a large eye-dropper was a much more efficient way to fill the reservoir, since it could hold a higher volume of liquid. It was still a slow process, filling the reservoir one drop at a time and allowing air bubbles to get out of the way, but the process did speed up a bit.
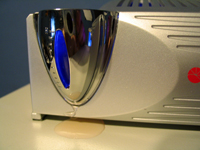
After filling the reservoir 3/4 of the way I noticed a small leak at the bottom of the water level viewer. At first I assumed I had spilled some of the liquid but later discovered that the liquid did not like being forced into the port nor does it like being filled to the top. Although the visible leaking stopped, after a day or two the water level was noticeably lower. This leads me to believe that there is continual leaking or evaporation elsewhere in the unit, that I have not yet been able to identify. I cannot imagine that the water loss was attributed solely to evaporation.
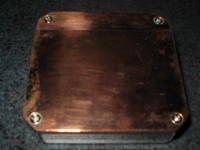
Now, lets take a moment to look at the surface of the provided water block. You should notice the top surface of the water block is smoother than the poorly finished bottom surface. The poorly finished bottom upon close inspection had many pits and is considerably rough. This most definitely contributed to the higher temperatures recorded later in the review. I've done my best to capture the poor finish on the water block in the following pictures.
Please read on to the next page for more... Next
Page 1 | Page 2 | Page 3 | Page 4 | Home | Forum | Review Index
|
|
|
|