| Logisys Armor Gaming Case - Page 2 0f 3 |
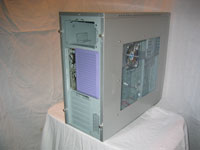
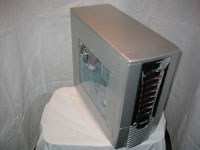
External Case Overview - Side:
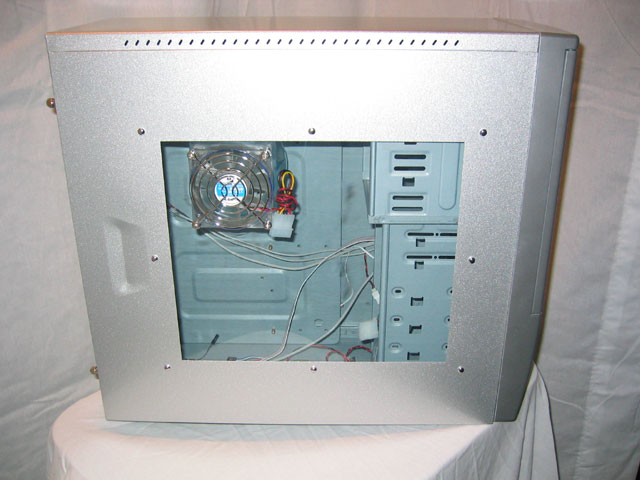
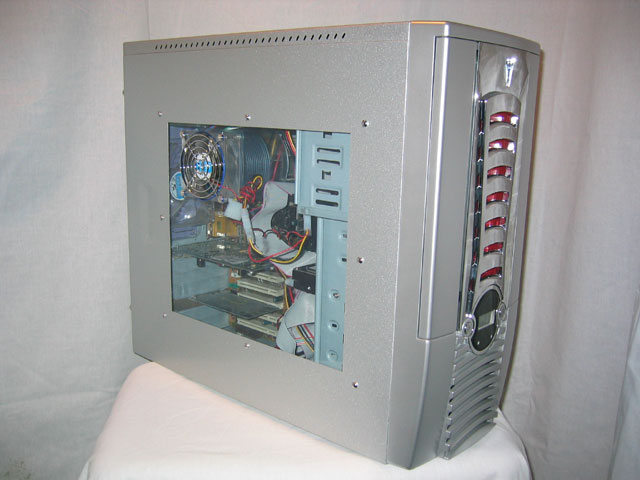
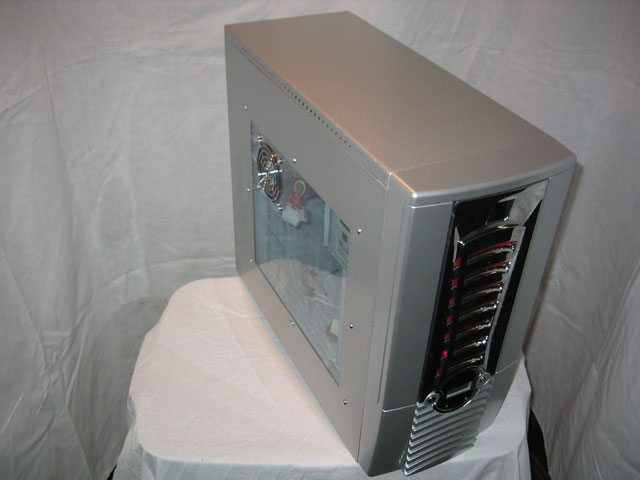
Now lets check out the side of the case. The first three pictures just show different angles of the medium-sized case window. It should be noted this acrylic window has been treated, making it UV reactive. Although we didn't have any UV light for reviewing purposes, Xoxide can add them to your case for a small additional charge. One picture shows what the case looks like empty, and one populated with a complete system.
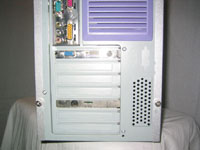
External Case Overview - Rear:
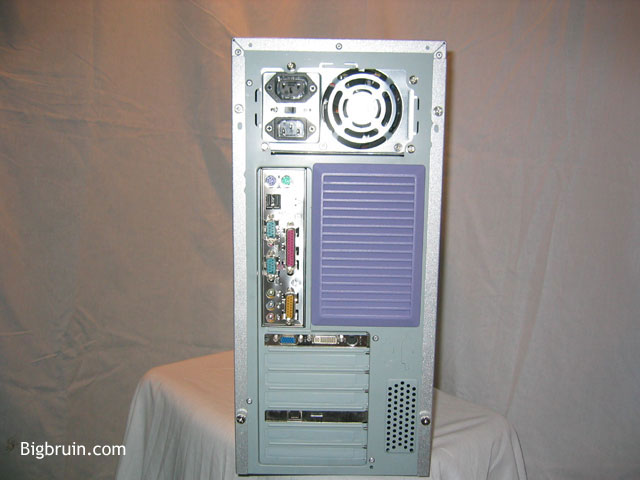
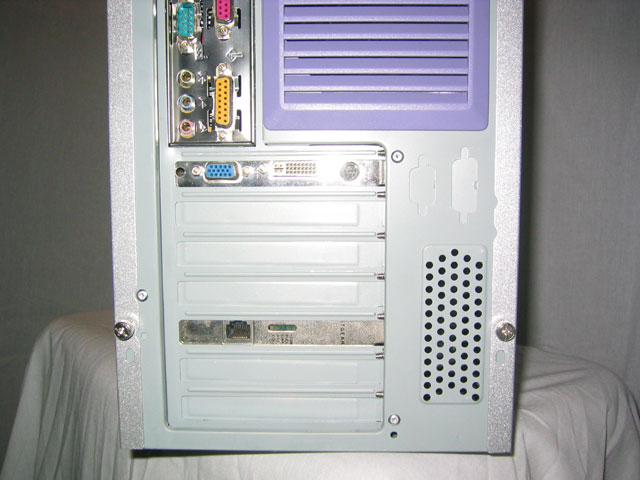
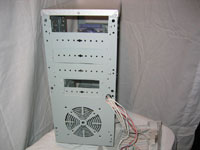
Pictured here is the back of the case from two different angles. Note the purple air vent where the single 120mm fan sits. This purple vent is different in design from most other manufacturers, as it is much less restrictive. This flows air better and with a 120mm fan keeps case noise to a minimum. The only drawback a user might experience with less restrictive venting is dust collecting quicker in the machine.
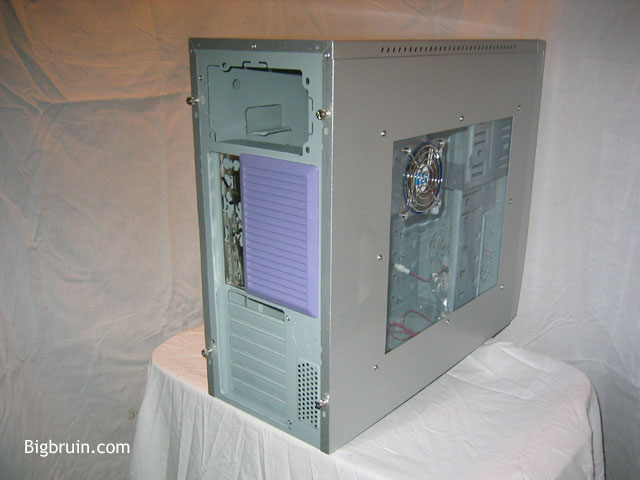
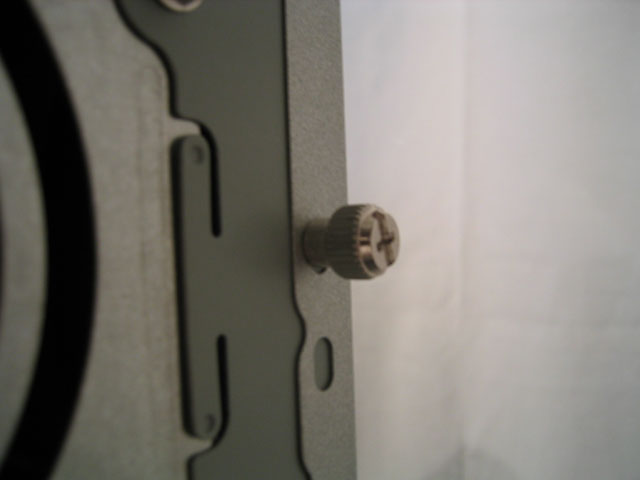
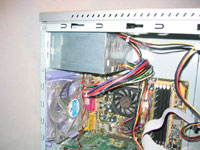
A shot of the lower half of the case, note the close up on the purple vent and additional ventilation at the bottom right of the case. The motherboard fits well into the provided rear access panel. To the right of that image is a close-up of the convenient thumbscrews used to hold both side panels onto the case. Such an addition makes getting into the case easier, however many of the other hardware components (5.25" and 3.5" bays still use standard screws requiring tools to add/remove hardware).
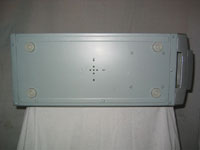
External Case Overview - Top/Bottom:
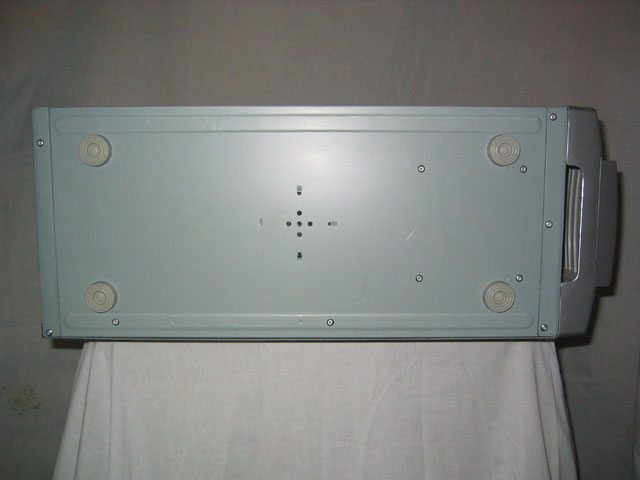
Not much to be said here, but provided for the sake of completion. Here are pictures of the bottom and top of the case. Nothing special here. The feet on the case come pre-installed and otherwise there isn't anything to see here...
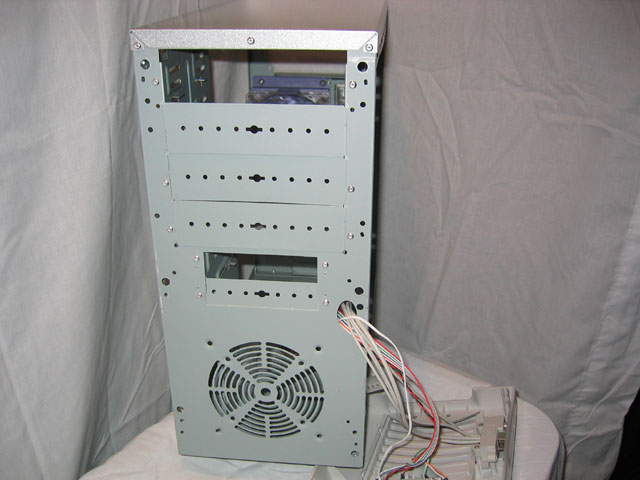
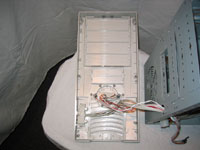
Internal Case Overview - Front:
Once the front plastic bevel is removed, it reveals the case's metal skeleton. Not much to mention here. You'll notice the previously mentioned Front LCD display box is mounted here (for changing between digital fahrenheit/centigrade displays). Also check out the semi-restrictive cutout for an additional 80mm fan.
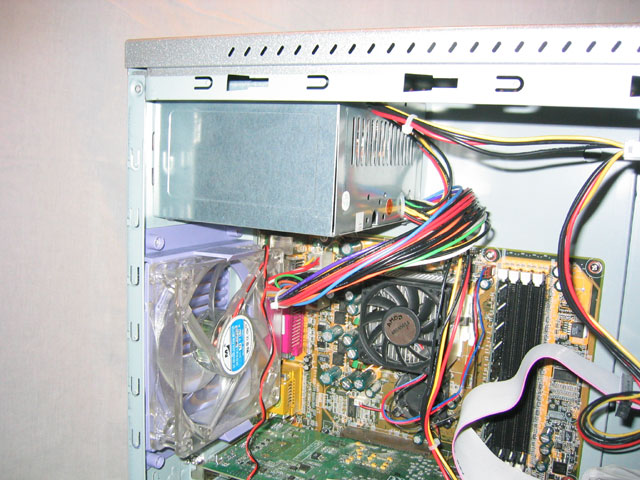
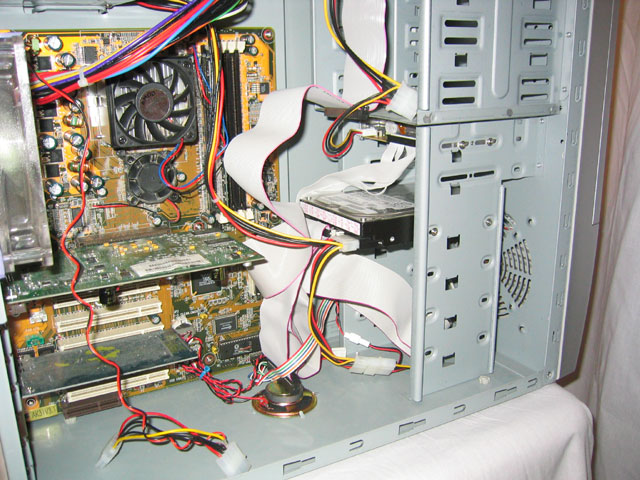
Internal Case Overview - Side:
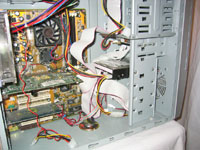
Below are an assortment of photos showing the space/features in each corner of the case. As you can see, once all of the components are installed its obvious this isn't the largest case we have installed. For a medium sized case though it has plenty of additional space for more cd-rom devices and hard drives. Note the case speaker that emits "beeps" during errors, it is mounted to the lower portion of the case. Logisys could have better a job at hiding this eye sore, especially when the case is designed with a window.
Please read on to the next page for more... Next
Page 1 | Page 2 | Page 3 | Home | Forum | Review Index
|
|
|
|