| View previous topic :: View next topic |
| Author |
Message |
jedihobbit
Rated XXX

Joined: 22 Mar 2007
Posts: 238
Location: Central Virginia, USA
|
 Posted: Thu, 18 Jun 2009 18:51:43 Post Subject: YsSMN v3.0 Worklog.....The Last Version! Posted: Thu, 18 Jun 2009 18:51:43 Post Subject: YsSMN v3.0 Worklog.....The Last Version! |
  |
|
Trying to bring everything up to date on my builds so will start with YsSMN v3.0. I've tried to give a date line to show the progression. And yes this is the final build as I've gotten a wee bit tired of building and now what to get on to gaming and other stuff!   
03/17/09
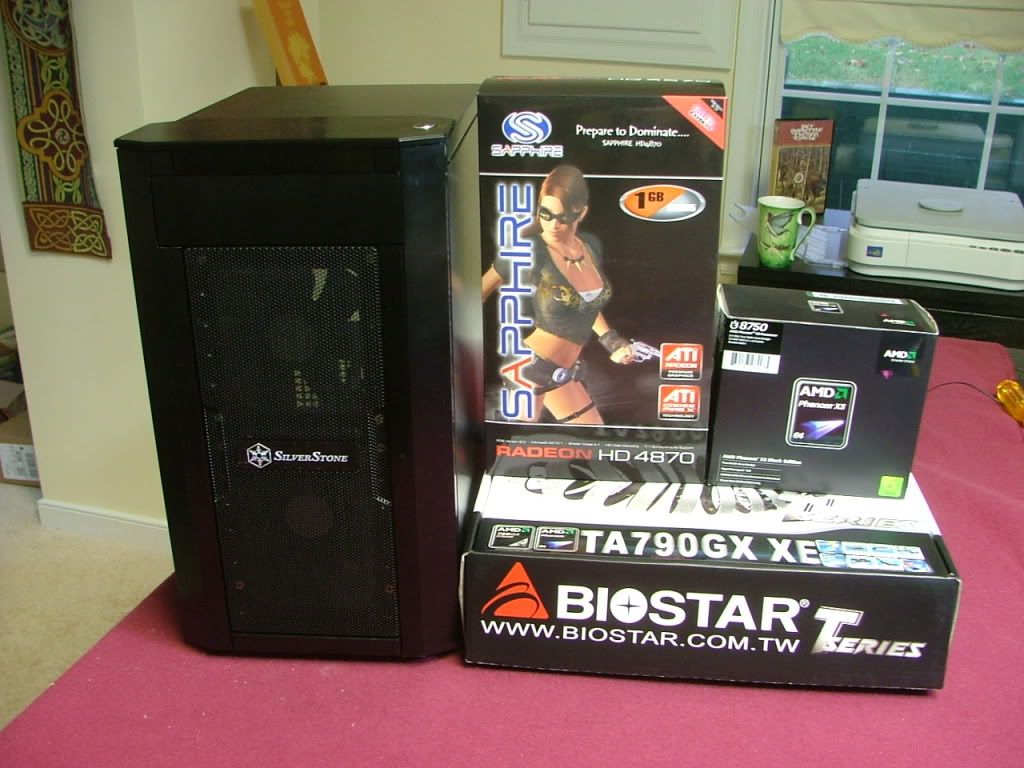
Iāve muddled through all this and have tried to figure out how to ānameā my computers. With the recent wild hairs, associated purchases, and parts swap a rounds several things happened including an almost from scratch build. The total ānew buildā was going to get a new name, but then Iād loose oneā¦..YodaāsSizeMattersNot a.k.a. YsSMN. As this is another mATX build and will have the ābiggestā new stuff decided to just do another one of my revisionsā¦ā¦..so YsSMN v3.0 it will be! The major āup-in-the-airā component is the PSU as I have three new ones to distribute between the three ārebuildsā YsSMN v3.0 is now part of.
CASE: Silverstone SG03
PSU: OCZ OCZ00MXSP (600W)
MOBO: Biostar 790GX XE
CPU: PII X3 720 BE
HSF: Zalman CNPS7500-CU
GPU: Sapphire 4870 1GB
MEMORY: F2-8500CL5D-2GBPK (2 x 1024)
HDD: WD Raptor X, 150 Gigs
Optical Drive 1: TBD
Originally the CPU was to be a PI X3 8750BE but that is going over to Kermit which is going on ādroids for its rebuild. Now have a PII X3 720 BE in the mail for here. Otherwise this is at least 3 of the 4 major parts!
Here is the mobo / gpu / hsf that are going to be used on the Tech Station while working on the oc for the 8750BE.
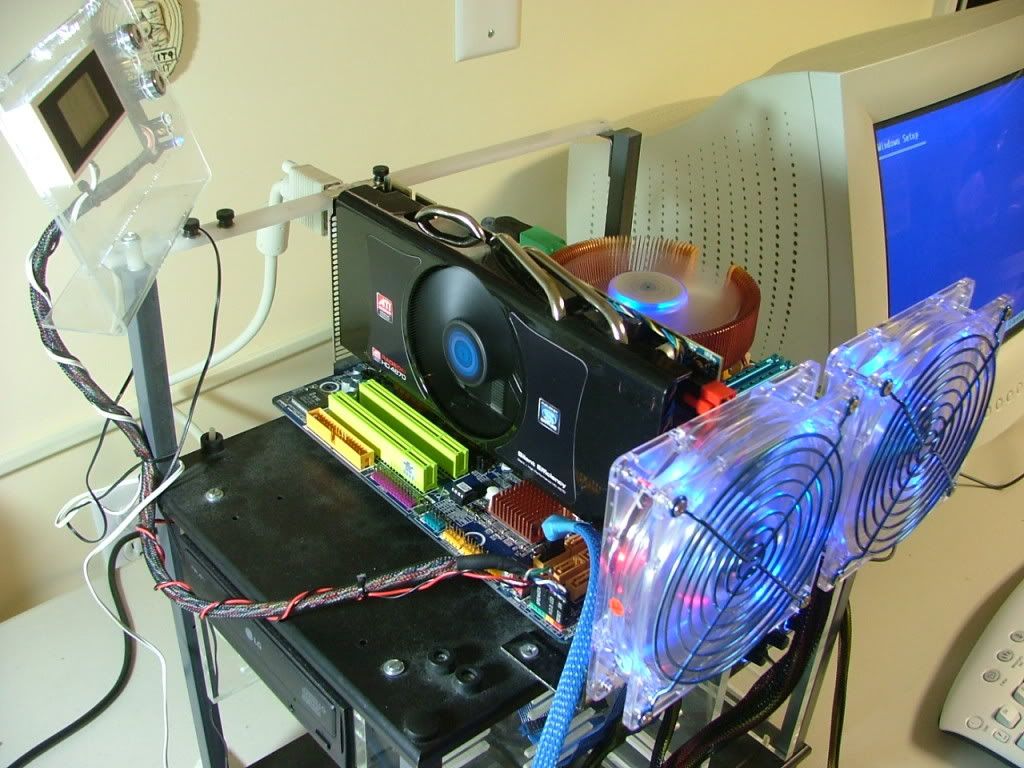 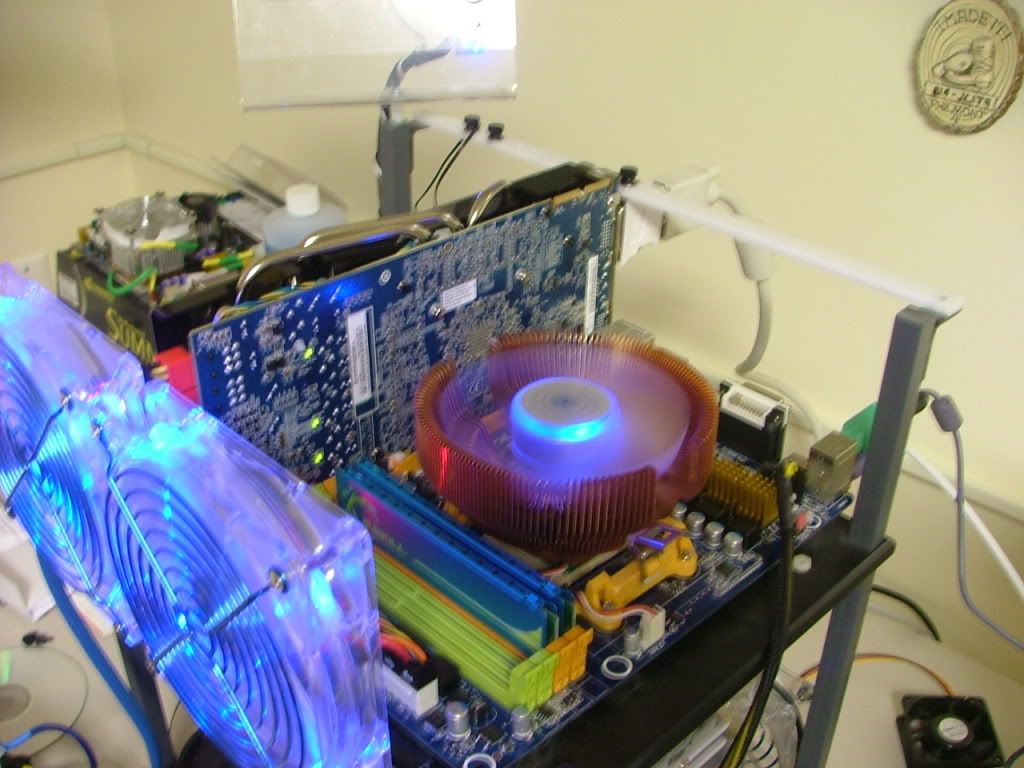
Right off the bat with having to reset cmos quite often is Iāve learned to hate where Biostar put the jumperā¦ā¦
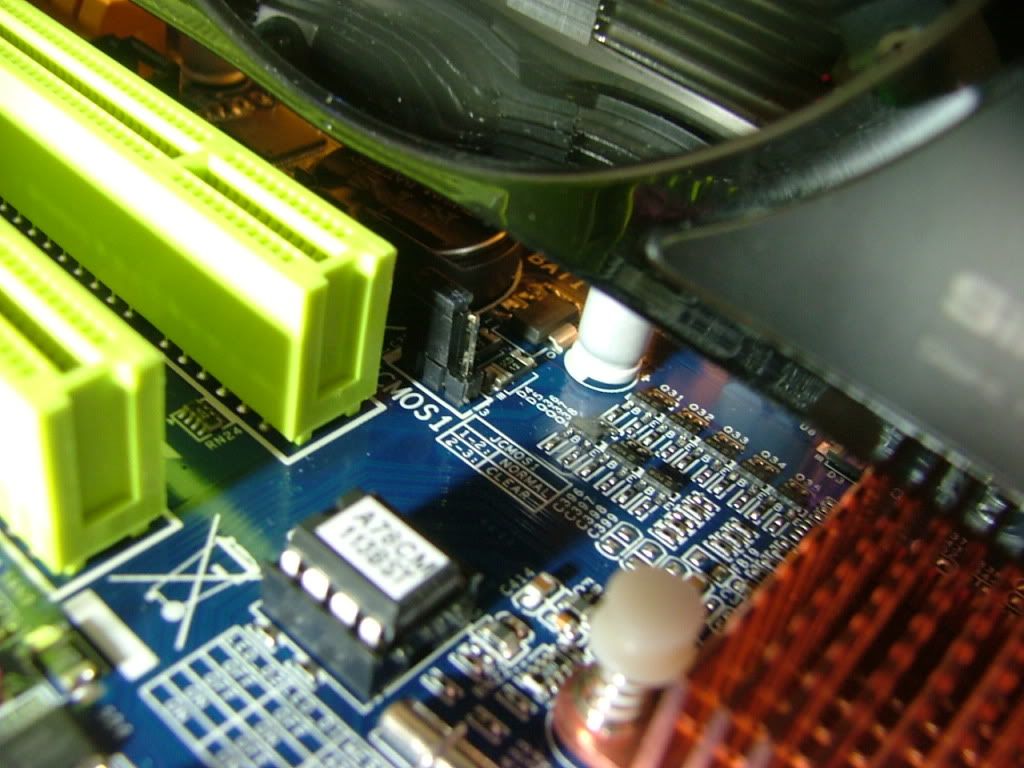
Look to the right edge of the PCI slot below the gpu cooler. Think a remote cmos reset switch will be in order, especially once all the stuff gets loaded into the SG03!
And the last are just some general shots showing what appear to be diagnostic leds on the back of the 4870 and the temp heat sinks mounted on the mobo mosfets while over clocking. Iāve got something āin the mailā to replace those if I can re-engineer the mounting.
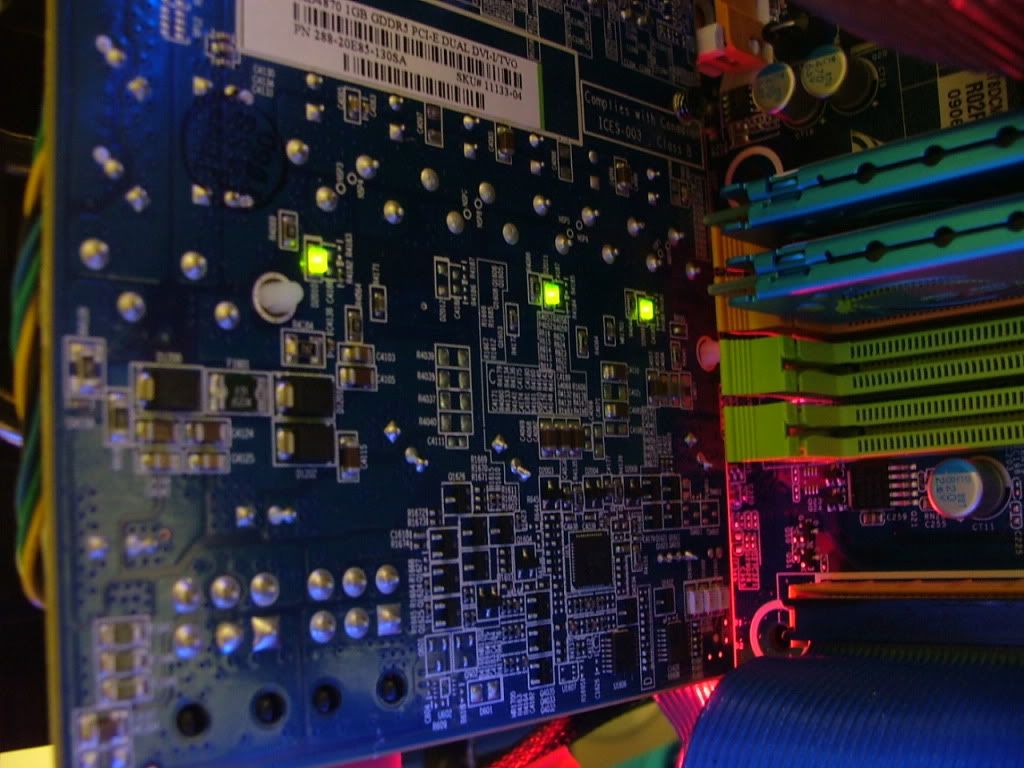 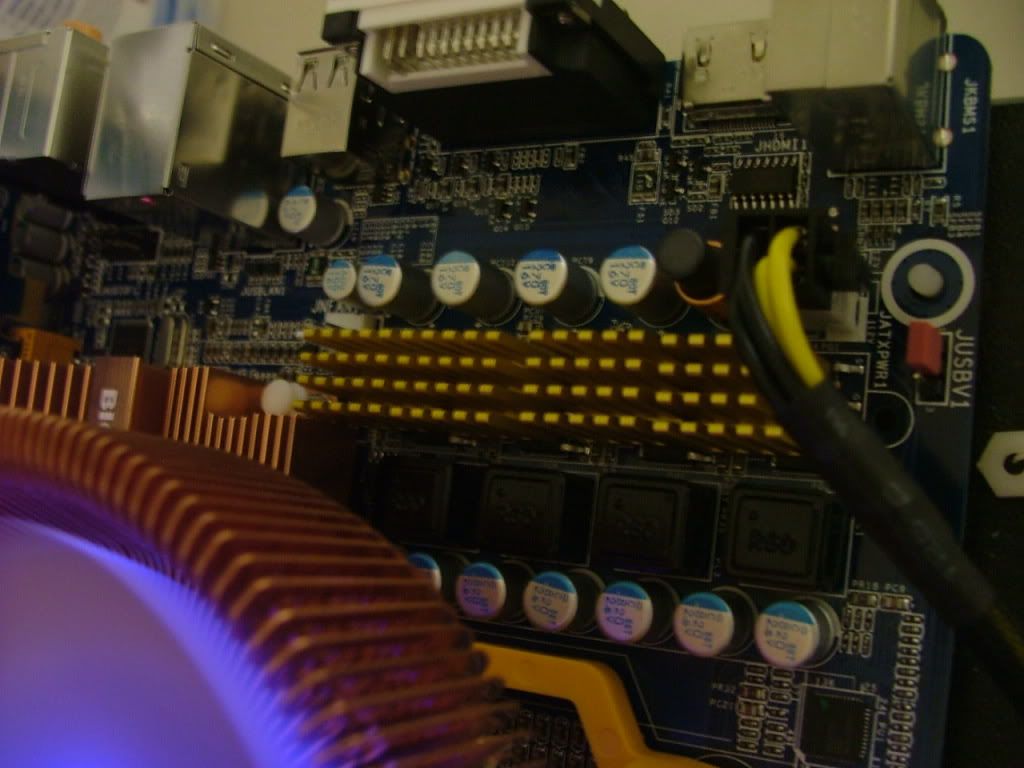
BTW there shouldnāt be anymore revisions for a while as I may not survive when the wife sees the equity bill from all the goodies purchased in the last month!
So now it is up to the egg and UPS as to when I get going here.
03/24/09
Okay have had the 720 BE for a while and while Iāve managed so S & G types of overclocks it looks like it will be settling into the 3.60 ā 3.65GHz range when it is installed into the case. Also will use the OCZ OCZ00MXSP 600W as it has the shortest cables.
One of the small mods I did to start out was to cool the VR mosfets. As I couldnāt originally come up with an off the shelf cooler, I used several small aluminum coolers that I had left over from some other build. Each block would cover three of the mosfetsā¦you can see them mounted above. I had ordered
[url=http://www.sidewindercomputers.com/enmsfocomohe.html]Enzotech MST-81[/url knowing the mounting pins would not fit, but the ābodyā was the right size. When the sink came in I confirmed the base would cover all of the mosfets so off to the vise and to grab the hacksaw.
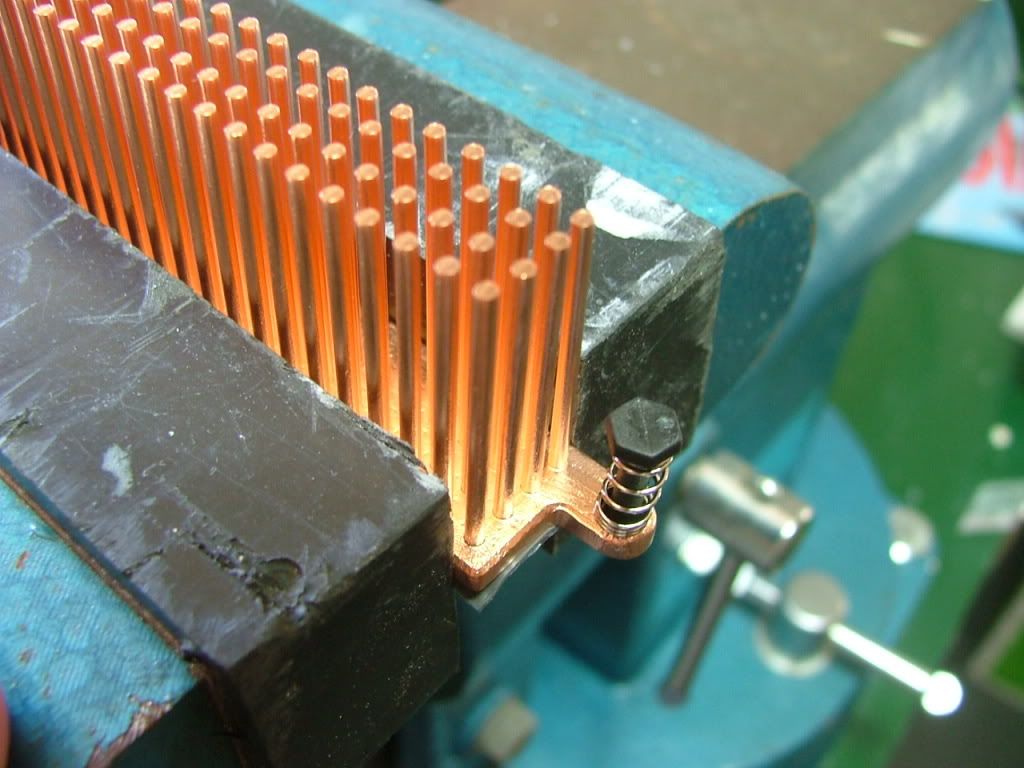 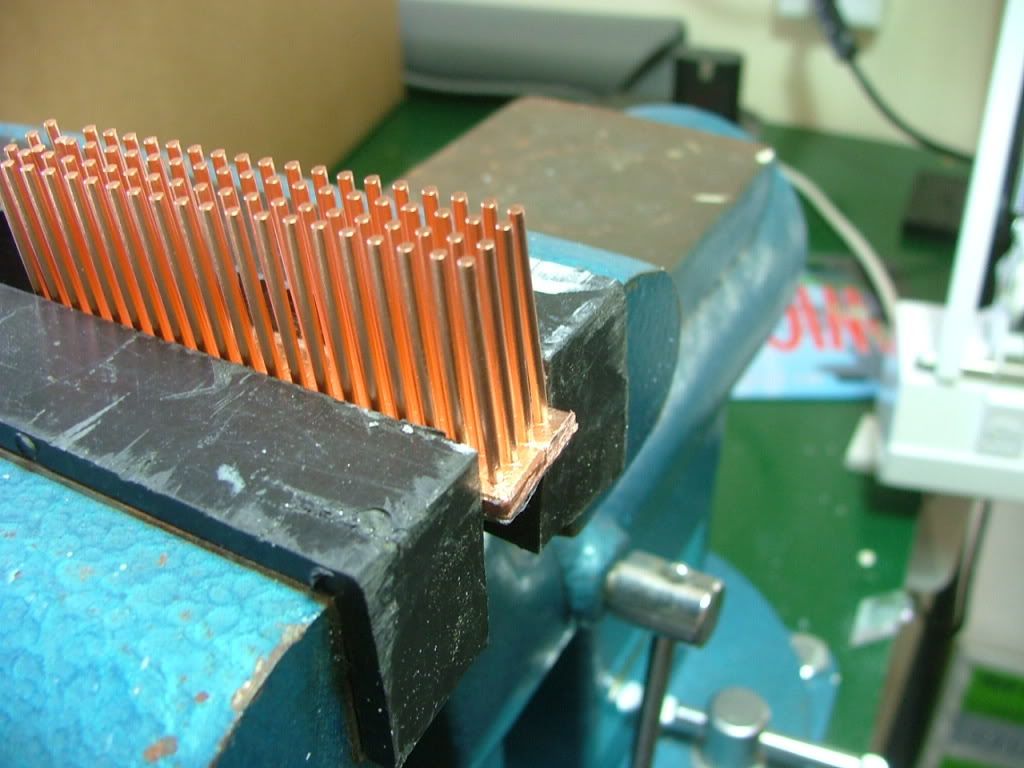 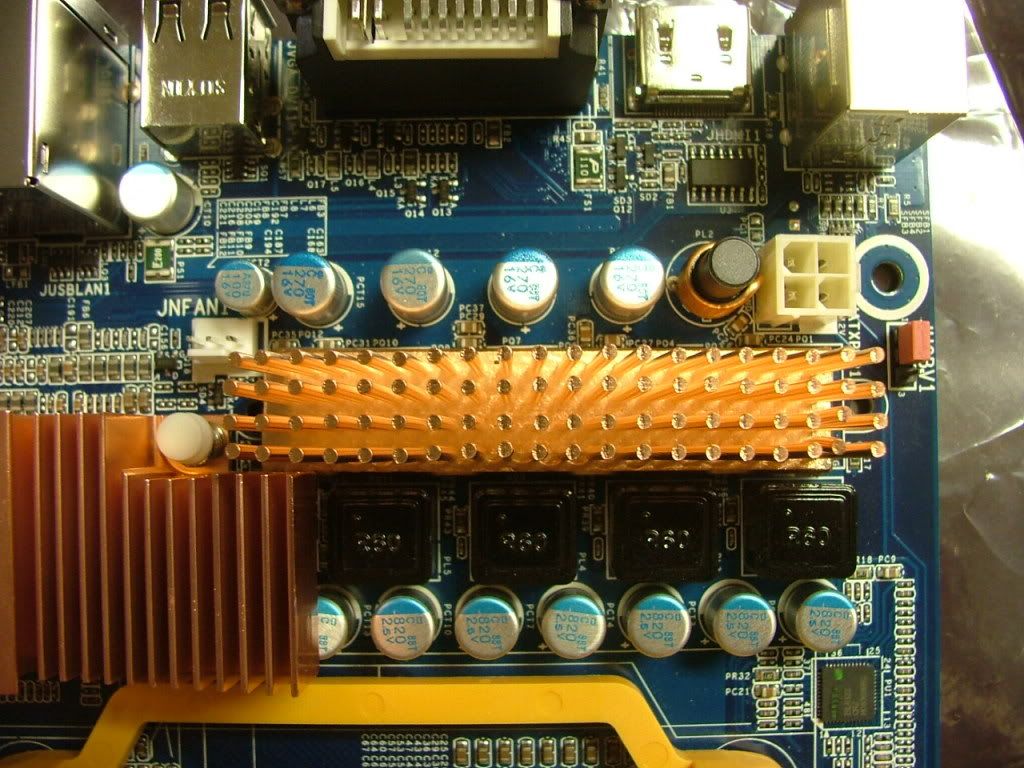 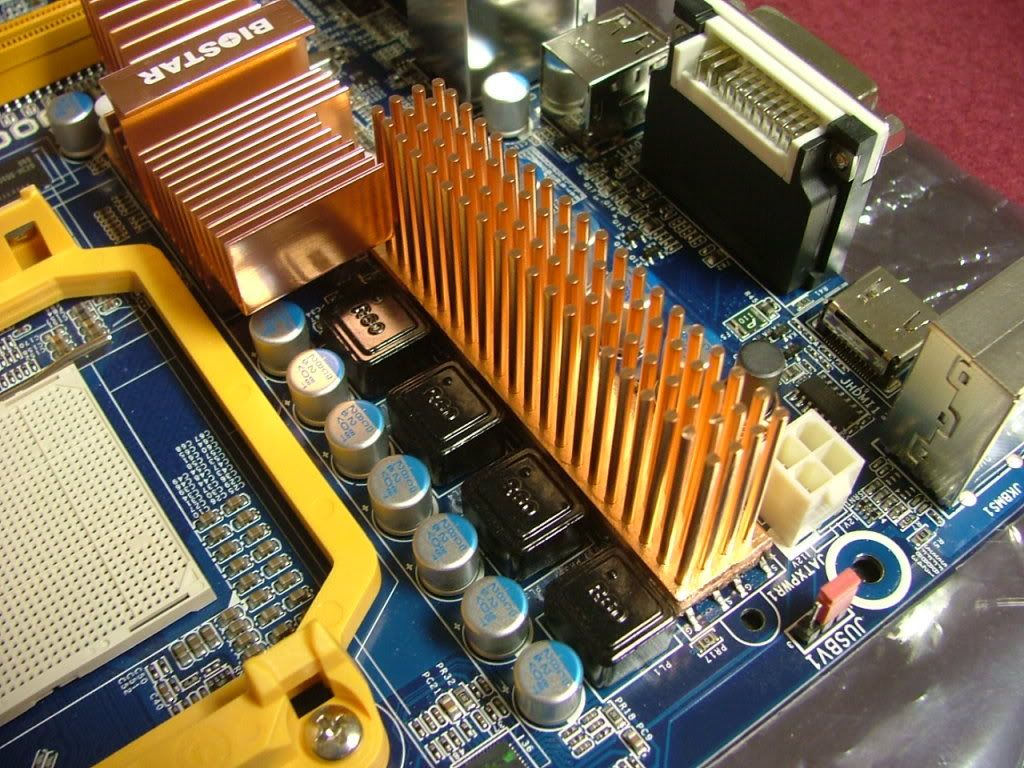 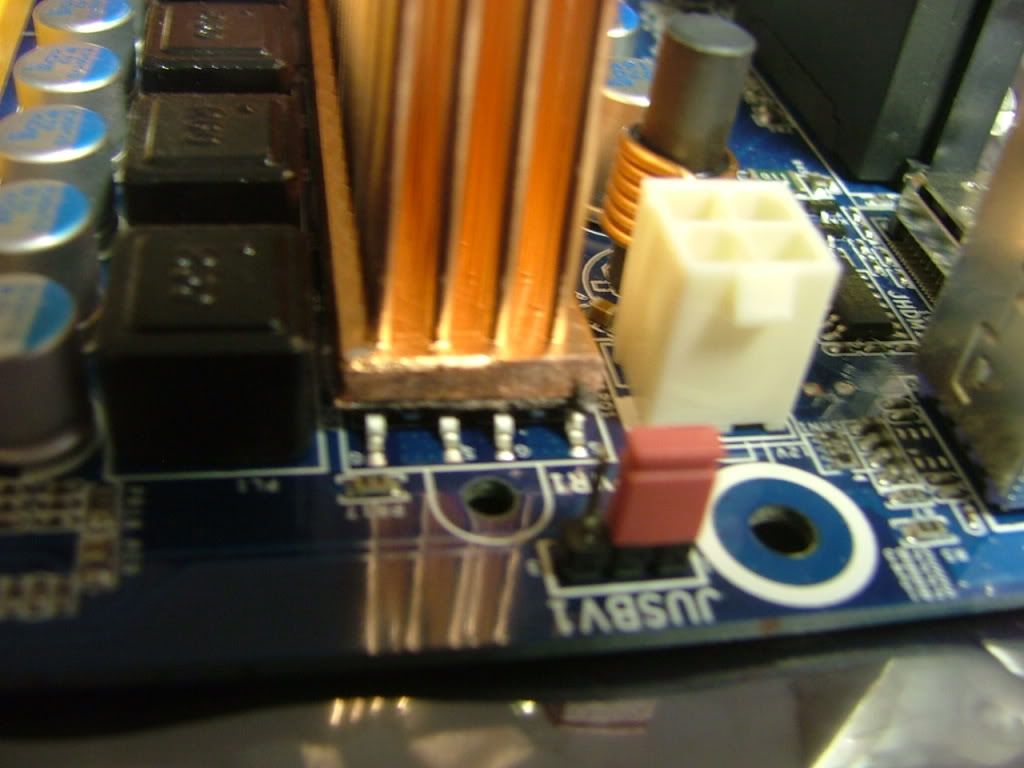
The copper sink goes right along with the NB, SB, and CPU coolers!
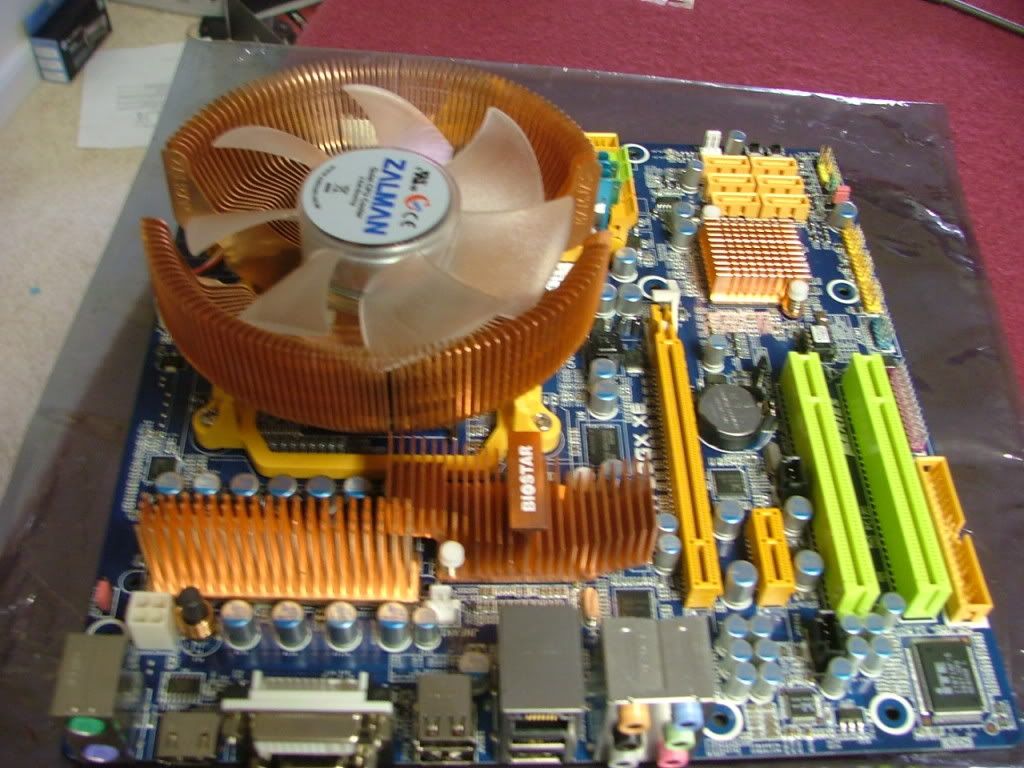
As mentioned earlier in working with the Biostar TA790GX XE on the tech station, there are a couple of things that Iāve found rather irritating. The location of the CMOS jumper (as mentioned above), CMOS battery, and the orientation of the GPU release lever for me is a real pain! All three end up under the cooler of a two slot cooling solution! In the first picture you can see where they are without the GPU in place. As a repeat look to the left middle of the picture just behind the PCI slot and under the GPU cooler is the CMOS reset jumper!
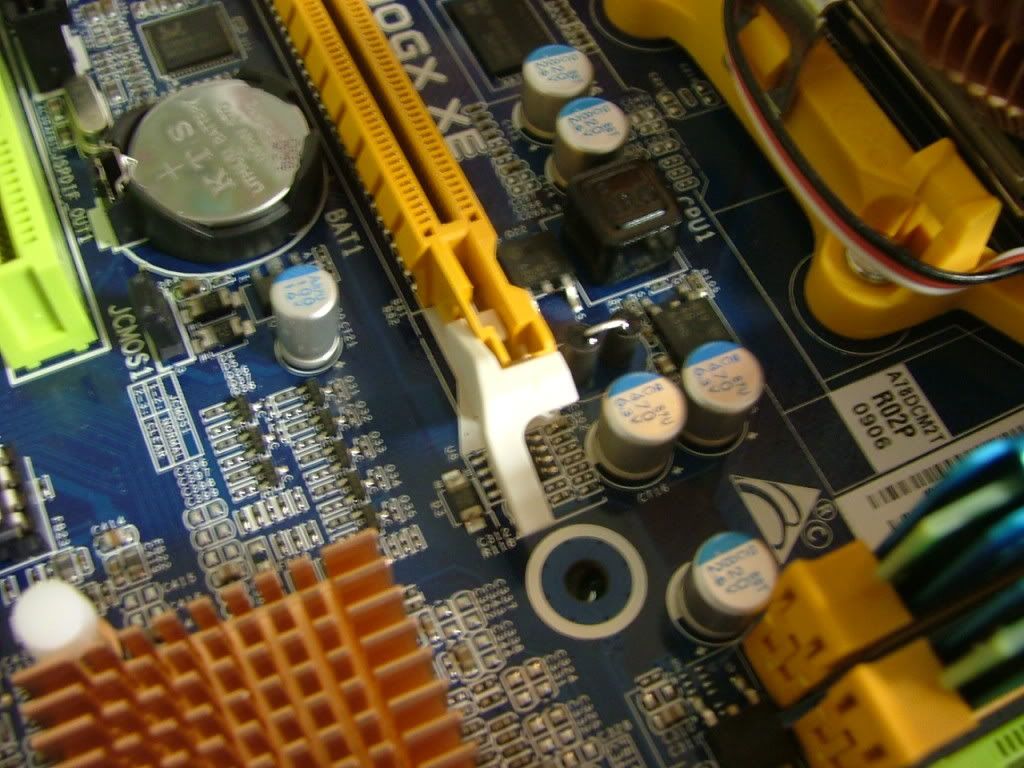 
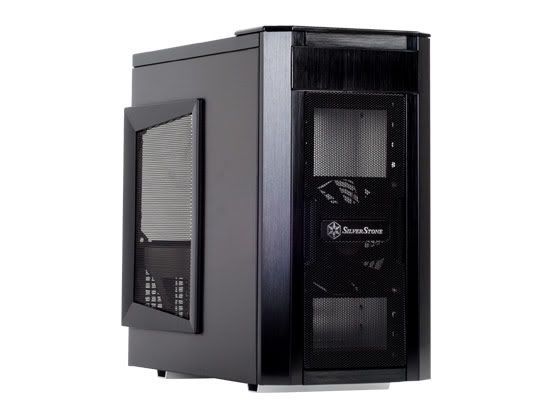
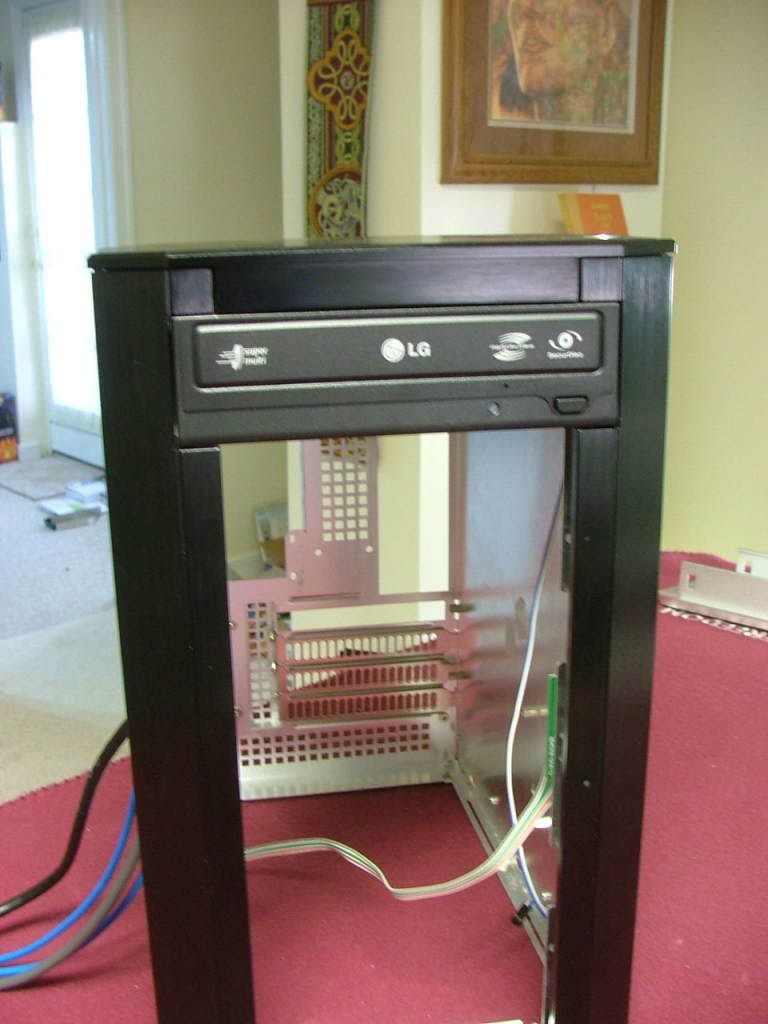
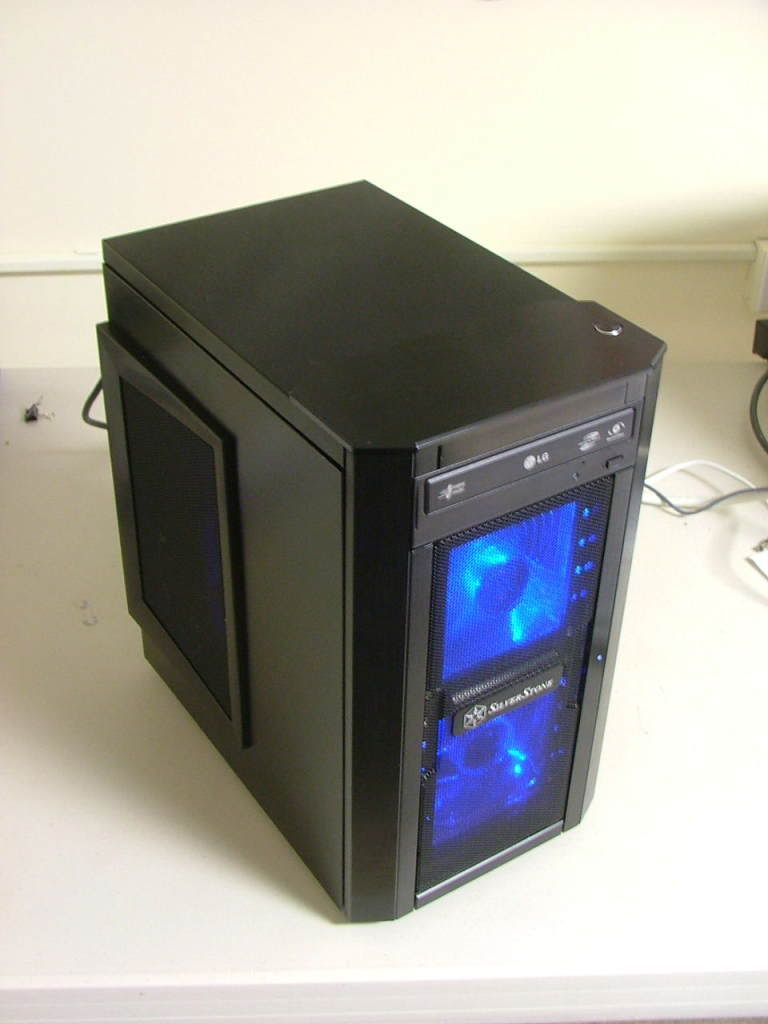
Other than that will hold off anymore whining until it is together. For those of you who may not be familiar with the Silverstone SG03 case (or the SG01 for that matter) it has one major character trait that one has to get used to. You have to almost totally disassemble the case to mount anything. Luckily for me the BluHaz series of builds has gotten me used to that. We have a stock photo of it together and then here it is necked with everything removed to start placing stuff.
 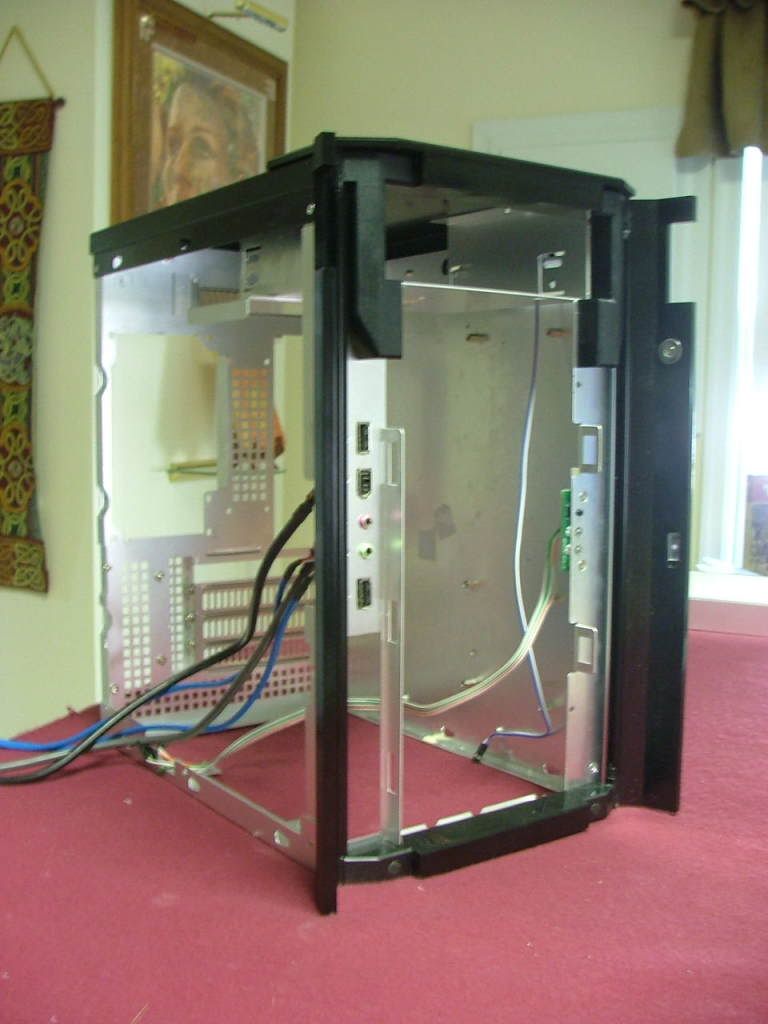 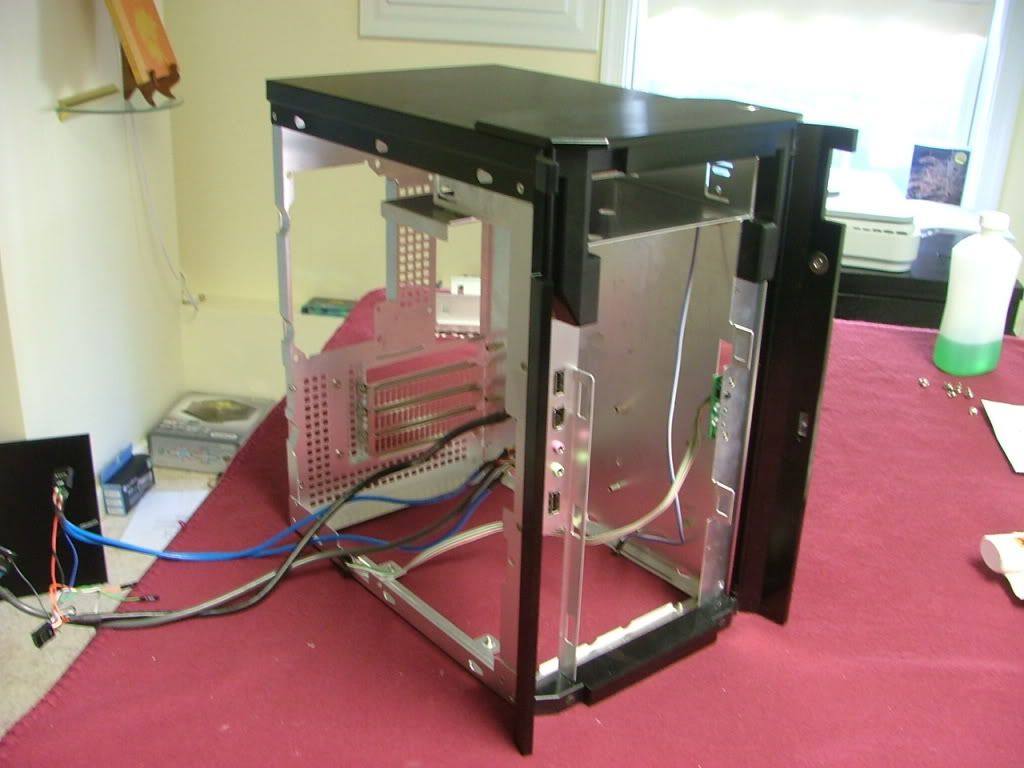
The first thing to go in is the optical drive in the one and only external 5.25ā bay.
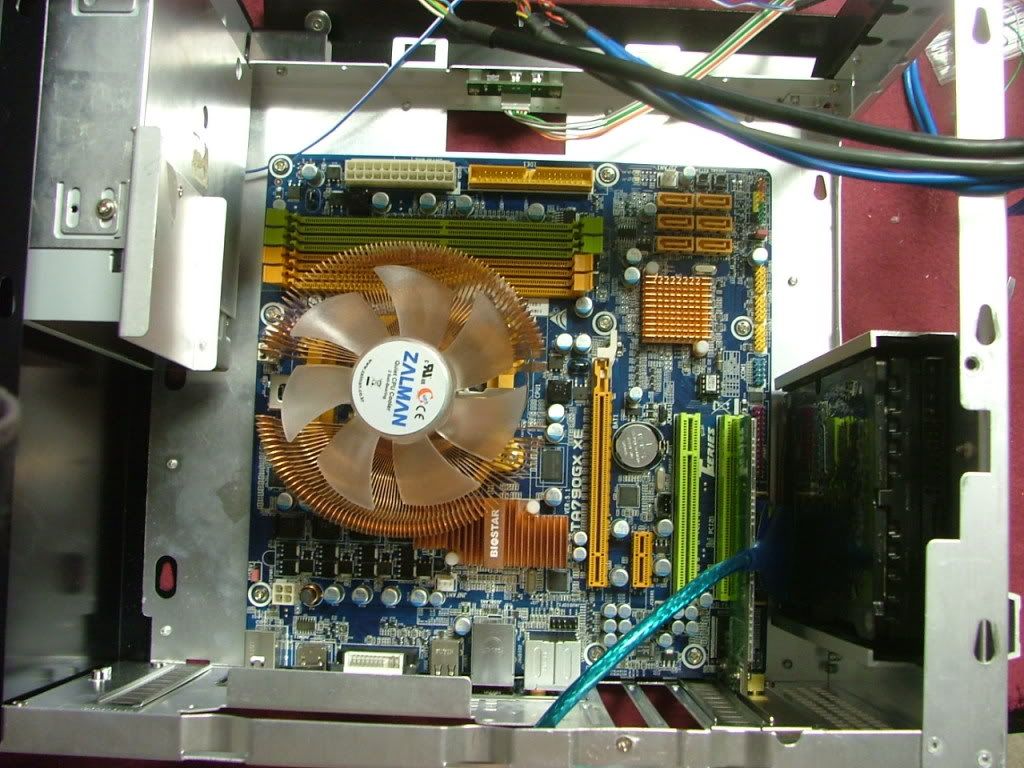
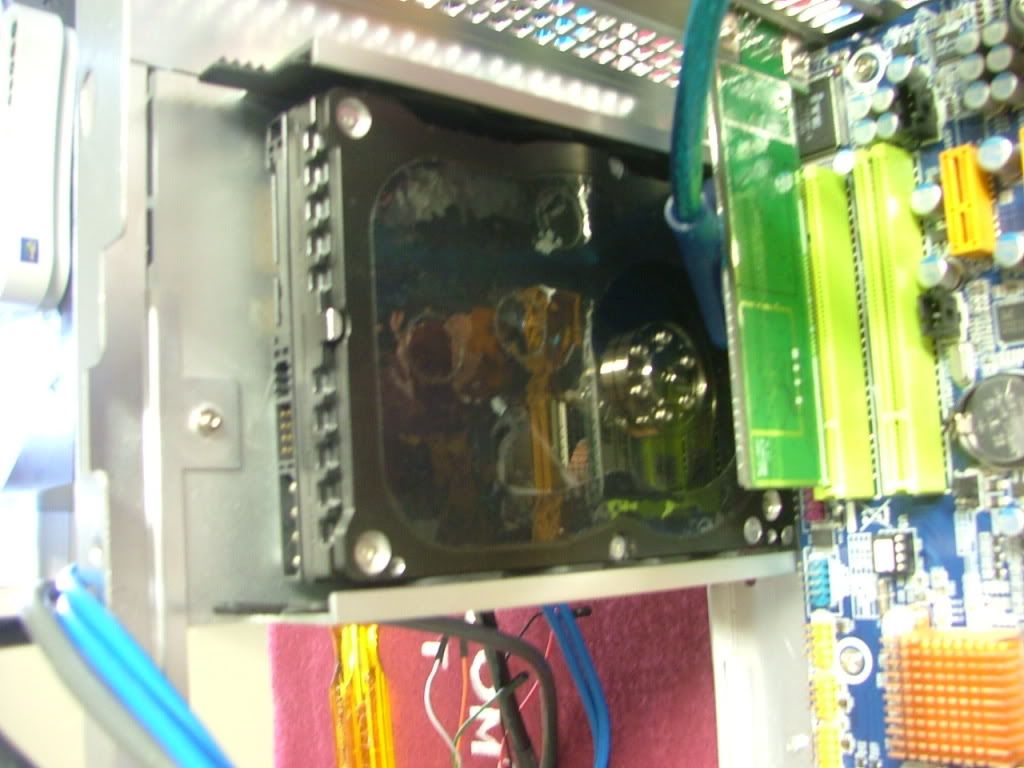
Next in goes the motherboard assembly and the Raptor X hdd. You may notice the mosfet hs is missingā¦ā¦it seems that what I thought was thermal tape ended up being just a thermal pad. When I lifted it off the tech station where the mobo is flat, it fell off! Waiting for some thermal tape to arrive compliments of undersea over at pcper.
_________________
As of 02/01/11
DreamCatcher AM3 >> (Down Again) >> SG01 Evo, MSI 785GM-E65, PII X4 955(AQ H2O Cooled), XFX GTX285(EK H2O Cooled), Seagate 7200.10 ST380815AS 80GB, 2 x G.S. F3-12800CL7D-2GBPI, MODU82+ EMD525AWT, XP Home SP2
KestrelFlight >> (Under Construction) >> Zalman Z7+, MSI NF980-G65, PII X4 1055T, 2 x Galaxy 580GTXs, Zalman 32GB SSD, WD V'Raptor 300GB, 2 x WD 1 TB Blacks, G.S. F3-16000CL9D-4GBTD, Zalman ZM1000-HP Plus , Win7
Oz1a v2.0 >> XFX MDA72P7509 750a, PI X2 8870BE, 2 x XFX GTS250, WD 250GB, F2-8500CL5D-2GBPK, Tt TR2 600W, XP Pro SP3 |
|
| Back to top |
|
 |
Little Bruin
Boo Boo
Joined: 07 Apr 2003
Posts: 667
Location: Pic-A-Nic Basket |
|
 |
jedihobbit
Rated XXX

Joined: 22 Mar 2007
Posts: 238
Location: Central Virginia, USA
|
 Posted: Thu, 18 Jun 2009 19:04:41 Post Subject: Posted: Thu, 18 Jun 2009 19:04:41 Post Subject: |
  |
|
One of the options that the case gives you is the orientation of the PSU in relation to having the fan pull in or sit over the CPU HSF and draw out some of the heat. Originally I wanted to have the fan facing the opening for aesthetics reasons and also concerned it might interfere with the HSF fan. As it turns out the fan will be facing down. With the fan up, all of the board power cables would be at the bottom with the connectors for system parts at the top. Just the opposite of where stuff is located.
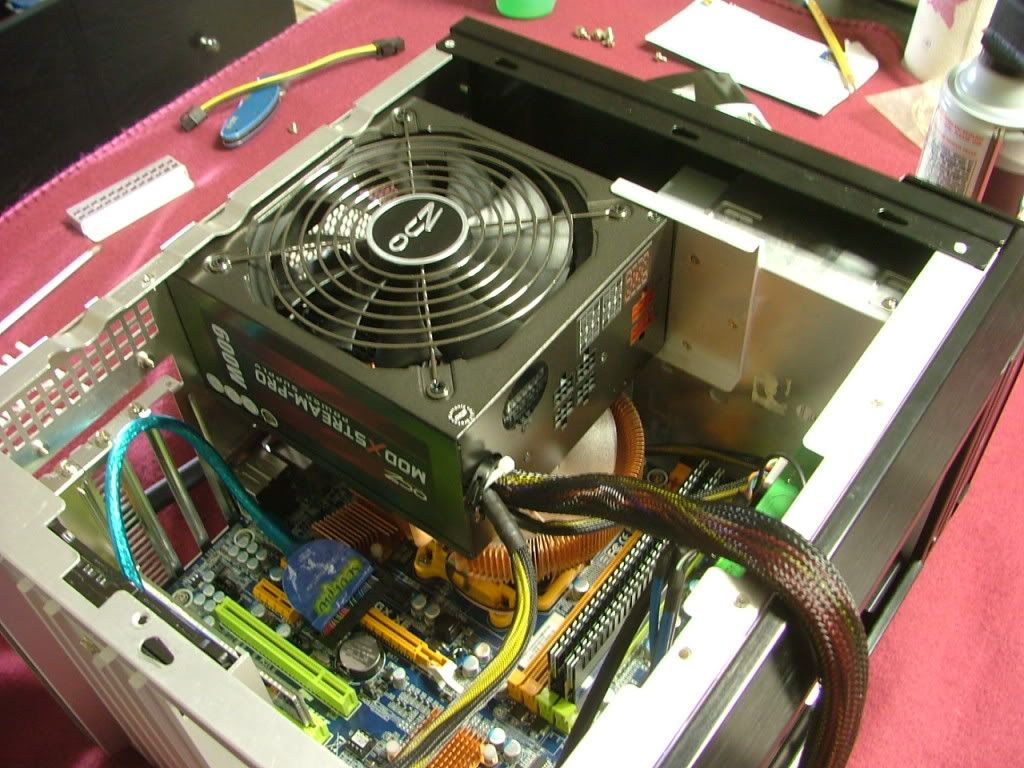 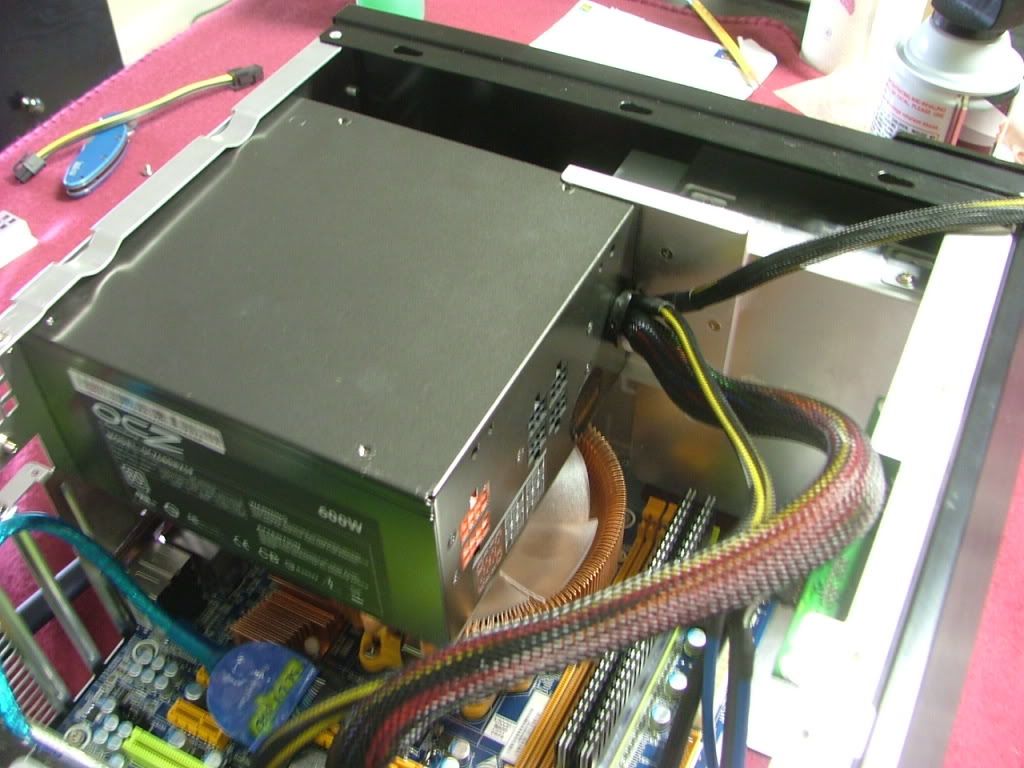 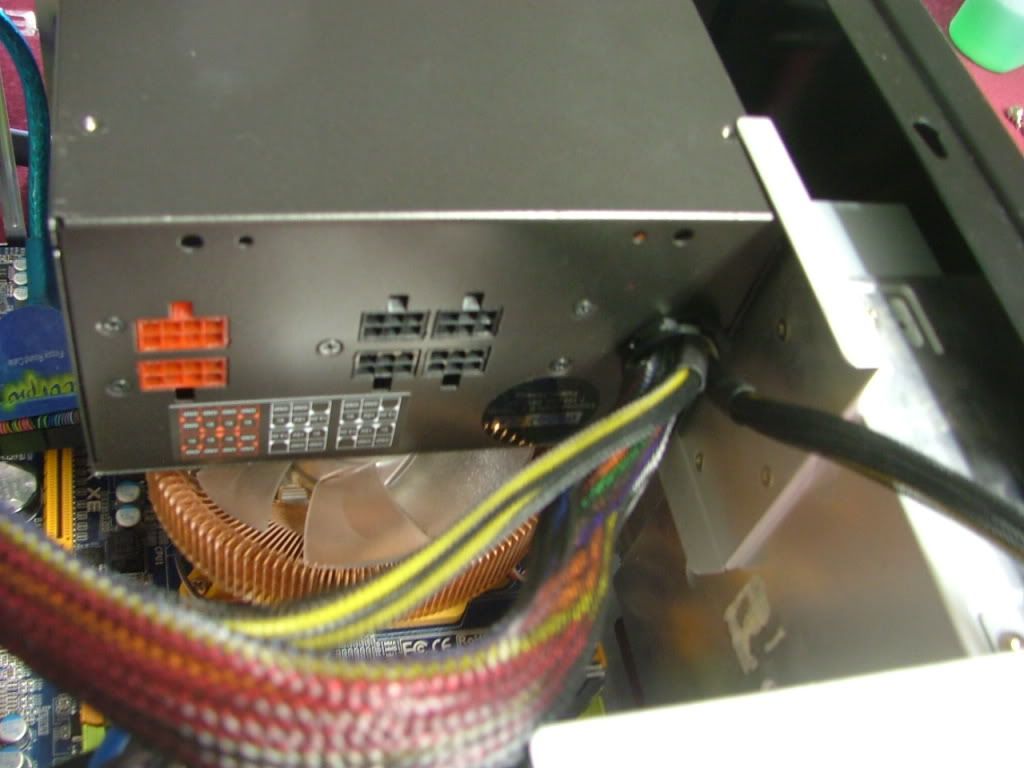
In order to figure out cable routing I mounted the GPU as well. It is starting to get very tight!. Also you can see what clearance there is between the PSU and HSF.
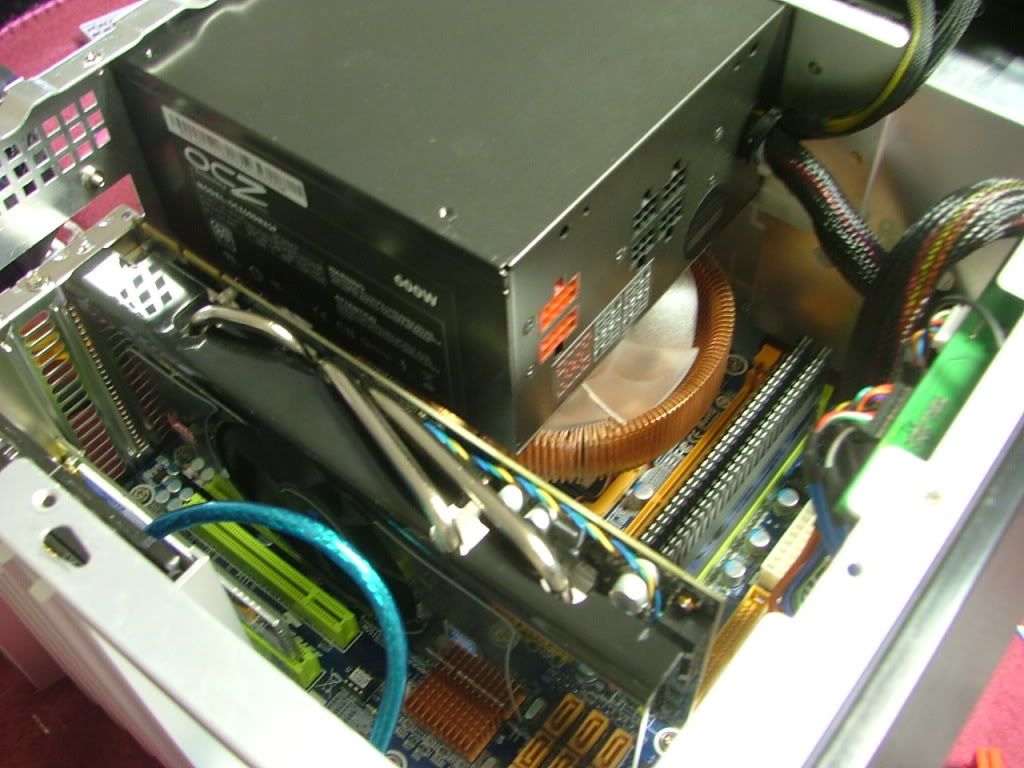 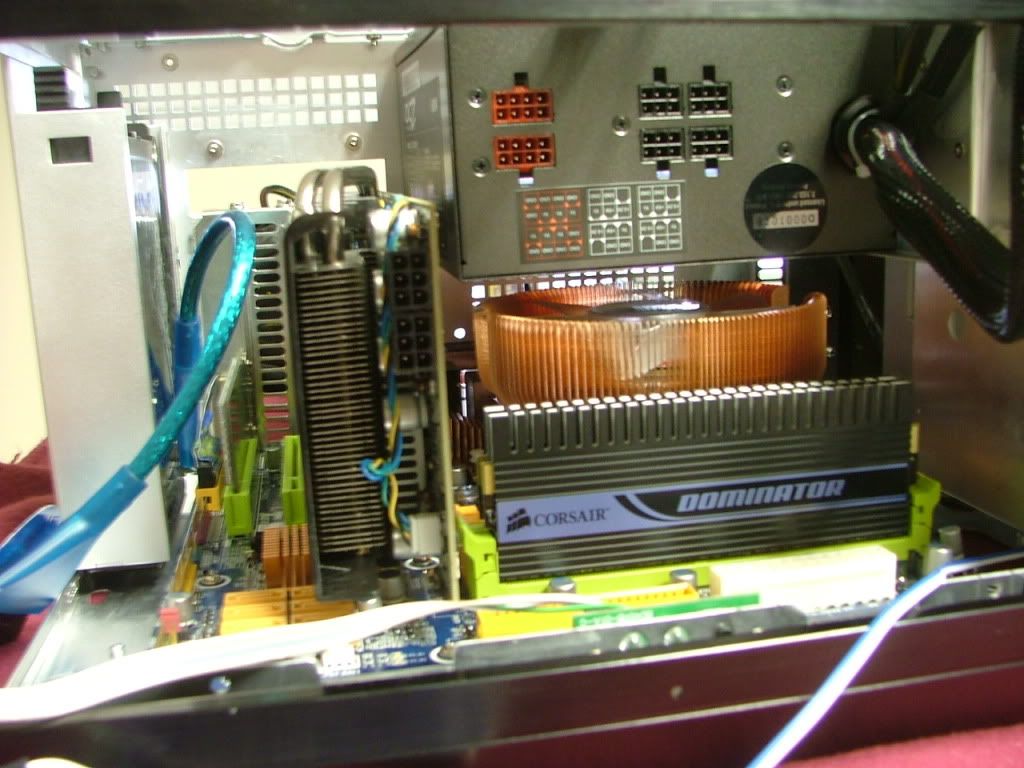 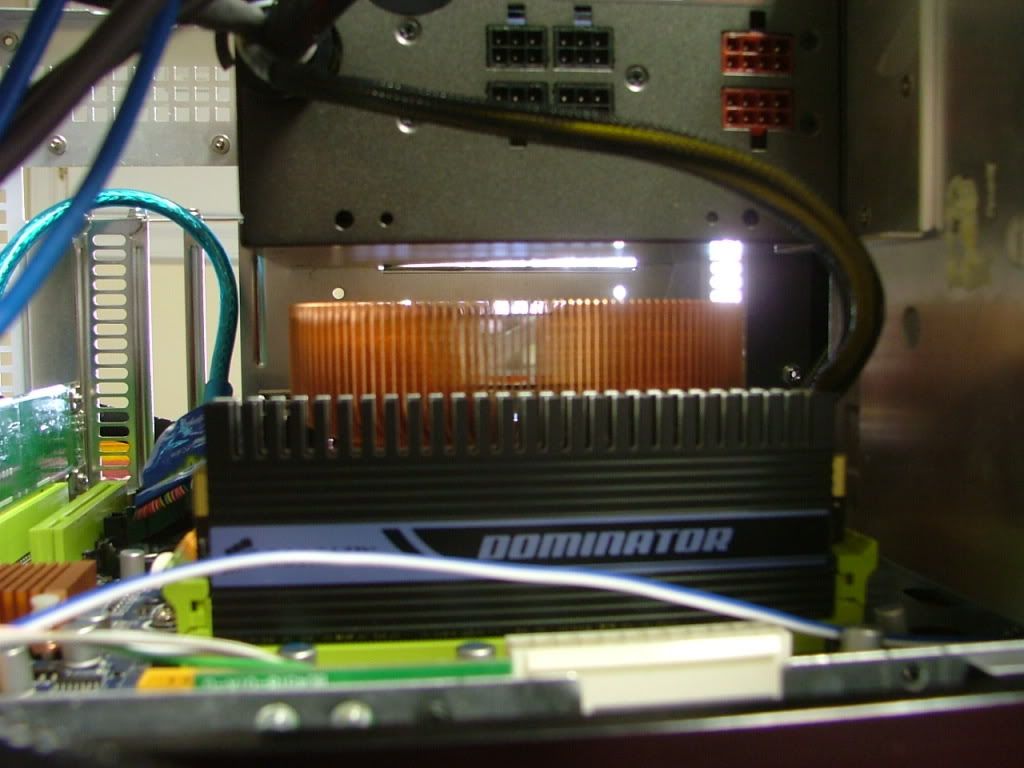
Work has slowed a bit as I wait on the thermal tape and Iāve decided to swap out the CNPS7500 for a CNPS8700-CU. It is just as efficient (if not better) and weighs less. Iāll use the 7500 in the revised Kermit build as that motherboard lies flat in the case.
03/24/09
Okay due to my usual source (the bay!) and planning for the future (when and if I drop XP) the memory has changed........... picked up a 2 x 2048 set of TWIN2X4096-8500C5DF. Sadly because of the size of the CNPS8700 (or 7500 for that matter) the taller mem will end up in the outer two slots and I will not be able to use the F part. 
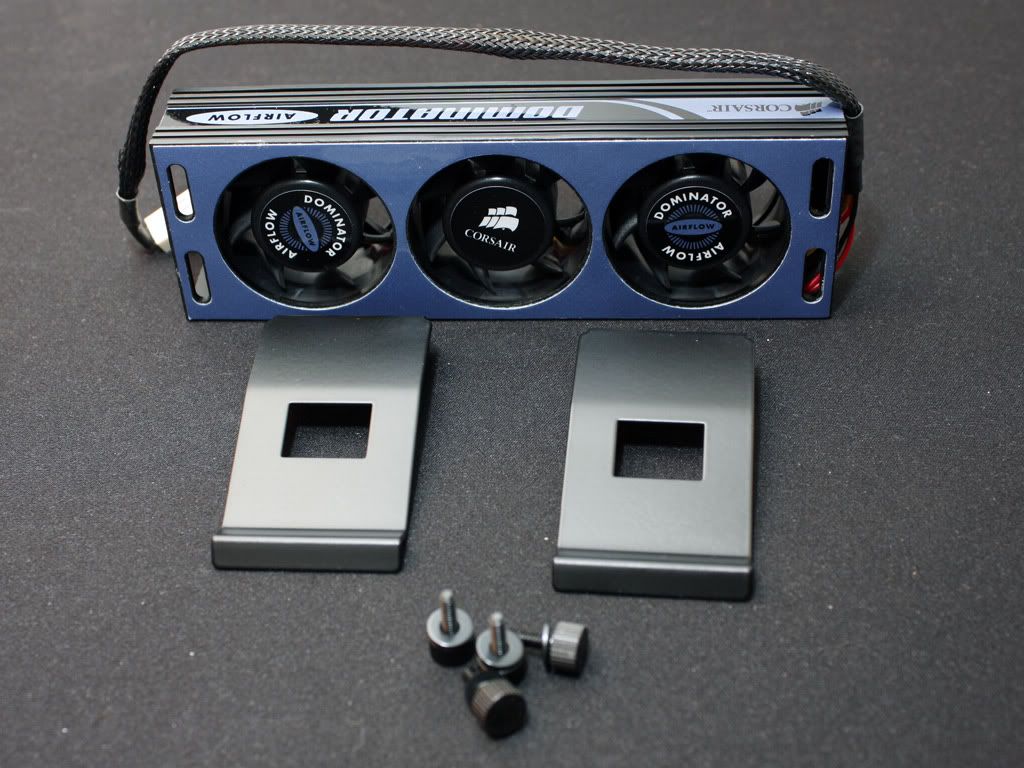
Those of you that may have looked closely when I showed the PSU orientation issue pics would have seen them in place!
03/30/09
Thought this was going to be the enty when I showed the system assembled and running........... so much for that idea! 
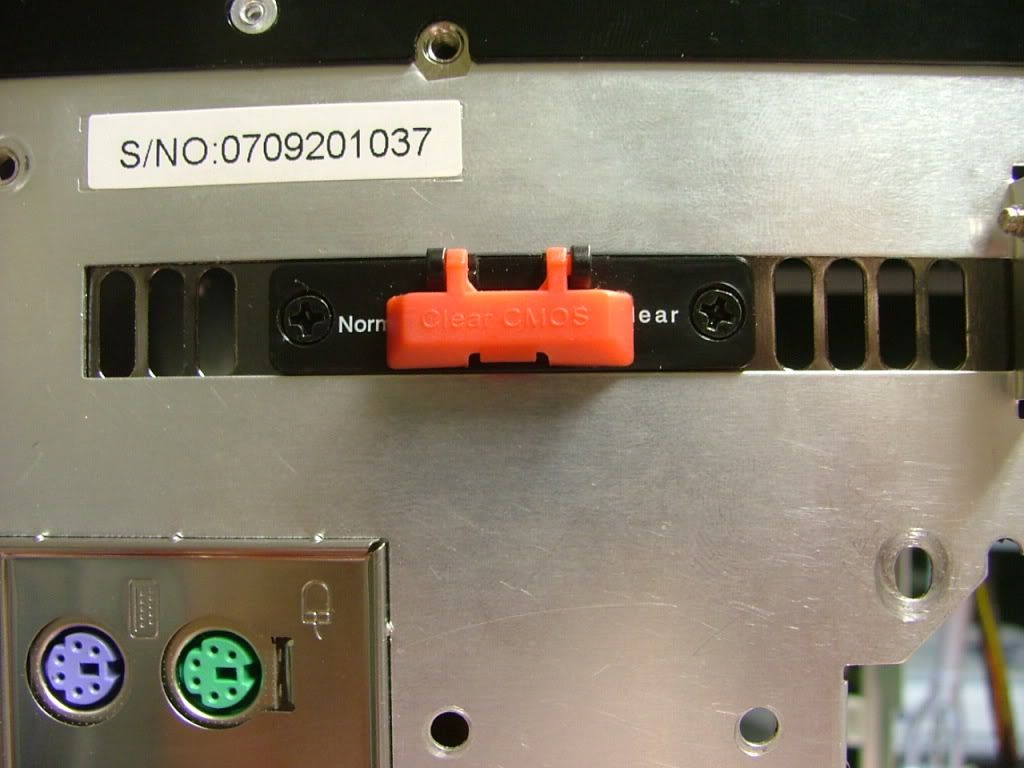
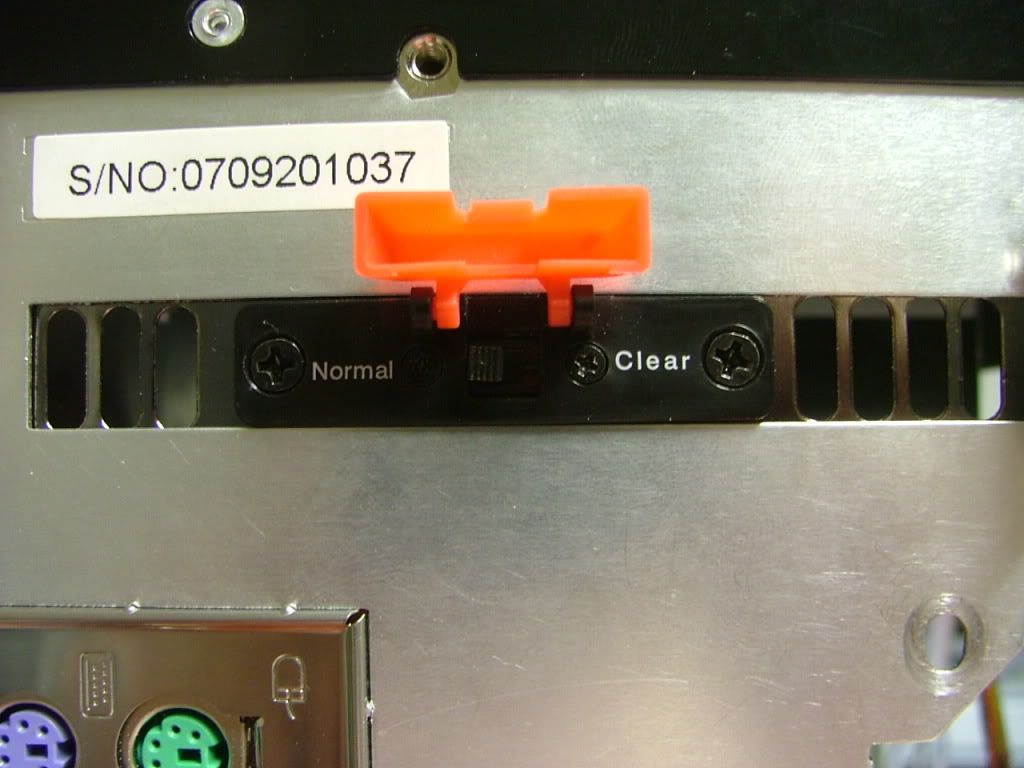
Got it all put together with the exception of the mosfet cooler (waiting on some thermal tape) and fired it up.............everything seems to be on but no boot!! So I swapped out the mem (first time to running the 2 x 2GB Dominator) and still no joy. Reset cmos and still nothing, so broke it down and reassembled it on the tech station, adding one piece at a time to see what might be the culprit. Everything is running fine!! Then it dawned on me the one piece I hadn't hooked up that was different from when I tested everything originally. Remembered the Silverstone cmos reset switch and guess what............... it seems that biostar and Silverstone need to talk to each other as their pin-outs are opposite!!
So, the issue wasn't the hardware or anything else.....I was constantly clearing the cmos!! :p
Now to put it all back together! On second thought....think I'll wait on the thermal tape so I don't have to take it apart again. 
04/06/09
After a major brew-ha-ha with the wife over why more than one computer and a āwhy canāt you be like everyone else and have just one, you know like a dell?ā kind of ādiscussionā managed to get the system assembled. Sadly I didnāt get that many pictures as I wanted it together before she had more time to āthink about itā. Also as the fates and the bay would have it there has been a MAJOR changeā¦ā¦.. the 4870 is out and I managed to shoe horn in the GTX260-216 that was in Kermit v2.0.
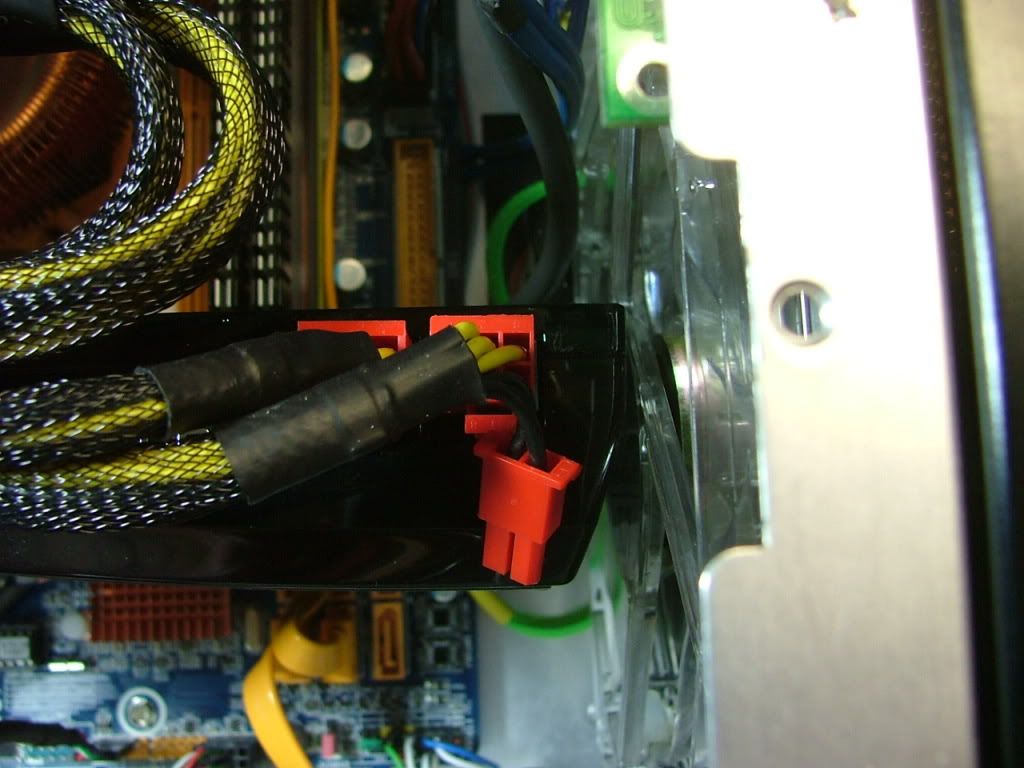
Anyway here we have the pieces going togetherā¦ā¦ā¦First of course was trying to get the miscellaneous cables laid out (see the 8700 in place), fit the GTX, mount the power supply and then install the FDD rack. Also threw in some pics to show just how ātightā things are, the system fan header under the GPU cooling shroud, and when I installed the 10.5ā GTX I had to remove the fan grill from the lower fan so it could fit.
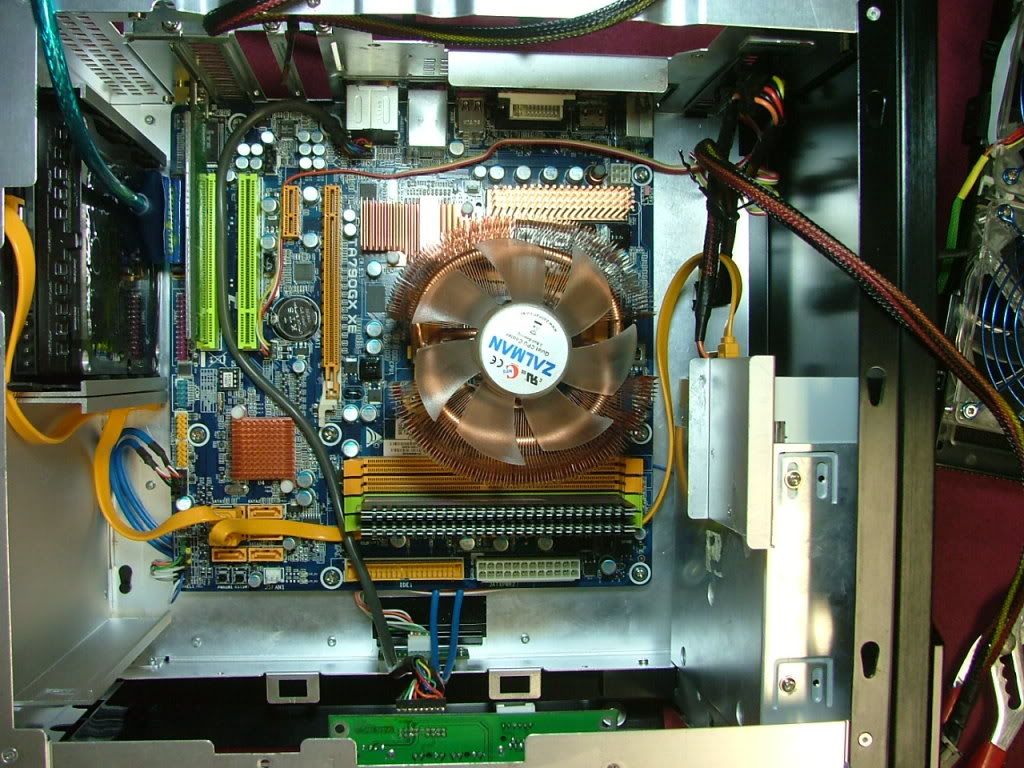 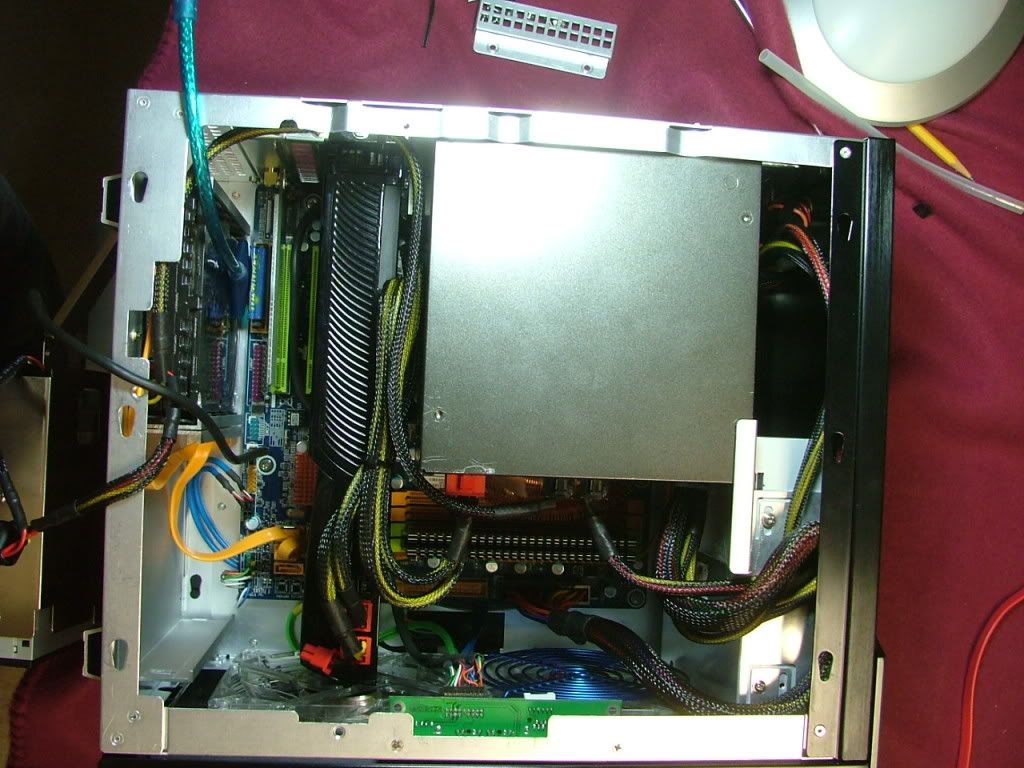 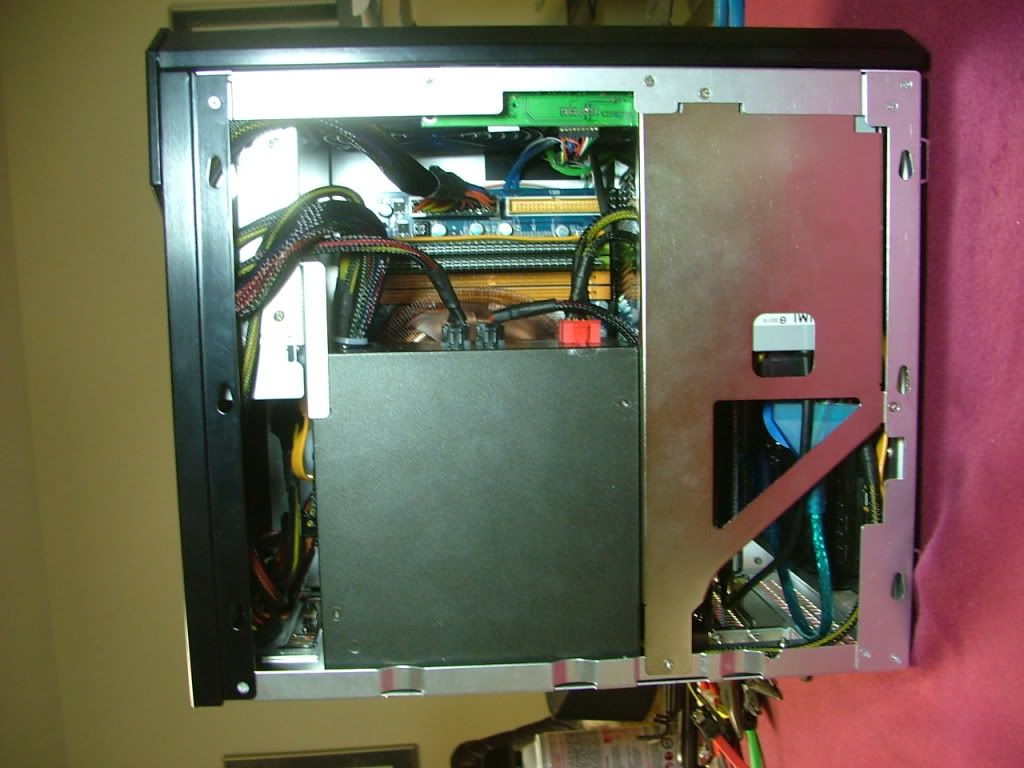 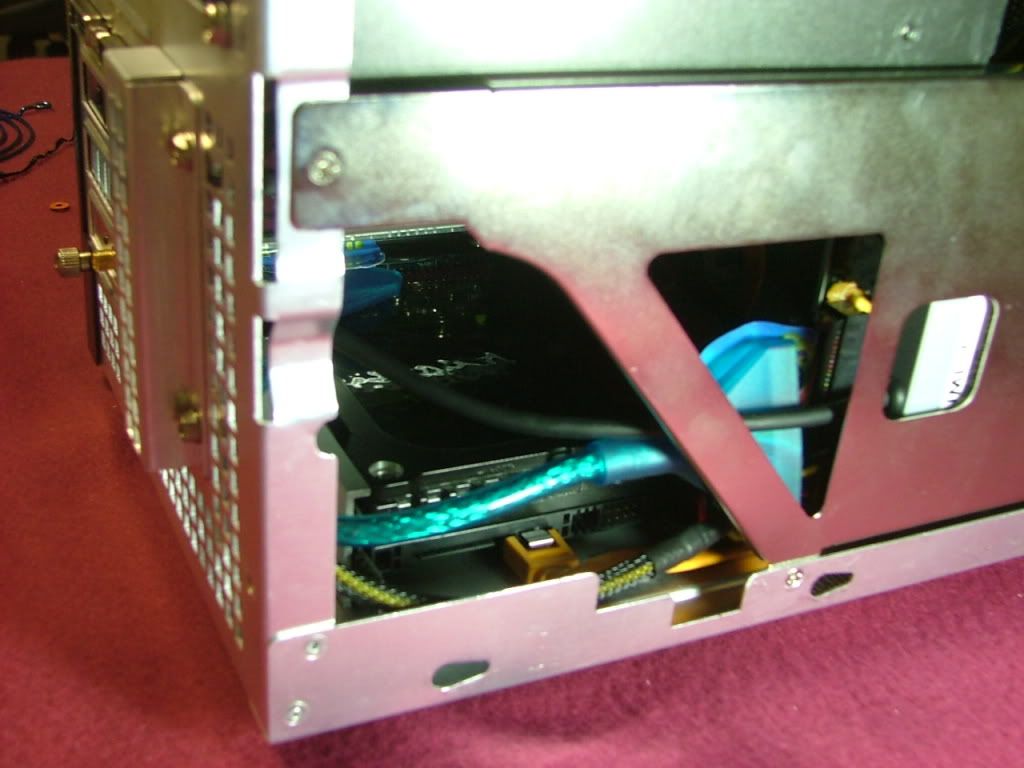 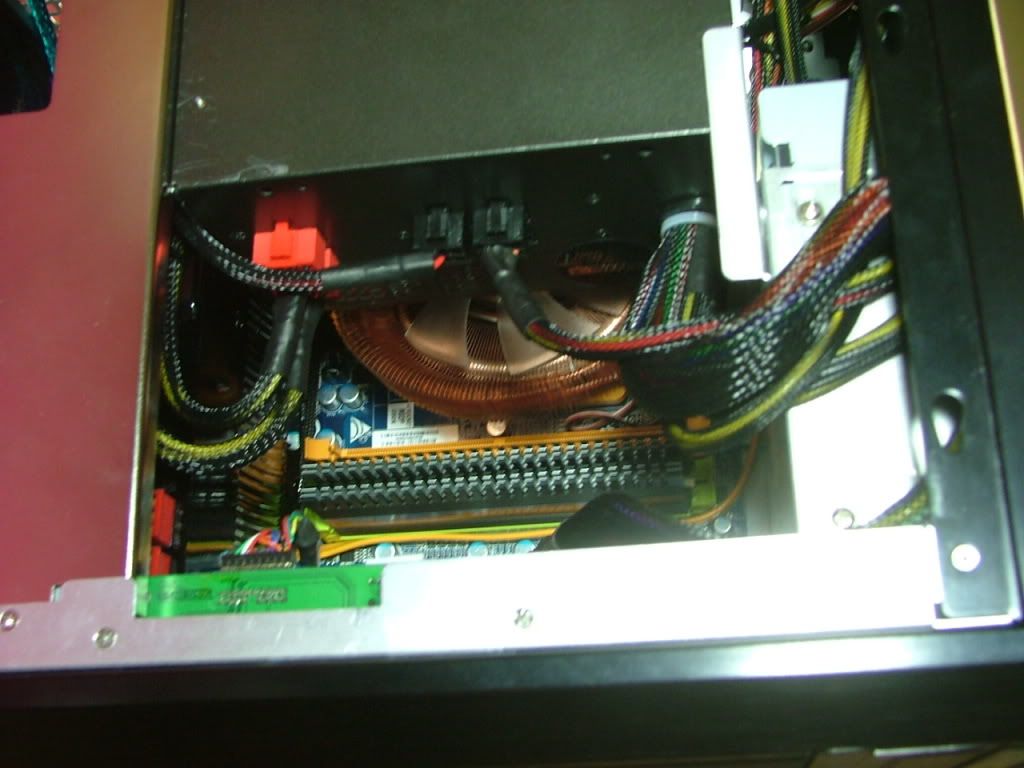 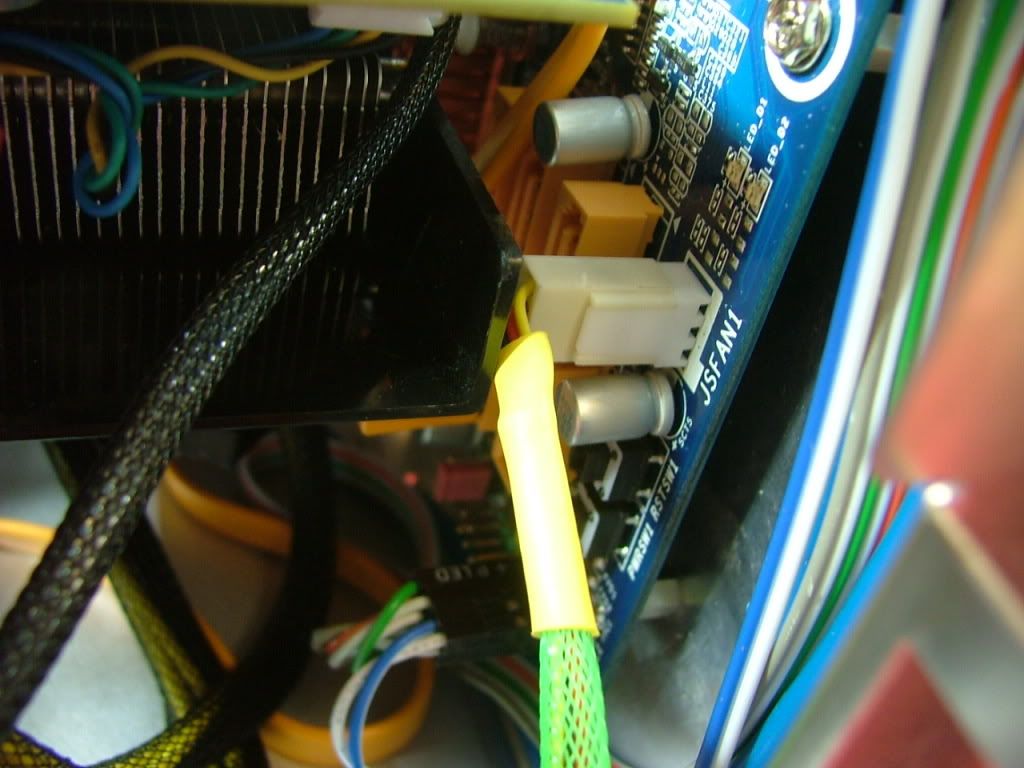 
Also here is the item that did me in initially, the CMOS reset switch.
Finally here it is running with a Tt Smart Fan up top and one of the 120 LED fans from the tech station on the bottom. Also this is one of the disappointments of the build. With the nViews and the M3A78-CM you could control the speed of the system fan as well as the HSF through the bios with temperatures. That is a no go however with the Biostar as āsmart fanā only applies to the HSF. If Iām wrong PLEASE TELL ME HOW!! That Tt at full bore is a portable tornado and the other 120 isnāt much better.
 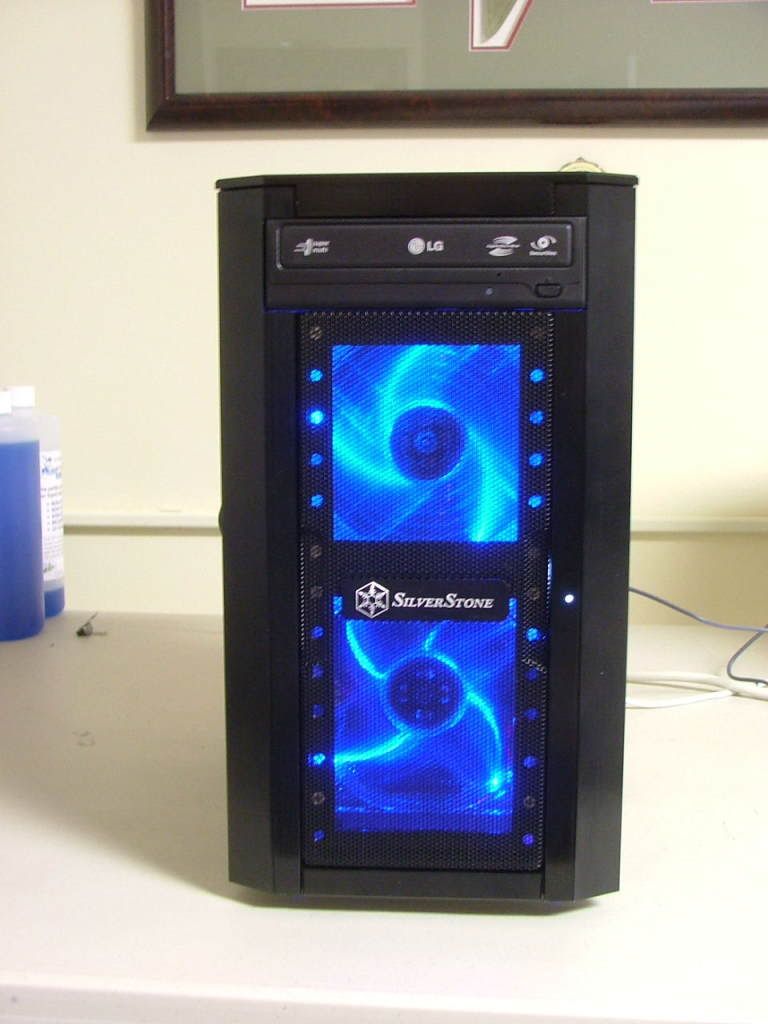
Now the final kicker. While running the system notice that Temp1 in Speed Fan and (forget the name right now) in Hardware Monitor was indicating that the NB and mosfets were running 62 -65C. Iāve dropped vcore as low as I could to stay stable, but was baffled as on the tech station they were in the mid 40s. So in looking in the backside of the case through the cooling holes (that area is covered by the PSU) thing I found the problem. The sink I mounted on the mosfets didnāt stick and is currently lying up against the back of the case. SO will have to pull the PSU and FDD rack out and figure out why the thermal tape didnāt work. To be on the safe side I ordered some Akasa Thermal Adhesive Tape AK-TT12 from sidewinder computers.
_________________
As of 02/01/11
DreamCatcher AM3 >> (Down Again) >> SG01 Evo, MSI 785GM-E65, PII X4 955(AQ H2O Cooled), XFX GTX285(EK H2O Cooled), Seagate 7200.10 ST380815AS 80GB, 2 x G.S. F3-12800CL7D-2GBPI, MODU82+ EMD525AWT, XP Home SP2
KestrelFlight >> (Under Construction) >> Zalman Z7+, MSI NF980-G65, PII X4 1055T, 2 x Galaxy 580GTXs, Zalman 32GB SSD, WD V'Raptor 300GB, 2 x WD 1 TB Blacks, G.S. F3-16000CL9D-4GBTD, Zalman ZM1000-HP Plus , Win7
Oz1a v2.0 >> XFX MDA72P7509 750a, PI X2 8870BE, 2 x XFX GTS250, WD 250GB, F2-8500CL5D-2GBPK, Tt TR2 600W, XP Pro SP3 |
|
| Back to top |
|
 |
jedihobbit
Rated XXX

Joined: 22 Mar 2007
Posts: 238
Location: Central Virginia, USA
|
 Posted: Thu, 18 Jun 2009 19:05:58 Post Subject: Posted: Thu, 18 Jun 2009 19:05:58 Post Subject: |
  |
|
04/12/09
Ran into several problems the biggest being that the sensor associated with the NB was giving some really weird readings and I thought that the senor was blown. That discussion can be found at NB Temp Issue with 790GX XE / 720BE.
Also another major issue was the mosfet cooler kept falling off even after trying the new thermal tape. Re-cleaned everything and tried another piece of thermal tape and this time I decided to leave the system lying on the mobo side of the case in hopes the thermal tape would āsetā.
However when I decided to reseat the NB cooler I decided to work on this issue as well. Went with the āquick and dirtyā jerry rig on thisā¦.used a piece of wire wrap that was lying around. Just hope it doesnāt get so hot as to melt the plastic coating!!
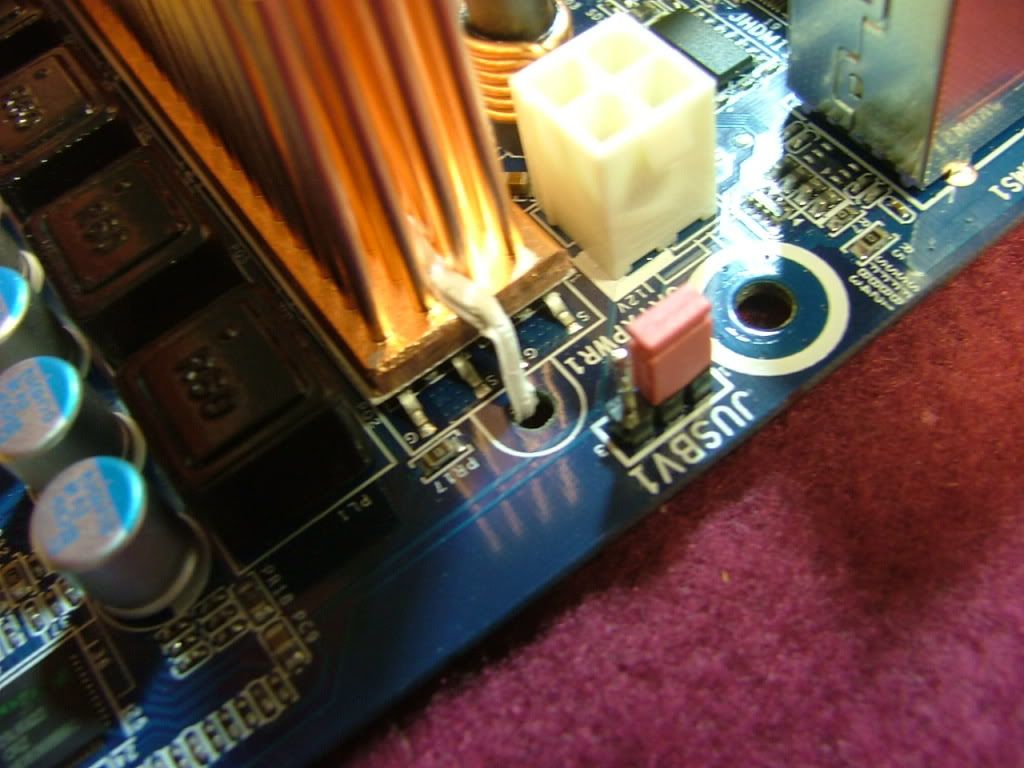 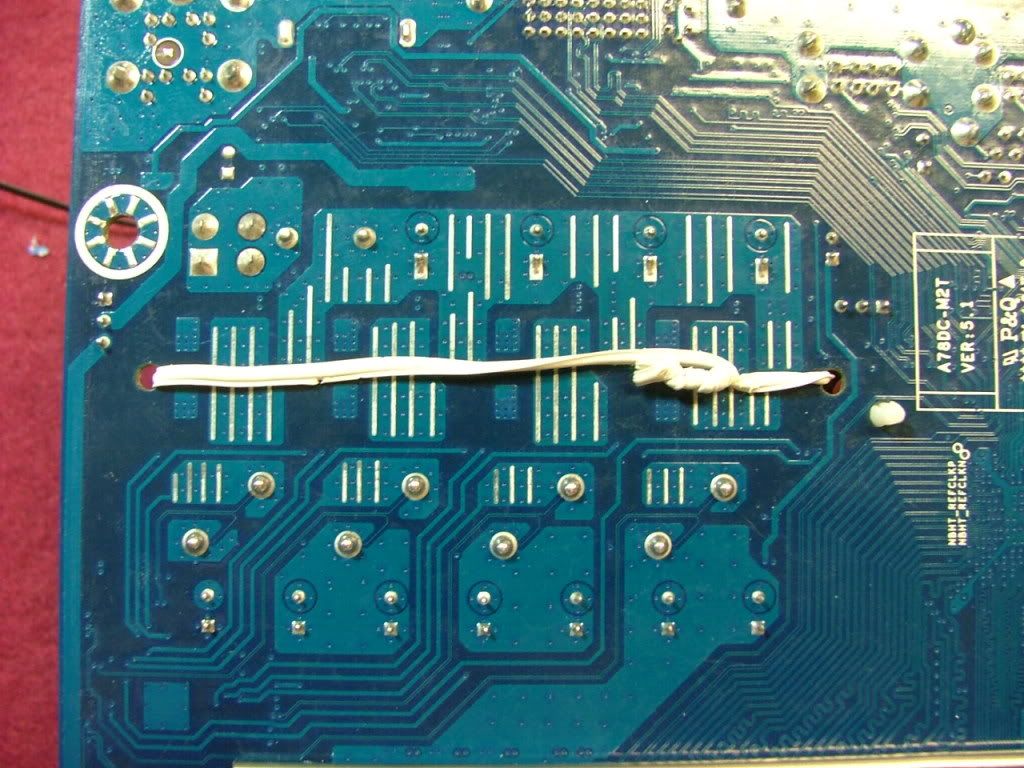
The tape seems to be holding so figure with this to kind of āhold it in placeā I should be okay. Well 6 hours later it is still āstuckā to the mosfets, the other times it fell off in 15 ā 30 minutes.
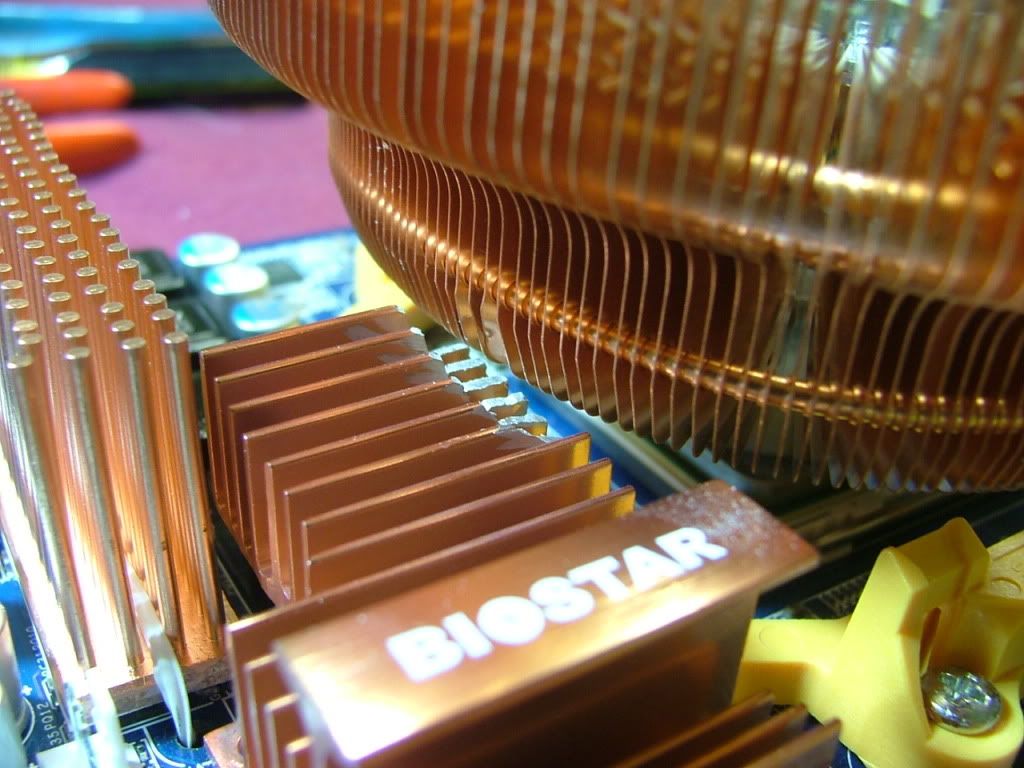
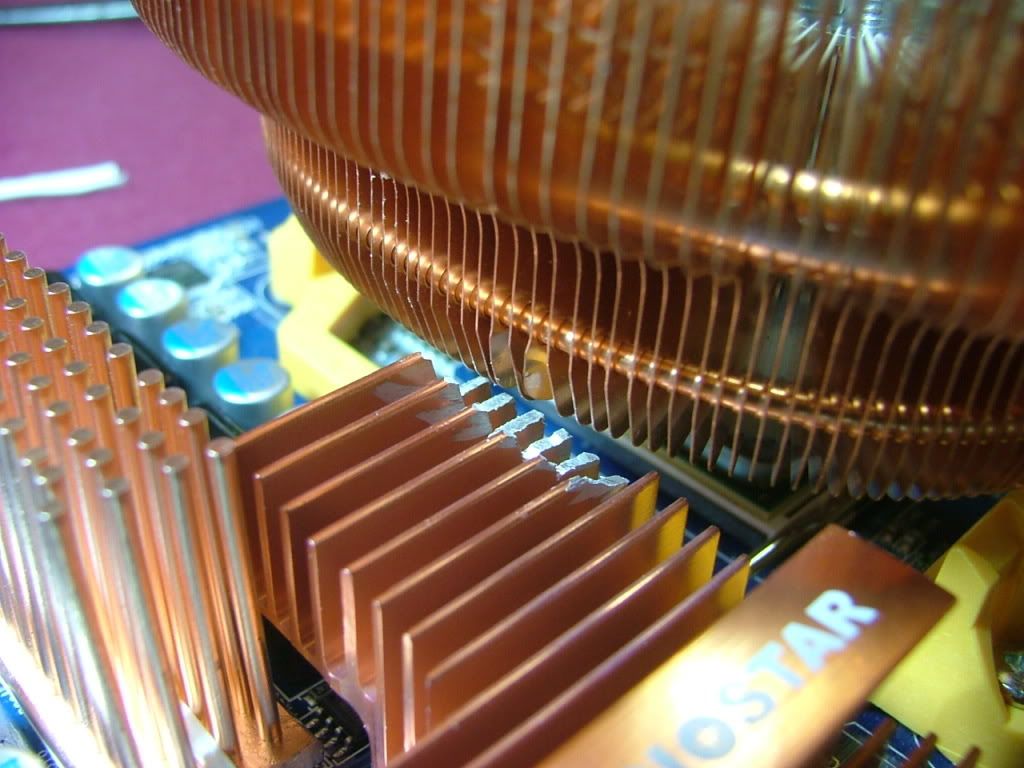
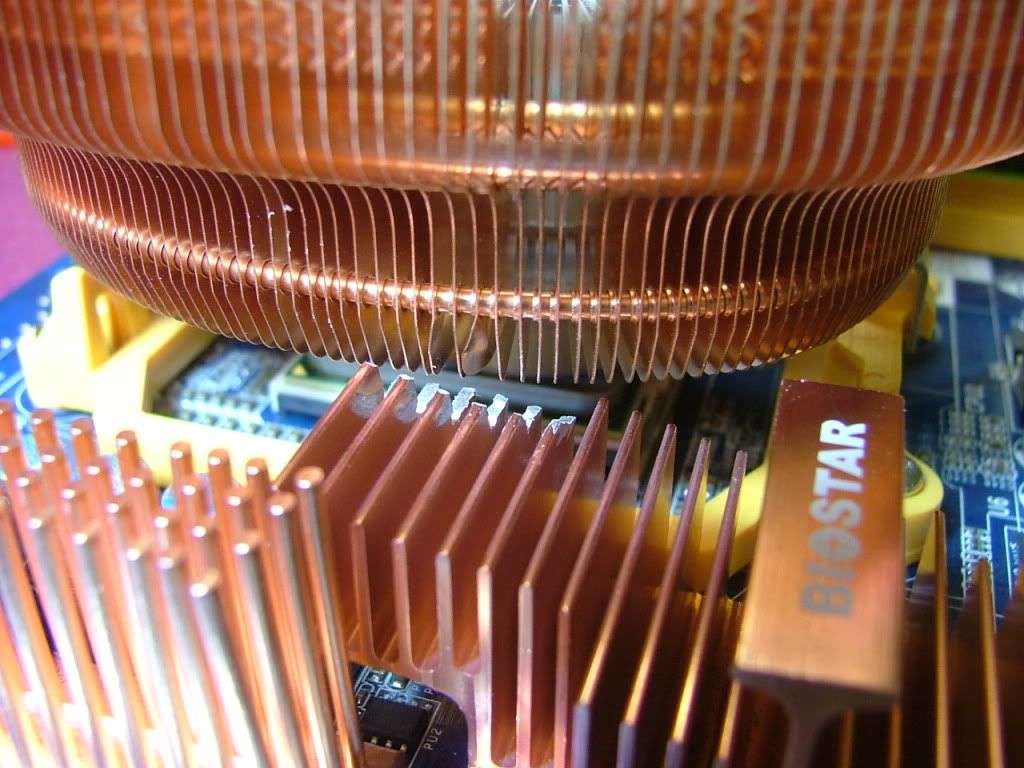
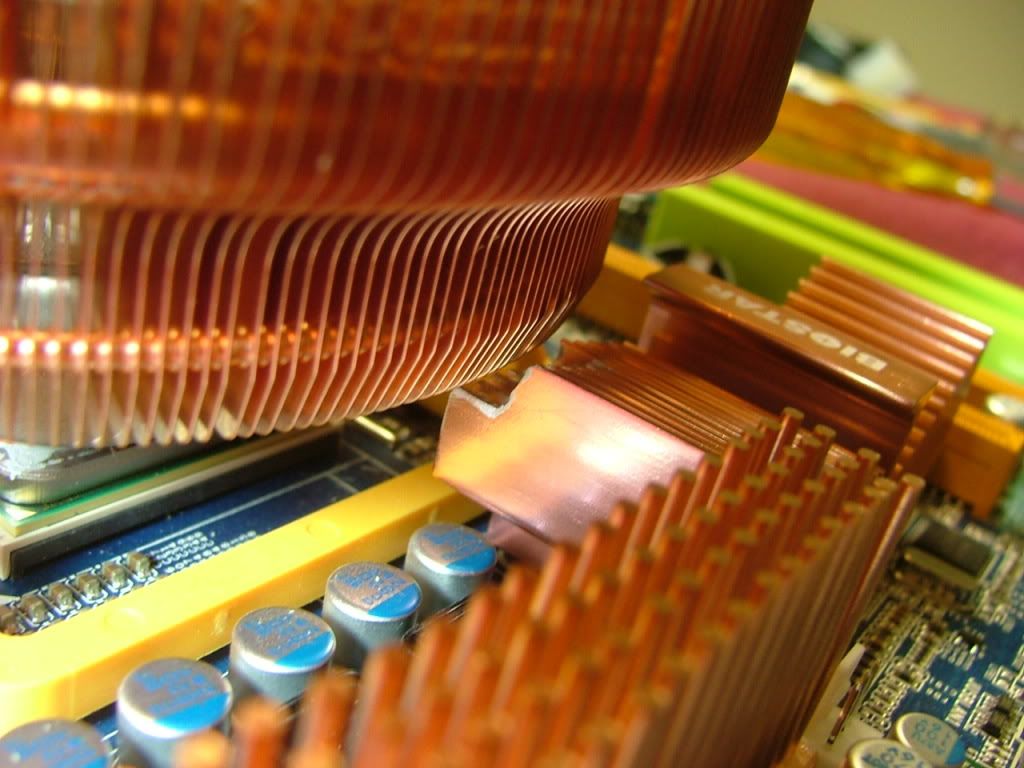
As I mentioned in the other thread it appears the HSF and NB cooler hit each other. So out came the dremel and I notch the fins on the NB cooler, and was disappointed to learn that it is aluminum that has been anodized copper. The next series of pics will show what it looks like in place from several directions. In some of the pictures you can see where the fins on the 8700 were bent.
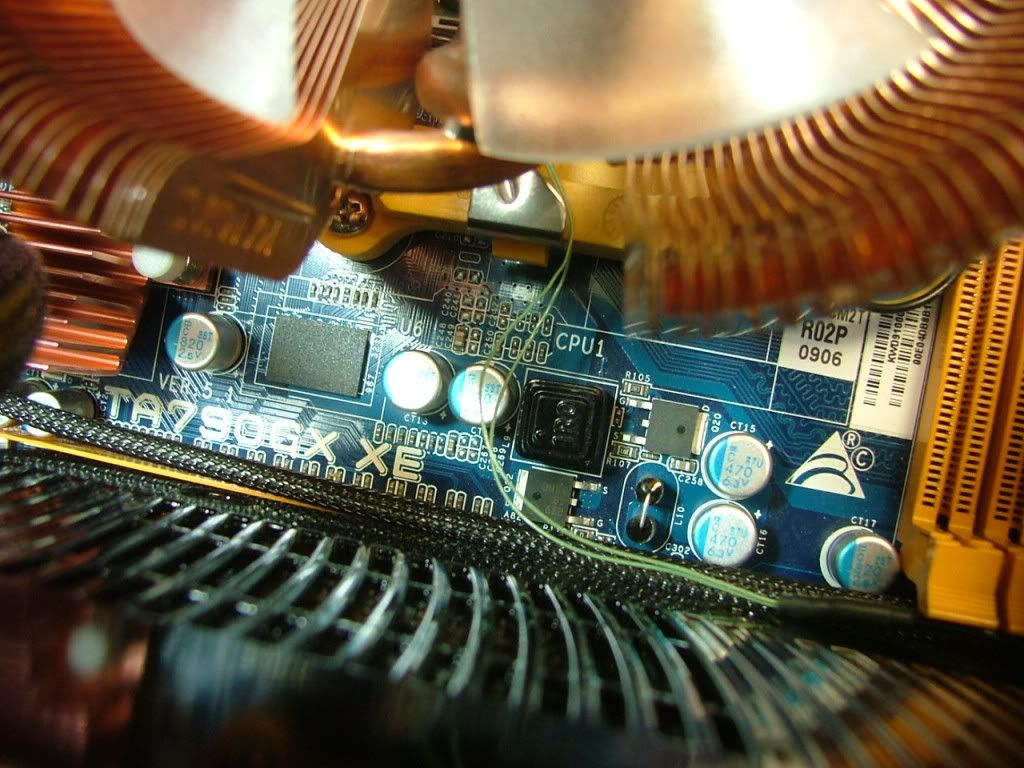
Another āproblemā I needed to address was the fact the 120mm Tt Smart Fan mounted in the top front was running at max speed and really noisy. As I had to take everything apart I decided to look into what I might be able to do about that. As it turns out I was able to hook the thermal probe up and stick it into the CNPS 8700 so that it was fairly close to the CPU. I ran several tests with OCCT and it appears to work fairly well. The fan will increase in speed by almost 500 RPM under load. Under light usage it is a quiet 1400ish RPMā¦.big difference from the 2500+ it was running! Here you see the leads
So everything is now buttoned back up and it appears I managed to resolve several issues at one time. Now to see what the best OC stable will be and figure out how to use the extra cores for folding when Iām not using it!
_________________
As of 02/01/11
DreamCatcher AM3 >> (Down Again) >> SG01 Evo, MSI 785GM-E65, PII X4 955(AQ H2O Cooled), XFX GTX285(EK H2O Cooled), Seagate 7200.10 ST380815AS 80GB, 2 x G.S. F3-12800CL7D-2GBPI, MODU82+ EMD525AWT, XP Home SP2
KestrelFlight >> (Under Construction) >> Zalman Z7+, MSI NF980-G65, PII X4 1055T, 2 x Galaxy 580GTXs, Zalman 32GB SSD, WD V'Raptor 300GB, 2 x WD 1 TB Blacks, G.S. F3-16000CL9D-4GBTD, Zalman ZM1000-HP Plus , Win7
Oz1a v2.0 >> XFX MDA72P7509 750a, PI X2 8870BE, 2 x XFX GTS250, WD 250GB, F2-8500CL5D-2GBPK, Tt TR2 600W, XP Pro SP3 |
|
| Back to top |
|
 |
jedihobbit
Rated XXX

Joined: 22 Mar 2007
Posts: 238
Location: Central Virginia, USA
|
 Posted: Sun, 07 Feb 2010 12:04:04 Post Subject: Posted: Sun, 07 Feb 2010 12:04:04 Post Subject: |
  |
|
As it turns out there is a wee bit more left before this log can be called "complete". Several things were changed.......
1. The PSU fan ended up pointed toward the side
2. Added a Silverstone FX 121 Cross Flow Fan
3. Pulled out the constent speed 120mm bottom front fan for a thermally controlled Enermax Everest 120mm
So here are some pictures that so the little changes.....
Here you can see the two thermal leads as they cross the mobo, and them you have the thermal probe for the mosfets place in the cooler.
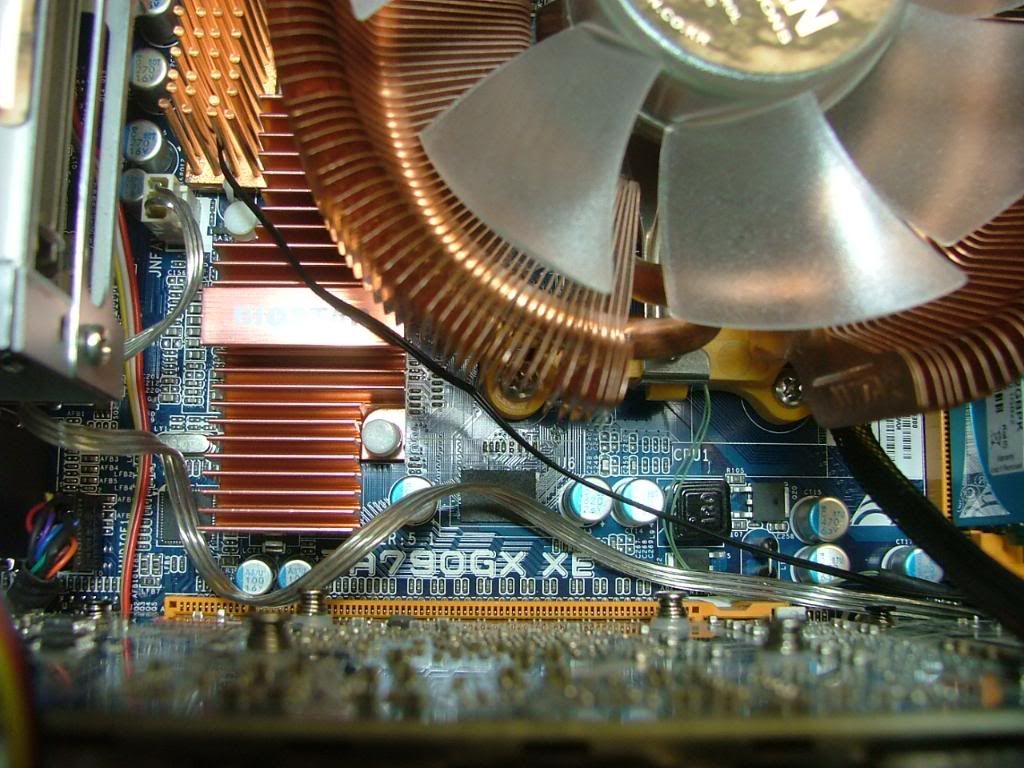 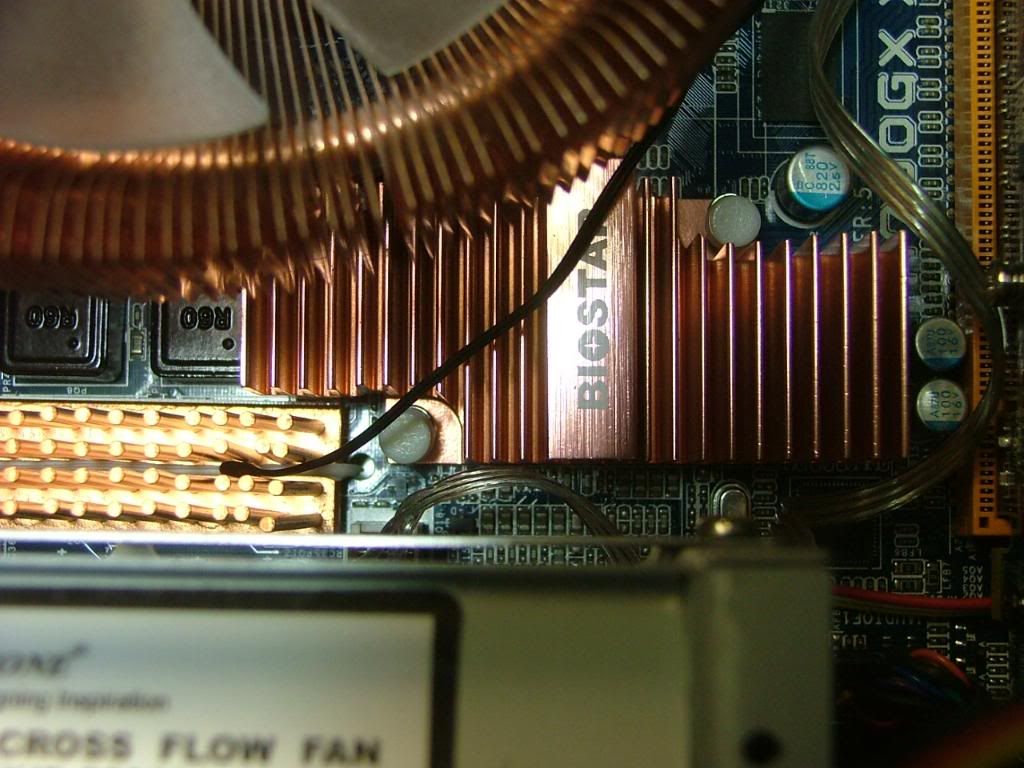
Because of reversing the PSU orientation and adding the cross flow fan that required the cable management to not be quite as clean as before.
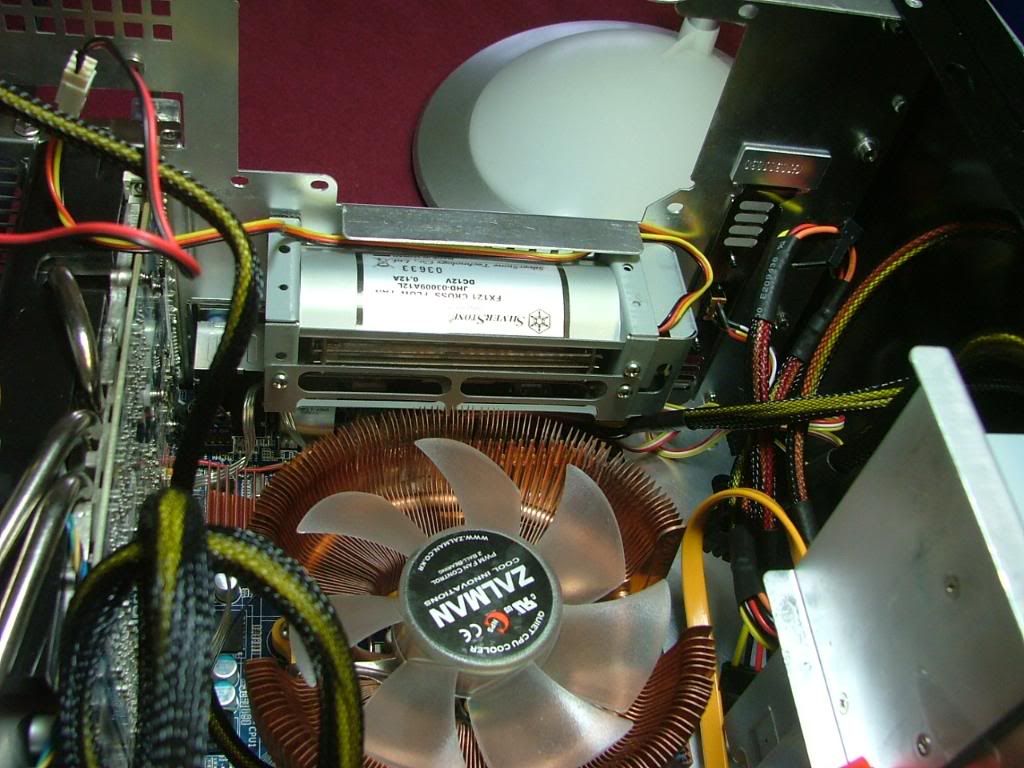 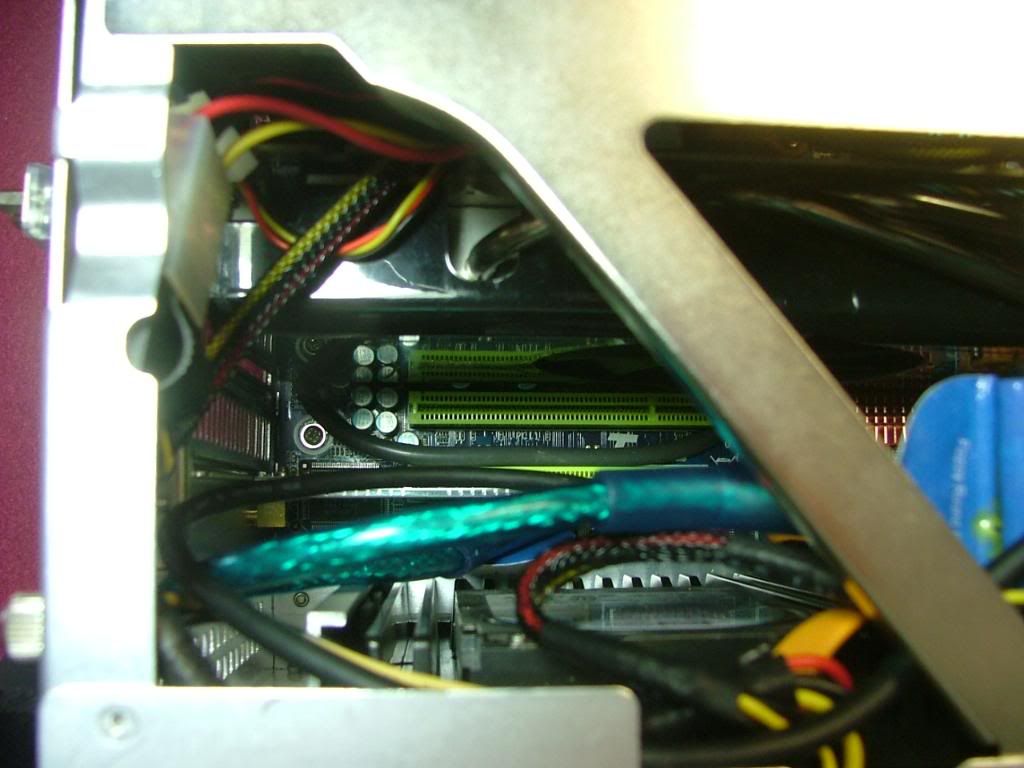 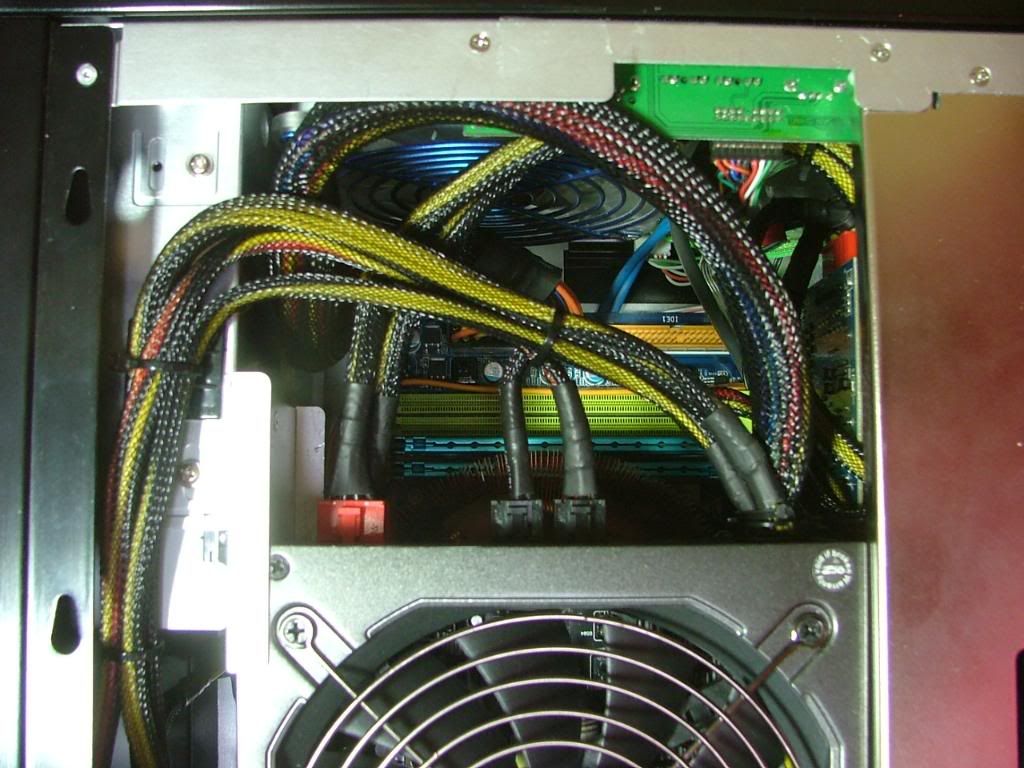 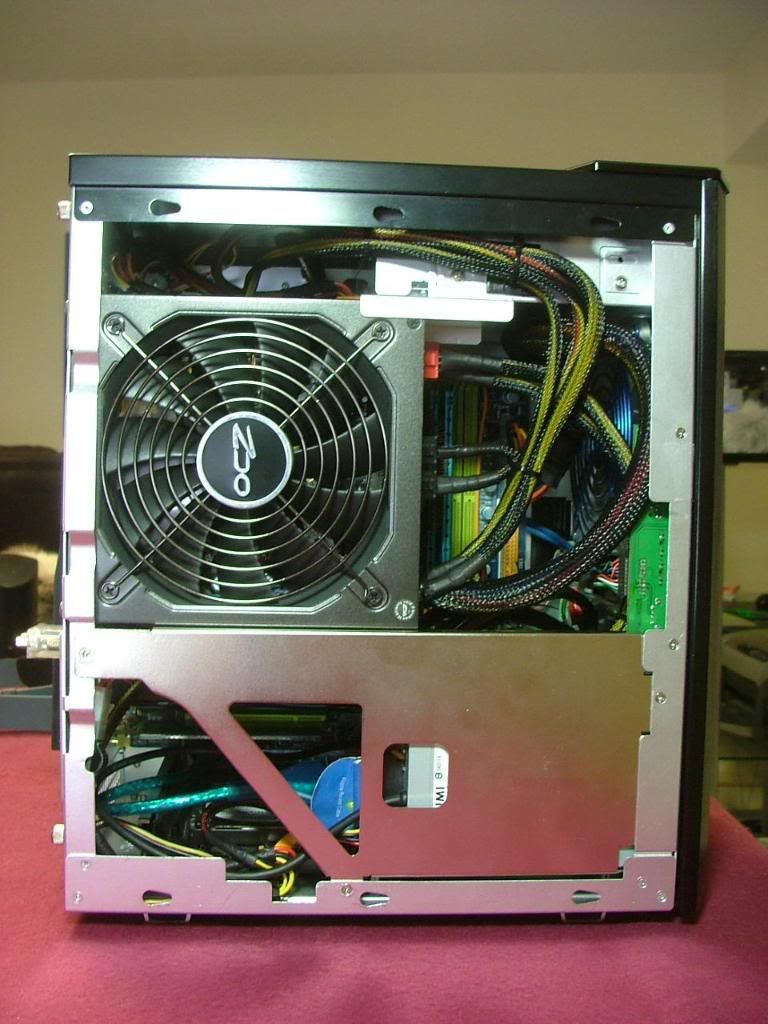
This SG03 case was not modded at all which is unusual for me. It is just that for the most part I really liked it. If I were to do a mod it would be a blow hole for a 120mm located to rear of the top.
_________________
As of 02/01/11
DreamCatcher AM3 >> (Down Again) >> SG01 Evo, MSI 785GM-E65, PII X4 955(AQ H2O Cooled), XFX GTX285(EK H2O Cooled), Seagate 7200.10 ST380815AS 80GB, 2 x G.S. F3-12800CL7D-2GBPI, MODU82+ EMD525AWT, XP Home SP2
KestrelFlight >> (Under Construction) >> Zalman Z7+, MSI NF980-G65, PII X4 1055T, 2 x Galaxy 580GTXs, Zalman 32GB SSD, WD V'Raptor 300GB, 2 x WD 1 TB Blacks, G.S. F3-16000CL9D-4GBTD, Zalman ZM1000-HP Plus , Win7
Oz1a v2.0 >> XFX MDA72P7509 750a, PI X2 8870BE, 2 x XFX GTS250, WD 250GB, F2-8500CL5D-2GBPK, Tt TR2 600W, XP Pro SP3 |
|
| Back to top |
|
 |
|
|
You cannot post new topics in this forum
You cannot reply to topics in this forum
You cannot edit your posts in this forum
You cannot delete your posts in this forum
You cannot vote in polls in this forum
You cannot attach files in this forum
You cannot download files in this forum
|
|