jedihobbit
Rated XXX

|
 Posted: Thu, 18 Jun 2009 18:51:43 Post Subject: YsSMN v3.0 Worklog.....The Last Version! Posted: Thu, 18 Jun 2009 18:51:43 Post Subject: YsSMN v3.0 Worklog.....The Last Version! |
 |
|
Trying to bring everything up to date on my builds so will start with YsSMN v3.0. I've tried to give a date line to show the progression. And yes this is the final build as I've gotten a wee bit tired of building and now what to get on to gaming and other stuff!   
03/17/09
Iâve muddled through all this and have tried to figure out how to ânameâ my computers. With the recent wild hairs, associated purchases, and parts swap a rounds several things happened including an almost from scratch build. The total ânew buildâ was going to get a new name, but then Iâd loose oneâ¦..YodaâsSizeMattersNot a.k.a. YsSMN. As this is another mATX build and will have the âbiggestâ new stuff decided to just do another one of my revisionsâ¦â¦..so YsSMN v3.0 it will be! The major âup-in-the-airâ component is the PSU as I have three new ones to distribute between the three ârebuildsâ YsSMN v3.0 is now part of.
CASE: Silverstone SG03
PSU: OCZ OCZ00MXSP (600W)
MOBO: Biostar 790GX XE
CPU: PII X3 720 BE
HSF: Zalman CNPS7500-CU
GPU: Sapphire 4870 1GB
MEMORY: F2-8500CL5D-2GBPK (2 x 1024)
HDD: WD Raptor X, 150 Gigs
Optical Drive 1: TBD
Originally the CPU was to be a PI X3 8750BE but that is going over to Kermit which is going on âdroids for its rebuild. Now have a PII X3 720 BE in the mail for here. Otherwise this is at least 3 of the 4 major parts!

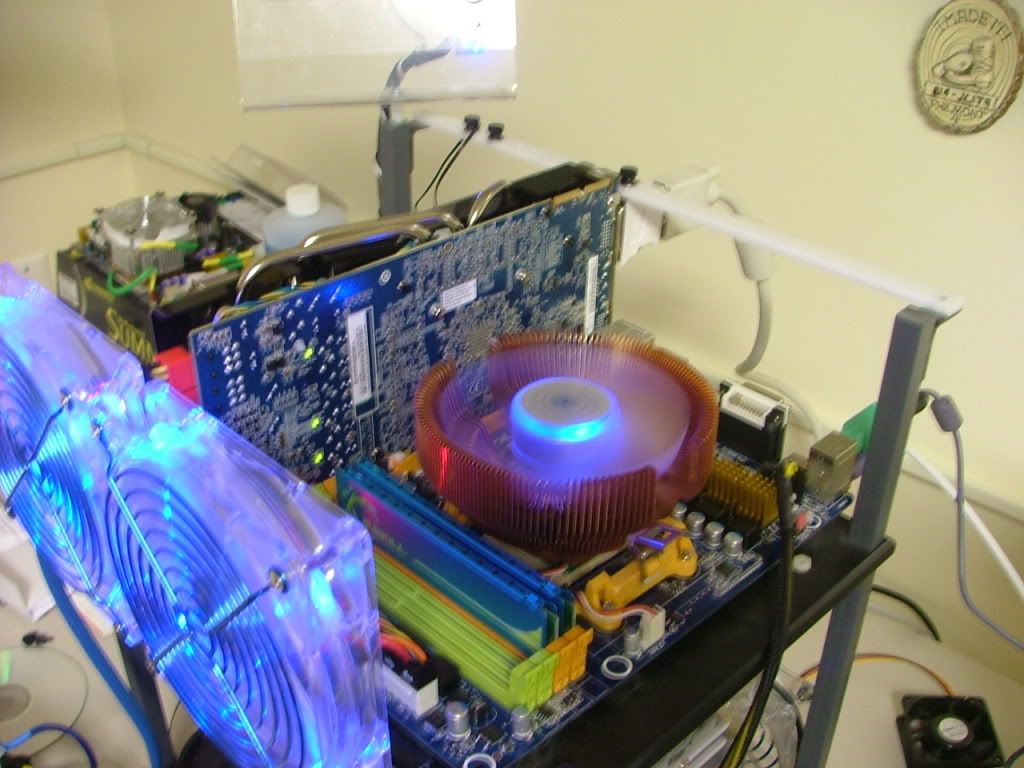
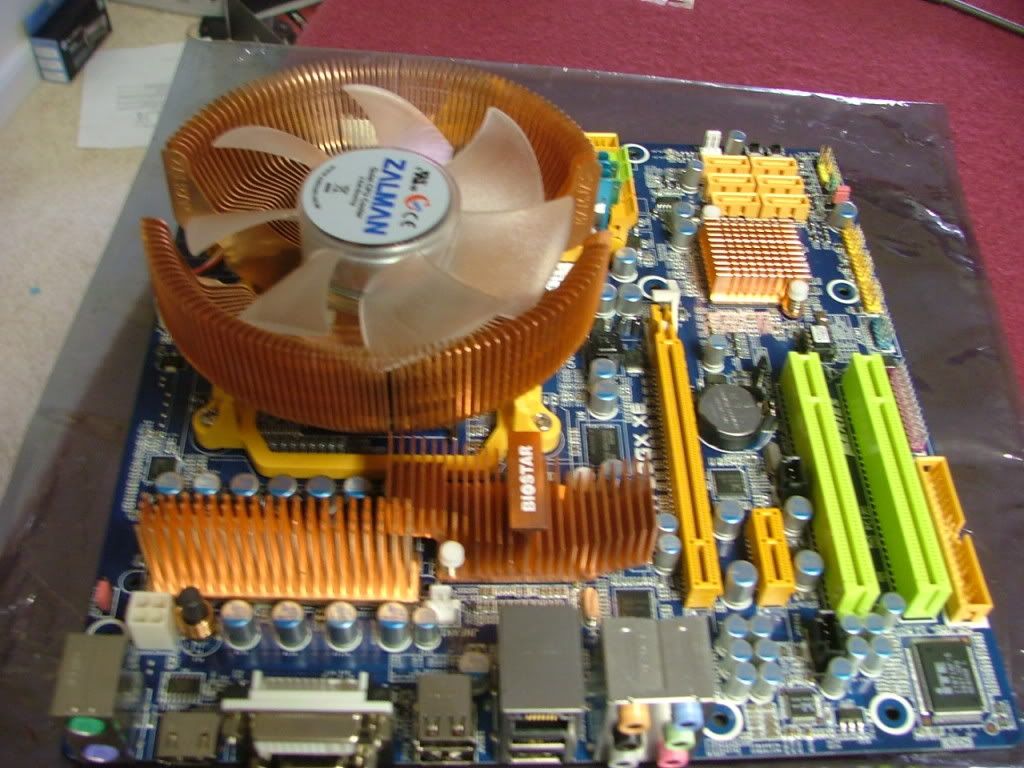
Here is the mobo / gpu / hsf that are going to be used on the Tech Station while working on the oc for the 8750BE.
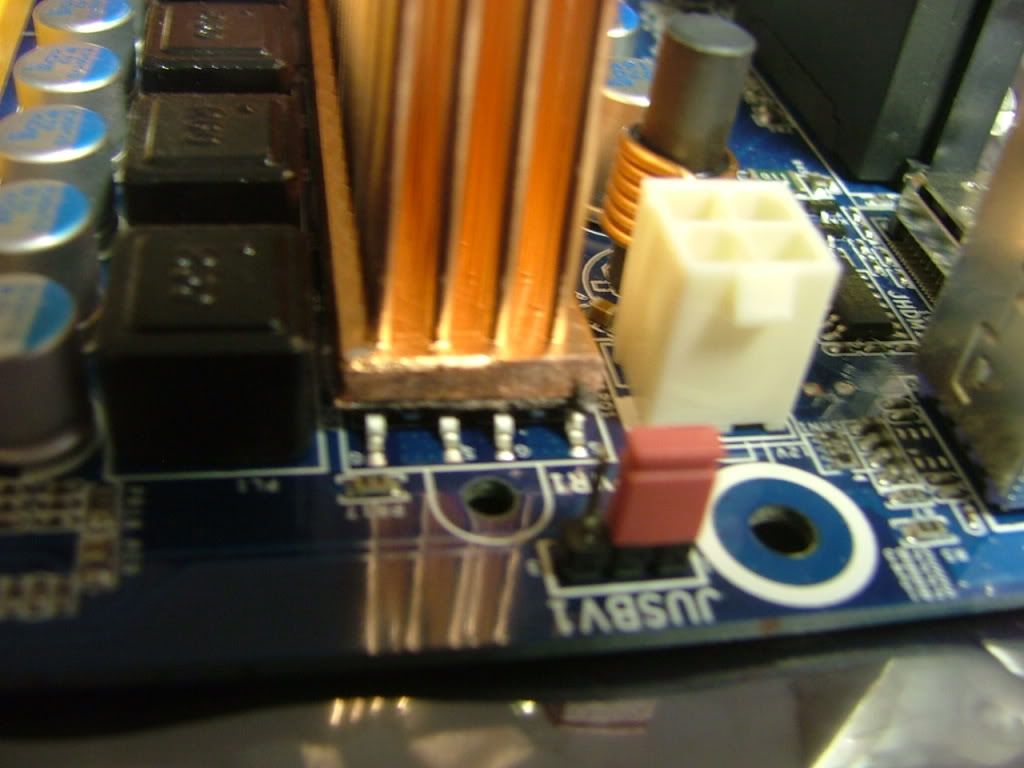
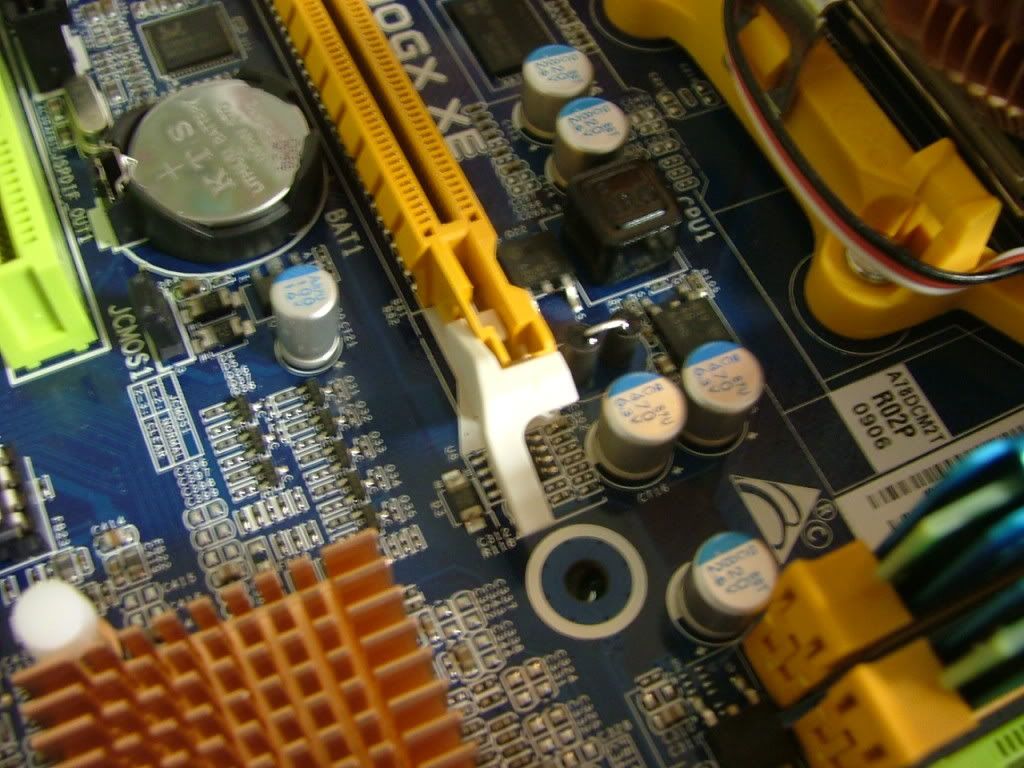
Right off the bat with having to reset cmos quite often is Iâve learned to hate where Biostar put the jumperâ¦â¦
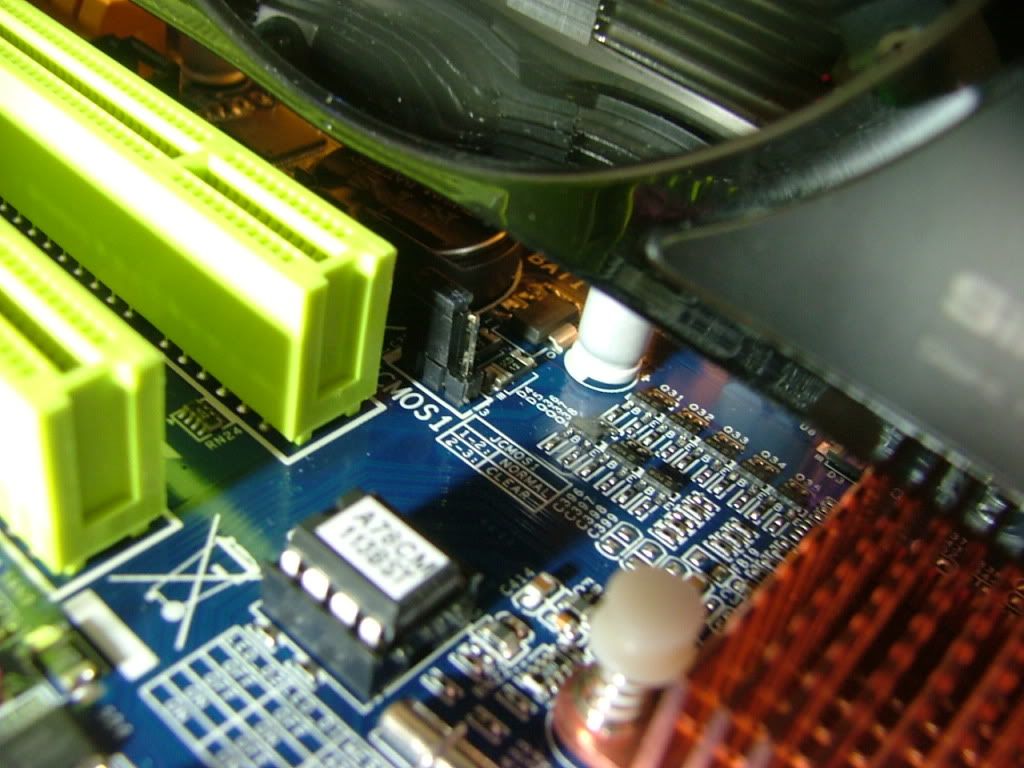
Look to the right edge of the PCI slot below the gpu cooler. Think a remote cmos reset switch will be in order, especially once all the stuff gets loaded into the SG03!
And the last are just some general shots showing what appear to be diagnostic leds on the back of the 4870 and the temp heat sinks mounted on the mobo mosfets while over clocking. Iâve got something âin the mailâ to replace those if I can re-engineer the mounting.
BTW there shouldnât be anymore revisions for a while as I may not survive when the wife sees the equity bill from all the goodies purchased in the last month!
So now it is up to the egg and UPS as to when I get going here.
03/24/09
Okay have had the 720 BE for a while and while Iâve managed so S & G types of overclocks it looks like it will be settling into the 3.60 â 3.65GHz range when it is installed into the case. Also will use the OCZ OCZ00MXSP 600W as it has the shortest cables.
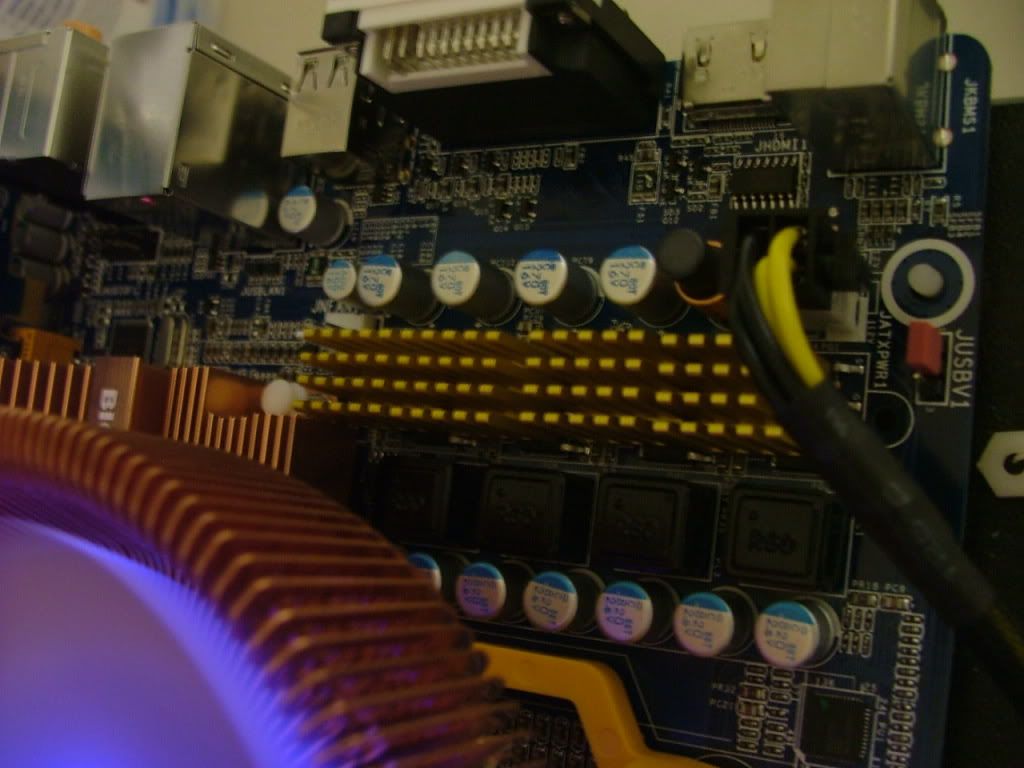
One of the small mods I did to start out was to cool the VR mosfets. As I couldnât originally come up with an off the shelf cooler, I used several small aluminum coolers that I had left over from some other build. Each block would cover three of the mosfetsâ¦you can see them mounted above. I had ordered
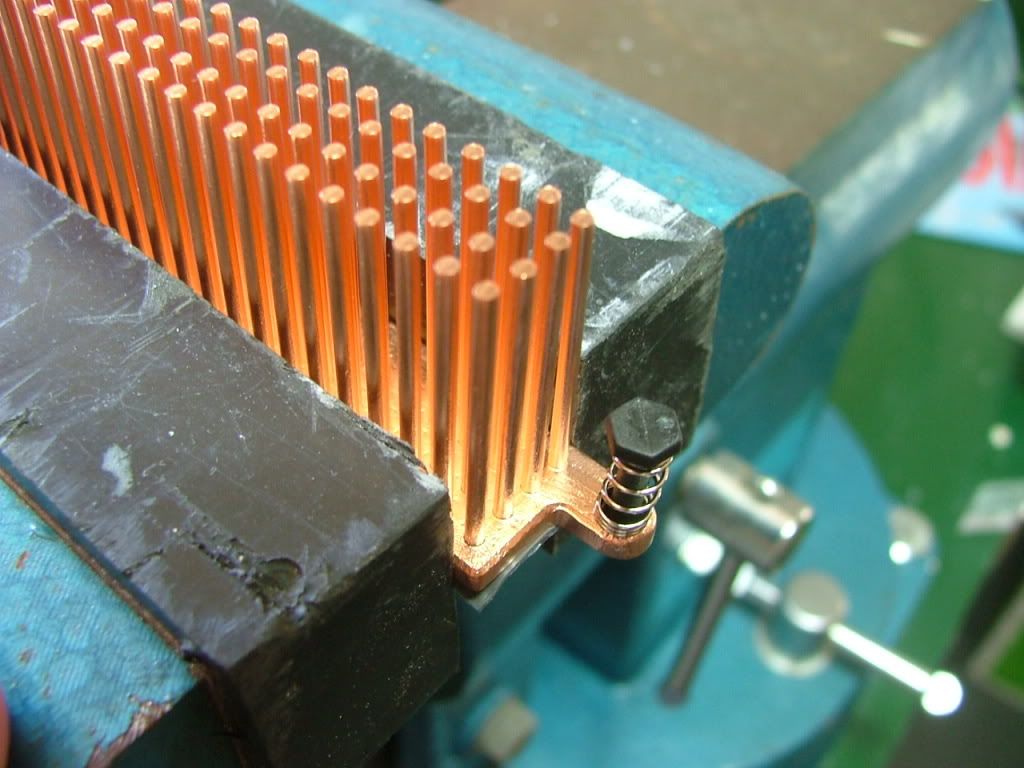
[url=http://www.sidewindercomputers.com/enmsfocomohe.html]Enzotech MST-81[/url knowing the mounting pins would not fit, but the âbodyâ was the right size. When the sink came in I confirmed the base would cover all of the mosfets so off to the vise and to grab the hacksaw.
 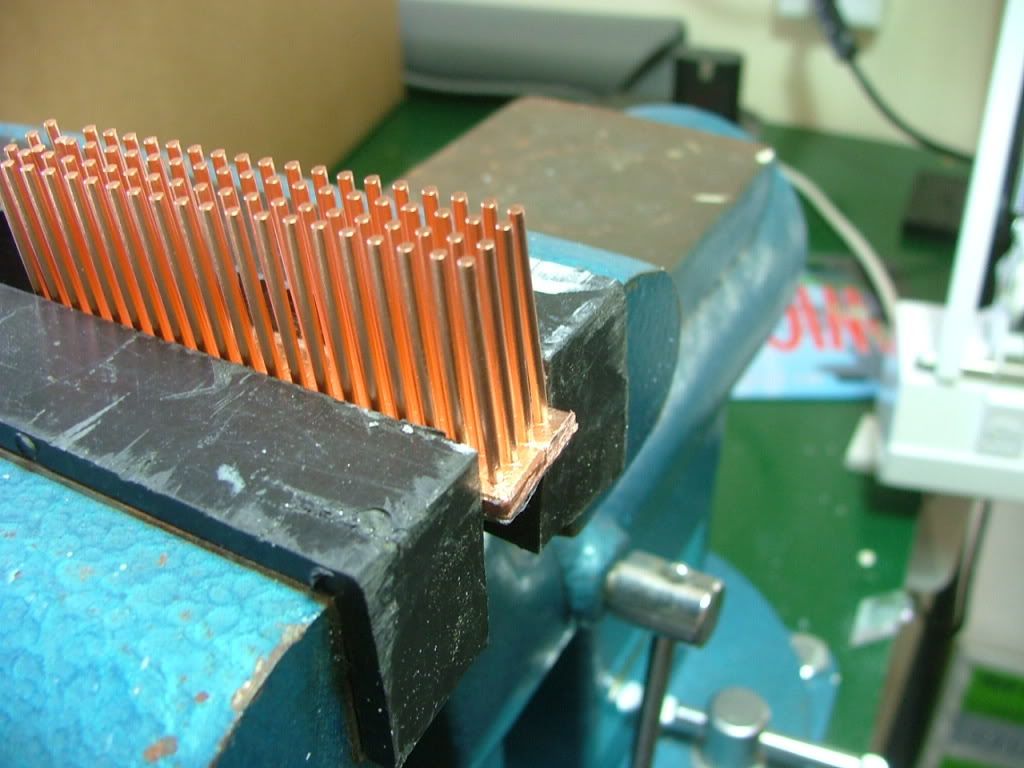 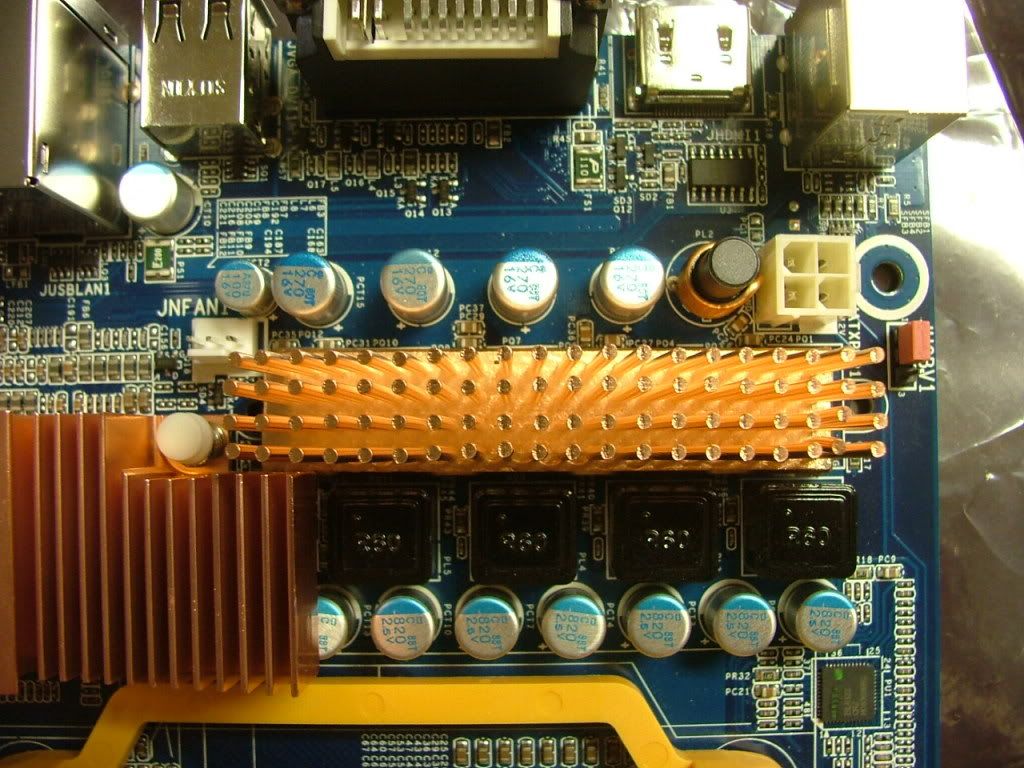 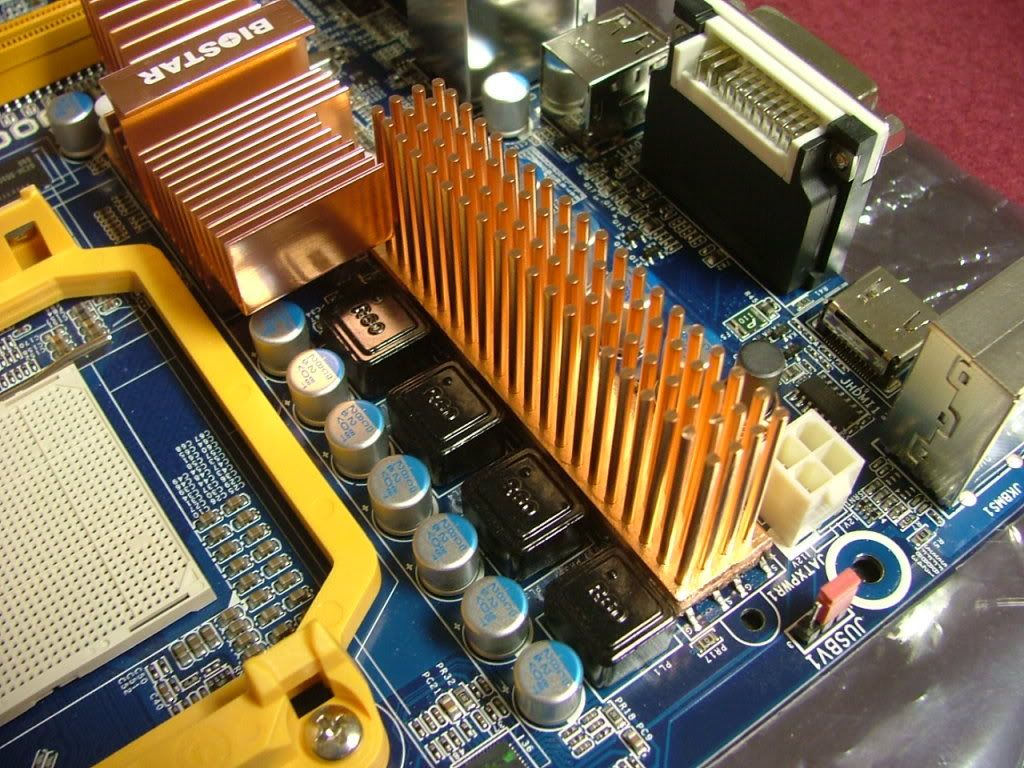 
The copper sink goes right along with the NB, SB, and CPU coolers!
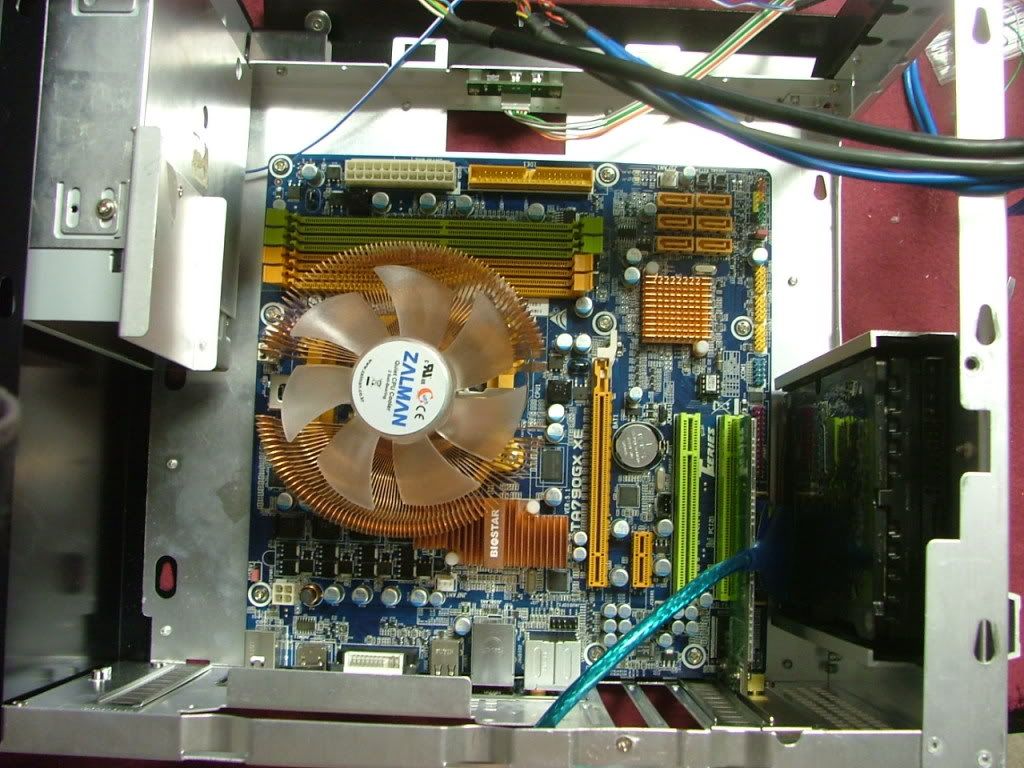
As mentioned earlier in working with the Biostar TA790GX XE on the tech station, there are a couple of things that Iâve found rather irritating. The location of the CMOS jumper (as mentioned above), CMOS battery, and the orientation of the GPU release lever for me is a real pain! All three end up under the cooler of a two slot cooling solution! In the first picture you can see where they are without the GPU in place. As a repeat look to the left middle of the picture just behind the PCI slot and under the GPU cooler is the CMOS reset jumper!
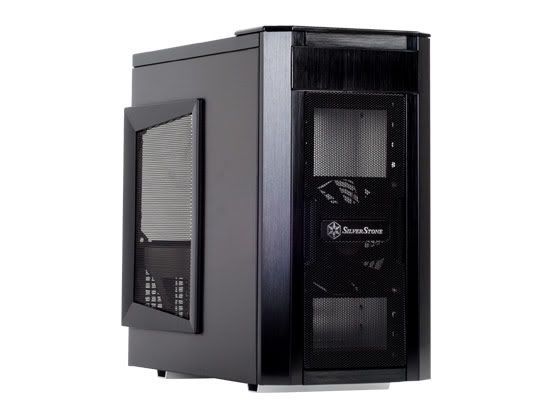
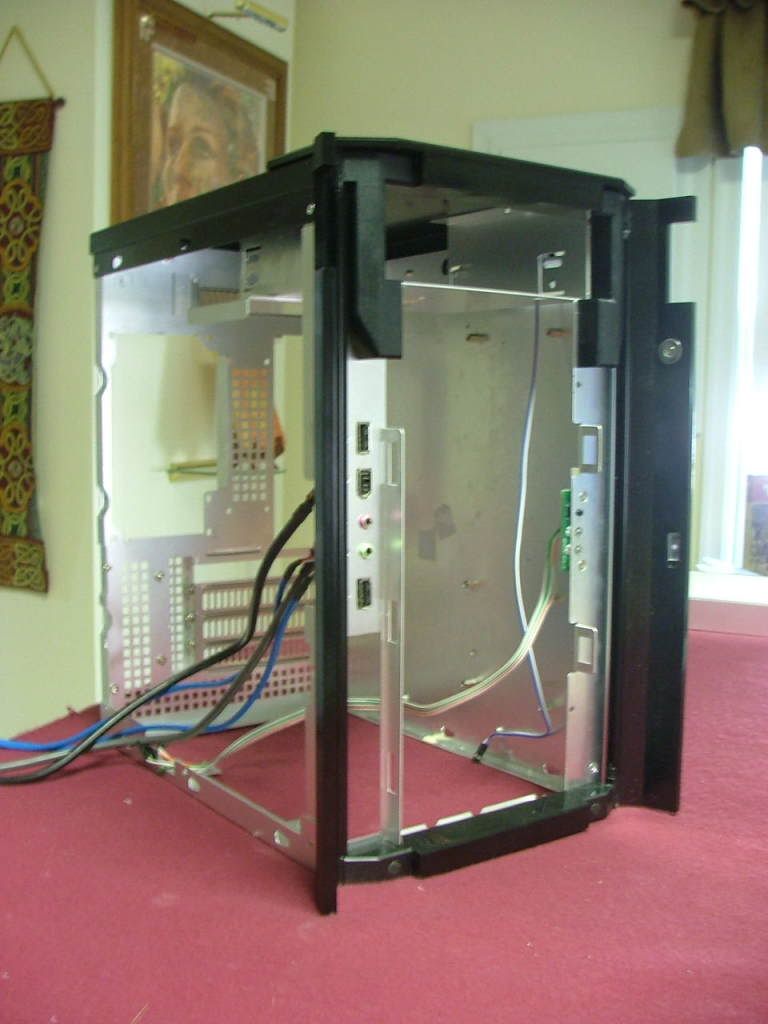
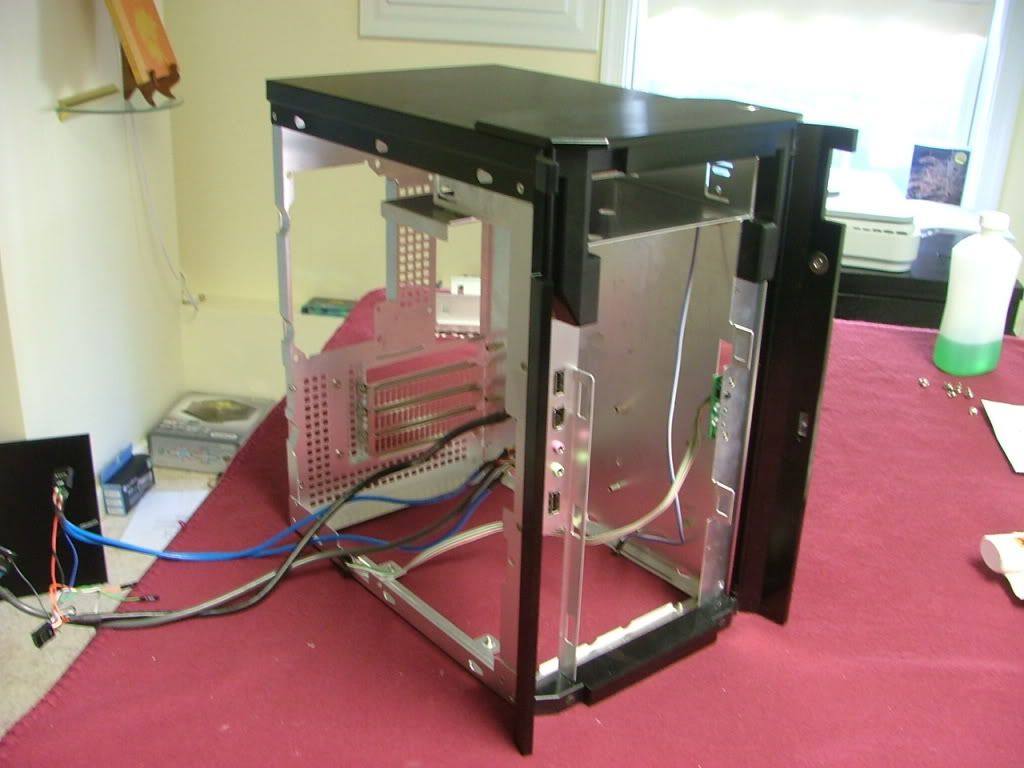
Other than that will hold off anymore whining until it is together. For those of you who may not be familiar with the Silverstone SG03 case (or the SG01 for that matter) it has one major character trait that one has to get used to. You have to almost totally disassemble the case to mount anything. Luckily for me the BluHaz series of builds has gotten me used to that. We have a stock photo of it together and then here it is necked with everything removed to start placing stuff.
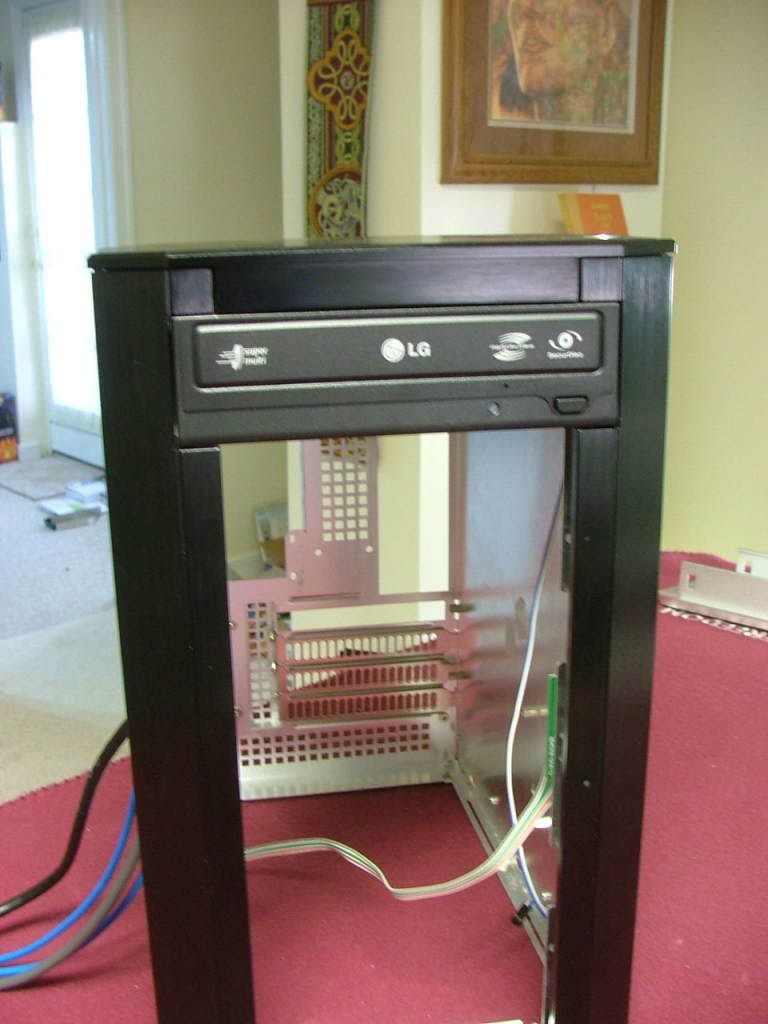
The first thing to go in is the optical drive in the one and only external 5.25â bay.
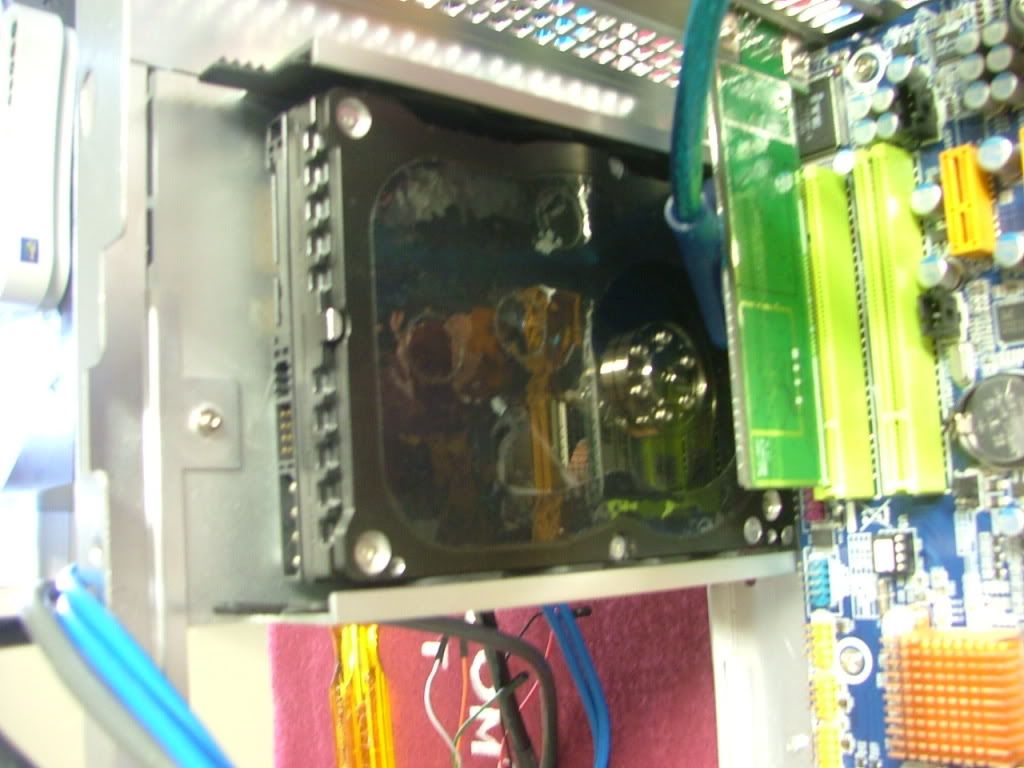
Next in goes the motherboard assembly and the Raptor X hdd. You may notice the mosfet hs is missingâ¦â¦it seems that what I thought was thermal tape ended up being just a thermal pad. When I lifted it off the tech station where the mobo is flat, it fell off! Waiting for some thermal tape to arrive compliments of undersea over at pcper.
_________________
As of 02/01/11
DreamCatcher AM3 >> (Down Again) >> SG01 Evo, MSI 785GM-E65, PII X4 955(AQ H2O Cooled), XFX GTX285(EK H2O Cooled), Seagate 7200.10 ST380815AS 80GB, 2 x G.S. F3-12800CL7D-2GBPI, MODU82+ EMD525AWT, XP Home SP2
KestrelFlight >> (Under Construction) >> Zalman Z7+, MSI NF980-G65, PII X4 1055T, 2 x Galaxy 580GTXs, Zalman 32GB SSD, WD V'Raptor 300GB, 2 x WD 1 TB Blacks, G.S. F3-16000CL9D-4GBTD, Zalman ZM1000-HP Plus , Win7
Oz1a v2.0 >> XFX MDA72P7509 750a, PI X2 8870BE, 2 x XFX GTS250, WD 250GB, F2-8500CL5D-2GBPK, Tt TR2 600W, XP Pro SP3 |
|