Setup:
The Piper came home with me from that media showcase event, and I told my son about it the next day. I was looking for a window where we could have a few hours straight to start work on it together, and my son reminded me every day that we needed to start it. He was extremely enthused to start this, and that alone was very fun for me. At nine years old I am saddened that he has lost the excitement for LEGOs, and if allowed, he would spend far too much time on video games or watching TV. I was hoping it would get him into building things again, with a bit of screen time, and maybe lead to interest in other similar projects.


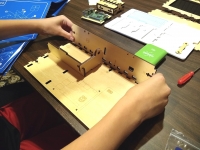
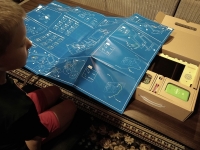
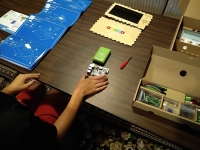
My son started out by laying out the eight square foot blueprint and then checking out all of the parts in the box. The larger parts are all marked with a number, and the hardware is all in baggies with labels, too. All of the steps on the blueprint are well laid out, telling you which pieces you will need and how many of each fastener you will need for each step. You work your way counterclockwise around the blueprint and slowly the computer starts to take shape. The first accomplishment was assembling the wood enclosure around the breadboard that will eventually be the keypad. While he required a hand at this early stage, as we moved on through the assembly I was less and less involved, and was really just there as a gopher - to grab the nuts and bolts he needed for the next step. And that was just fine with me.
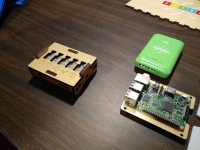
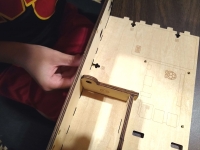
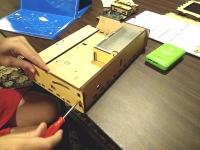
The images below provide a closer look at some of the wooden pieces with their numerical markings, and the well labeled bags of hardware. The wood pieces are all well made, precision cut, feel very sturdy, and the instructional markings are all on the inside faces so that once the project is complete, they are not visible.

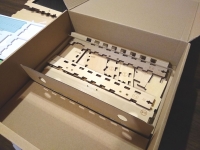
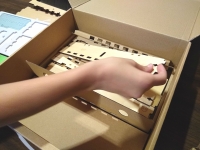
The breadboard enclosure went together without the need for any nuts and bolts, but once you start on the housing for the entire PC, it is time to get the screwdriver. Between the blueprint and printing on the components, my nine year old was able to figure most of the assembly process on his own, and the images below show him working through some of the steps.