The BIOS:
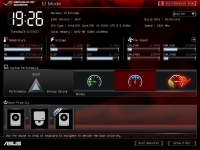
Entering the BIOS, you're sent to EZ Mode. At the top, you get critical information such as CPU clock speed, memory quantity and speed, and various voltages, temperatures, and fan speeds. In the middle of the slick looking applet are three buttons that give you three preset performance levels: Energy Saving, Normal, and Performance. The triangular icon on the left lets you know how each of those modes affect environmental variables. The bottom of the applet sets the default boot device. In order to switch from EZ Mode, click the Exit/Advanced Mode button in top righthand corner.
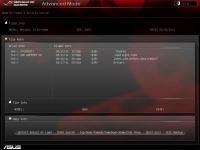
Our next image shows the status of the four PCI Express x16 slots on the Maximum IV Extreme as well as the four DIMM slots. According to the screenshot, our nVidia GTX 470 video card is running at native x16 speed and our two 4GB DIMMS are in channel 1 running at 1600MHz instead of their stock 1333MHz.

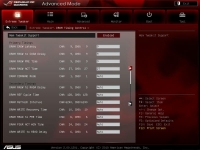
The primary and secondary timing control panel gives the enthusiast are few more options than other motherboards offer - with the ability to change much more than just the CAS and RAS timings. The tertiary DRAM timing control panel allows for a much more tweakability than your average motherboard. For most users, keep these set to AUTO makes good sense - for more advanced tweakers, the more settings, the better.
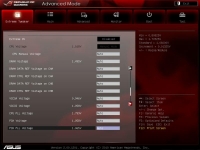
The Extreme Tweaker tab is where most of the voltage settings live. This is where the included probes will come in handy. The Extreme Tweaker tab is where all of the CPU configuration settings reside. To configure and load over clocking profiles, just click the link.
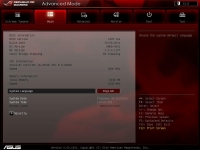
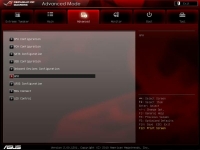
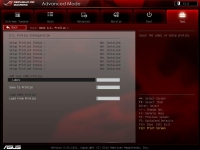
The Main tab of the advanced menu (below left image) gives you general information about the Maximus IV Extreme board including BIOS version, build date, chipset step pings and other pertinent system information. On the Advanced tab (below right image), you see all of the options available for tweaking including SATA, onboard devices and the iROG Connect feature.
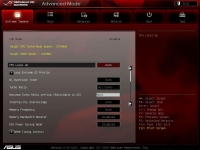
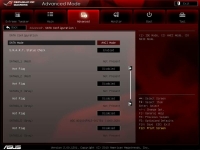
Under the SATA configuration menu, users can choose between AHCI mode or RAID mode (depending on how many disks are attached and which controller they are plugged into). This is also where S.M.A.R.T. monitoring is activated. Lastly, is a list of each of the SATA ports, corresponding colors and speeds. As you can see, all of our on-board SATA ports are hot plug capable. Even though the system says our 1TB Western Digital drive is disabled, it is indeed enabled and functioning. There was a slight glitch in the reporting of enabled/disabled ports during some of our testing.
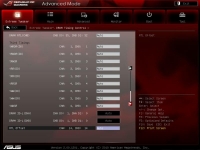
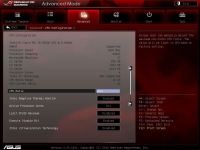
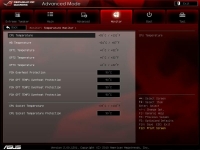
On the Advanced tab under CPU Configuration (below left image), you'll see a more detailed version of the CPU information than the EZ Mode applet gives you. This is also where the user can set the number of cores to be used and where features such as Virtualization Technology are enabled. The Monitor tab (below right image) gives you the current operating temperatures and allows the user to configure thermal threshold values to prevent damage to valuable system components.
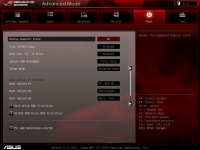
On the Boot tab of the Advanced Mode, the user can select which devices and in which order those devices will boot. There is also a boot override option on the bottom much like on the EZ Mode applet.
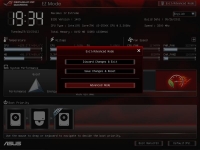
Just like any good over clocking motherboard, the ASUS Maximus IV Extreme allows the user to configure and save several different profiles that can be called up depending on the user's needs (below left image). The BIOS Flash utility (below right image) is fairly simple to use. Just pop in a USB drive, navigate to the file and hit Enter to flash the file.
Of interest with this board's BIOS is that it supports USB BIOS flash back, which provides an easy way to update/recover the BIOS without the need to have the CPU, Memory or graphics card installed... All you need is power.


