ToughArmor EX MB492SKL-B:
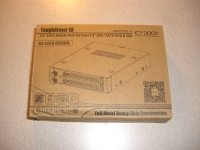
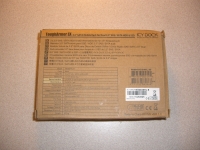
The MB492SKL-B is sold in the packaging shown below. The brown cardboard box is marginally larger than the device itself, and the various surfaces are covered in sketches and text that do well to describe the device. The far right image shows the box contents, which include the MB492SKL-B, the user manual, a bag of screws, drive bay keys, and a set of drive ID plugs. Drive ID plugs are simply plastic pegs with numbers on the end that can be pressed in to the face of the drive bays. This will let you number drives, but I really don't see the point since there are drive numbers printed on the device itself.

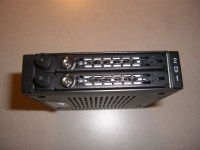
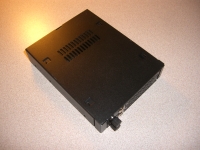
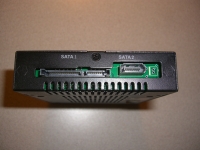
The below left image shows the front of the MB492SKL-B, where we see the two doors with thumb screws and keyed locks for securing your drives. Just to the right of the lock are fairly well hidden lights to indicate drive activity, and all the way to the far right there are printed drive numbers (as mentioned). While the whole device is passively cooled, the doors and other surfaces are fairly well perforated to allow for air flow. The center image shows a view from the top of the device, while the right hand image shows a view from the back of the housing. Here we see that you require two SATA data cable connections, but just one SATA power connection. This will help with cable management, and just makes the installation one small step easier.
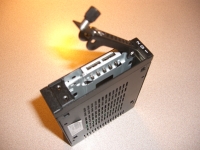
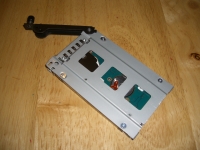
With the drive bays unlocked, you simply turn the thumbscrew to release the door from the housing. Then hinge it open and pull the entire cage out. The below right image shows a drive cage as it was shipped - with a plastic spacer on the back so that it aligns with the housing properly.

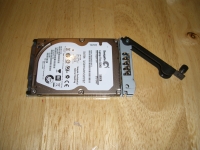
This plastic spacer is not used when a drive is installed, as shown in the two images below. Simply align the holes on the bottom of the drive with the drive cage and use four screws to secure the assembly. When that is complete, simply slide the cage back in to the housing and hinge the door shut to latch it in place and to make contact with the data and power connectors inside. The installation is not tool-free, but it is rather easy.
Overall I am impressed with the design and quality of the MB492SKL-B. It is constructed pretty much completely of metal and feels sturdy. The appearance is no nonsense, but it definitely looks goods to me.


