The Basics (continued):
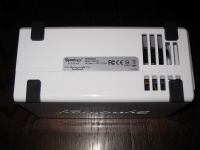
To round out the external views of the device you will find a view representative of both sides of the DS213j in the below left image. Also, for the sake of completeness we have included a picture of the bottom of the device. The bottom has ventilation slots for drive cooling and rubber feet for noise isolation.

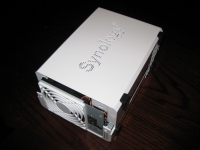
Now lets take a look at the inside guts. What does it take to swap or install a drive? Step one is to get a small phillips screwdriver which you will need to remove two screws from the back panel to allow the left side of the DS213j to slide open. These two screw locations are on either side of the ventilation fan when the DiskStation is lying on its side as shown in the picture below. A tool-less installation process would always be a welcome feature on a device like this.
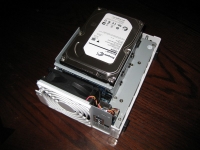
Once the cover is completely removed you will be able to access the drive bays. The drives are stacked atop each other with several millimeters of clearance in between. Four screws are used to retain each drive. This review model is fitted with two Seagate Barracuda 1TB drives (model # ST1000DM003), which you can see in the photo below.