Installation and Operation:
The system detailed below was installed in to the
Cooler Master Cosmos II:
» Intel Core i5-2500K Sandy Bridge 3.3GHz processor
» Gigabyte P67A-UD3 LGA 1155 Intel P67 Rev. B motherboard
» Kingston HyperX T1 8GB (4 x 2GB) 2133MHz DDR3 memory
» ASUS EAH6870 1GB Radeon HD6870 graphics card
» 4x 640GB Hitachi hard drives in RAID 5
» LG SATA DVDRW optical drive
» Kingwin Mach-1 1000W power supply
» Windows 7 Professional 64-Bit operating system
Overall the installation was a snap, and the only screws required were to secure the motherboard to the tray. Everything fit with ease, and from start to finish I did not spend much time at all. We'll take a look around the case with the components installed to highlight a few key elements.
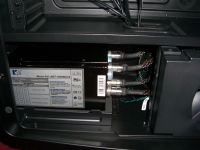
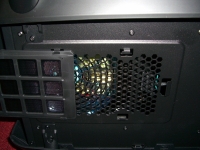
The image below shows the 1000W Kingwin power supply installed. It is a long PSU, which uses threaded fittings on the modular connections - making the whole assembly even longer. It was easy to install, and while it is difficult to reach some of the centrally located modular headers, it is not impossible. Additionally, all of the cables have room to have a smooth bend to aim them towards the back of the case for easy routing. One point on the PSU is that Cooler Master provides an 8-pin motherboard extension, which was needed for this install (the Kingwin lead fell about an inch short of reaching from the bottom of the case to the top of the board where the 8-pin header is found).
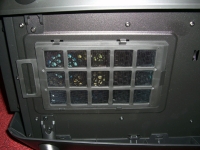
Not shown earlier is the bottom of the case where we see a removable dust screen installed in front of the PSU intake fan. It is easy to reach under and slide the screen out to remove any dust, and because it is elevated off the ground so much, you should get excellent air flow down there.
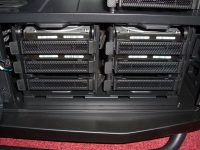
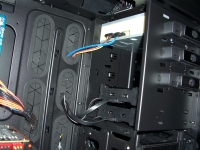
The below left image shows the four SATA drives installed in the lower set of drive trays. Installing them took less than two minutes, and once they were inserted I simply went to the other side of the case to wire them up (pictured later). The below right image shows the unused pair of 3.5" hot swap trays, as well as the DVDRW drive installed in the very top bay of the case.