Installation:
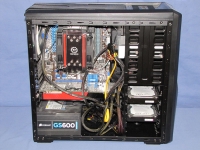
Installation was pretty straight forward, and the hardware is installed in the
Zalman Z9 Plus like most other cases. There are a few little gotchas that the user should be aware of, though.
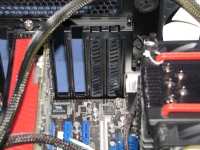
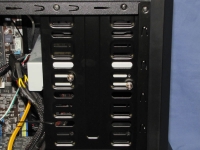
Previously mentioned was a concern about the expansion slot covers. The motherboard was installed before I noticed how the expansion slot covers were installed, and how they would come into contact with the components on the motherboard. Of course the motherboard had to be uninstalled to remove the expansion slot covers. As I frequently test add-in cards I opted to remove all the pre-installed covers. Unfortunately this leaves the unused ones open as there are no other covers provided.
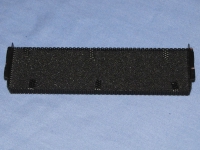
Installing an optical drive isn't difficult, however the front panel needs to be removed. Like most cases, the drive bays are covered not only by a piece of metal, but also by drive bay covers. The drive bay covers have a filter in them to provide clean, dust free air flow. Many cases are choosing to go tool-less for installing optical drives, Zalman is semi-tool-less as you need to use screws, however Zalman has included thumbscrews for this task.
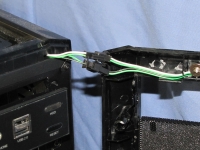
When the front panel is removed, usually it hangs there by the wires used for the front I/O ports, power switch, LEDs, and other items. Zalman took these cables and made it so they can be disconnected, which allows the front panel to be totally removed.
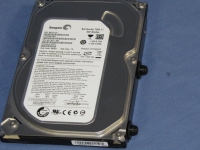
Installing hard drives is a simple task, however once again it is not totally tool-less. First you attach the anti-vibration grommets to the hard drive by screws. Then the hard drive slides into the hard drive bay. Which screw holes the anti-vibration grommets are installed in will determine which direction the hard drive should be installed; this is detailed in the manual.
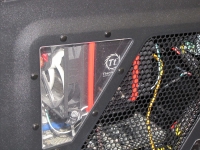
After everything was all setup and tested, a small problem was noticed. The Thermaltake Frio is a very tall CPU cooler, one of the tallest that I have tested. The Frio was right against the window on the side panel. The slightest pressure on the side panel, and the top of the Frio would move. If coolers get any taller, they will not fit in most cases.