jedihobbit
Rated XXX

|
 Posted: Wed, 16 Apr 2008 10:29:44 Post Subject: BluHz reDux Worklog Posted: Wed, 16 Apr 2008 10:29:44 Post Subject: BluHz reDux Worklog |
 |
|
 Here comes part 2 of the BHrDxv2.0 triligy.....sadly this is more proof that SpeedZone will have comptition for long windedness! Here comes part 2 of the BHrDxv2.0 triligy.....sadly this is more proof that SpeedZone will have comptition for long windedness!
It looks like BluHaz was not to be âformallyâ finished as I had fallen victim to the eBay curse again.
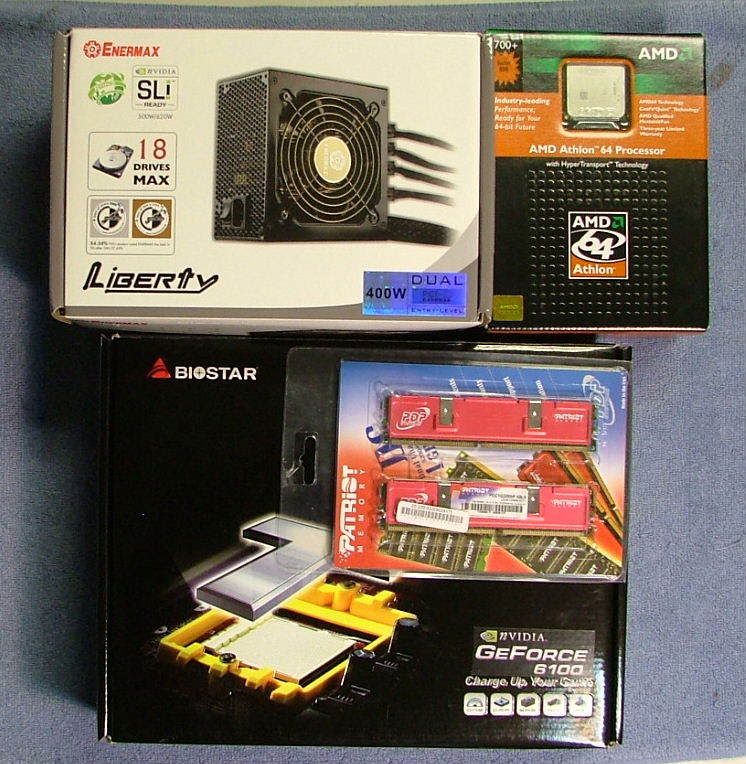
The primary changes to BluHaz to make it reDux are the new components (Bold/Italics) shown below:
CASE: akasa Blue Acrylic mATX
PSU: Enermax Liberty ELT400AWT 400W
MOBO: Biostar Tforce 6100-939
CPU: AMD A64 3700+ San Diego CCBWE 0549 WPMW
HSF: AMD Stock Opteron Cooler w/ Tt 80mm Smart Fan
GPU: On Board 6100 untilâ¦â¦..
MEMORY: Patriot PDC1G3200+ XBLK 2 x 512Mg
HDD: 80 Maxtor 80 GB DiamondMax Plus 9 w/ Cooler
Optical Drive: LG GCC 4521B DVD / CD-RW
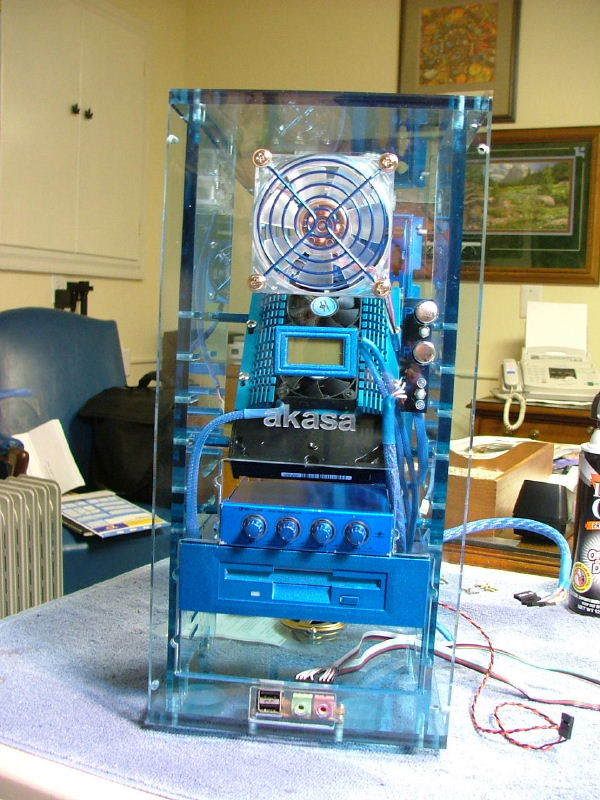
Here be the new stuff!
Also âoptedâ for the Opteron cooler (older one with the heat pipes 2 on a side) as I had heard good thing about them and I have one from Celtic Spiritâs 175 (now slated for H2O!). Ordered a Tt SmartFan2 to go on top.
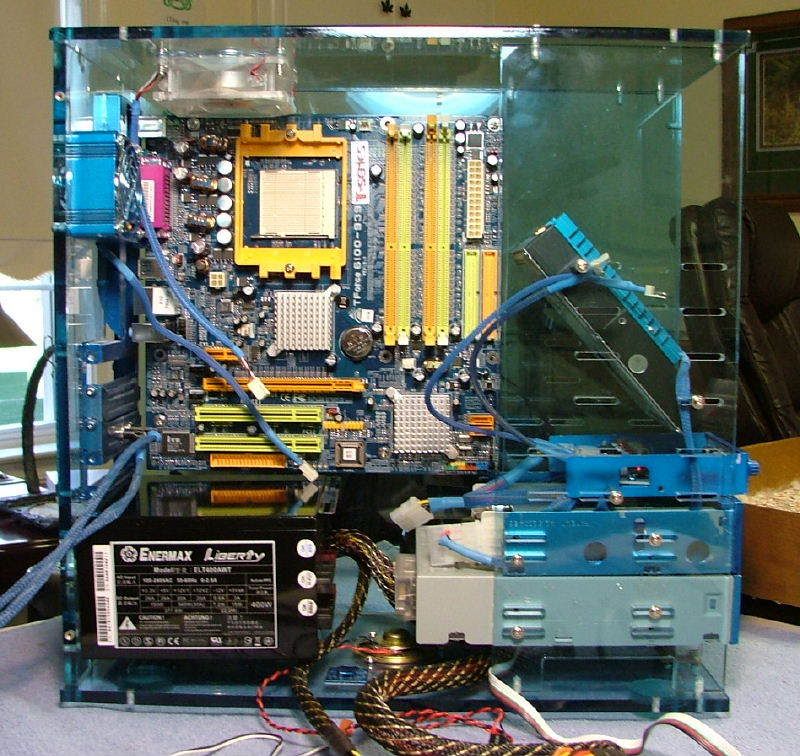
Temp mounted the mobo to the sidewall / motherboard plate of the case. Then I "dummy" mounted (no cpu) the stock cooler off of the 175. After placing the top of the case back on it looks like the 80 x 25 fan will be able to stay, as you can see here
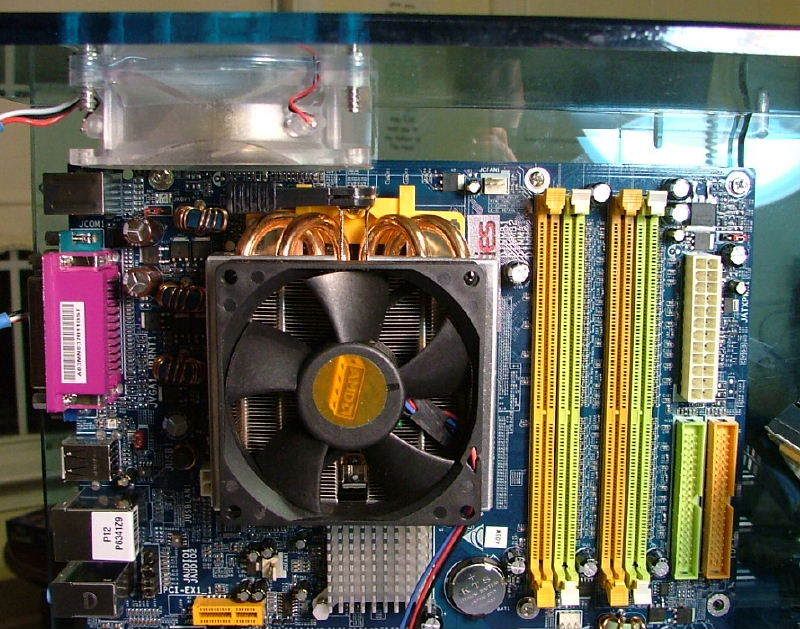 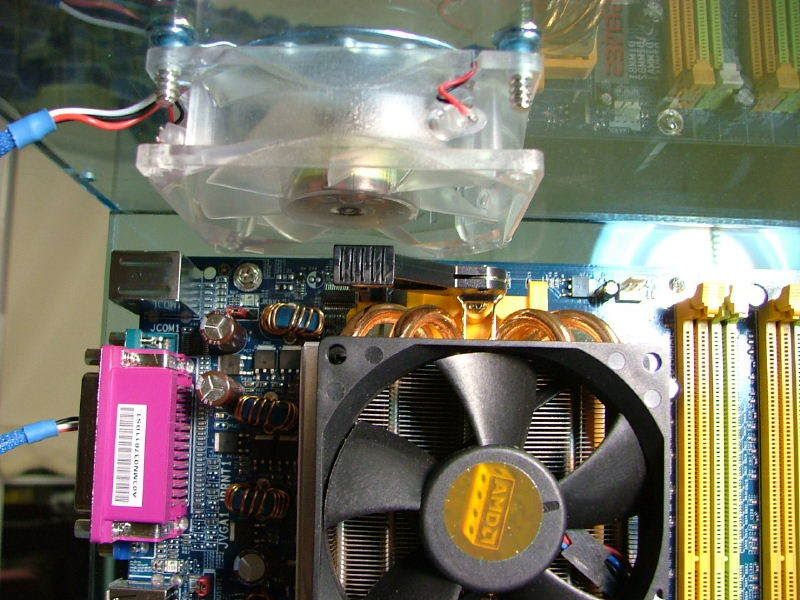
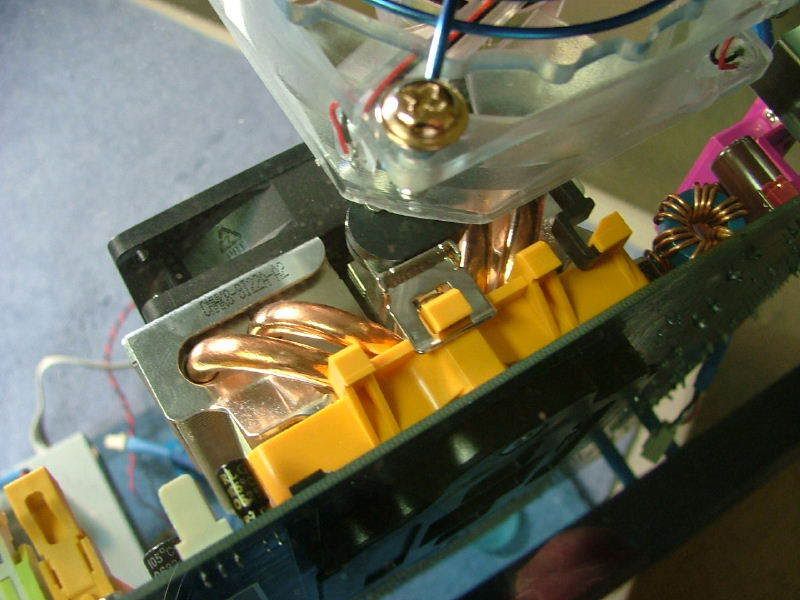
The âclipâ release on this particular hsf actually fits underneath.
Things to Be Cut
When I originally put BluHaz together I notched one of the drive side mounting plates to allow room for the âlargerâ mATX board. Unfortunately it turns out to be about 1/16â to 1/8â too âshort. So with the rework I took the opportunity to âfixâ this.
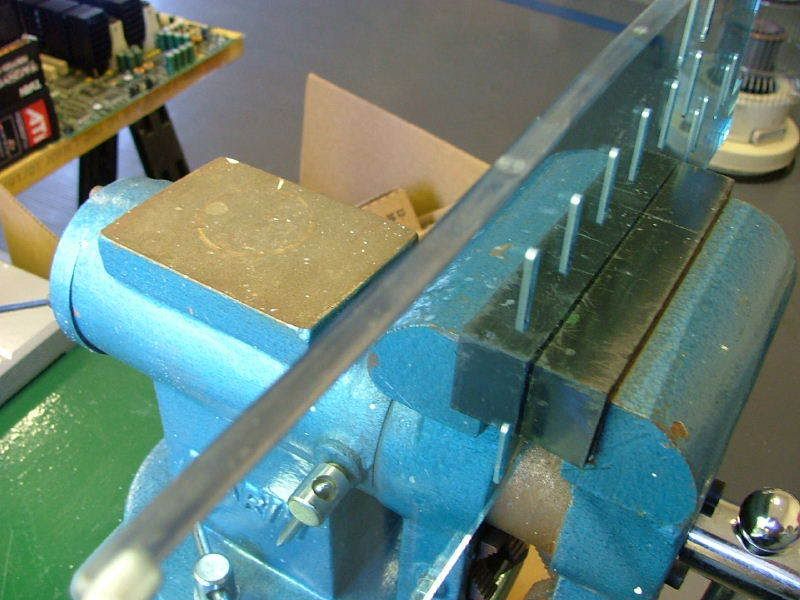
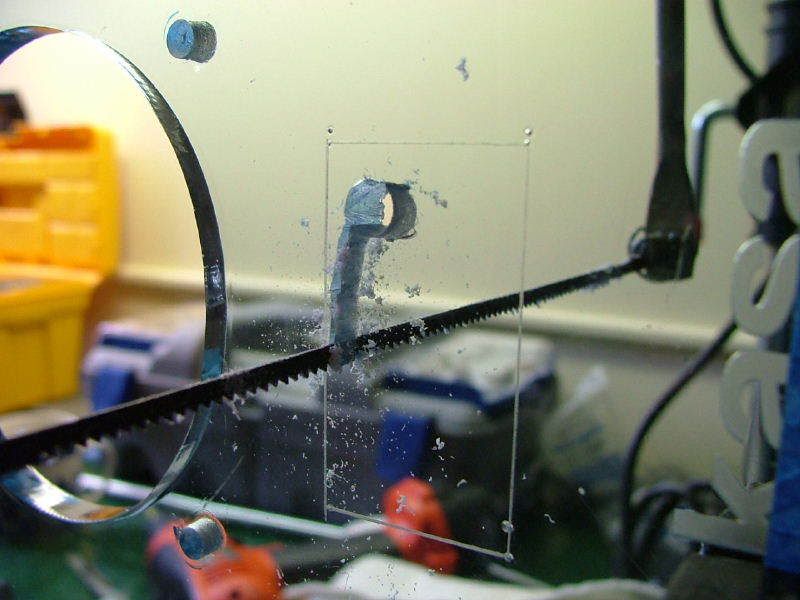
Planned on using a dremel jig saw to cut the side plate, but after a couple of âattemptsâ I went back to âold faithfulâ the coping saw. Even then it was a butcher job!
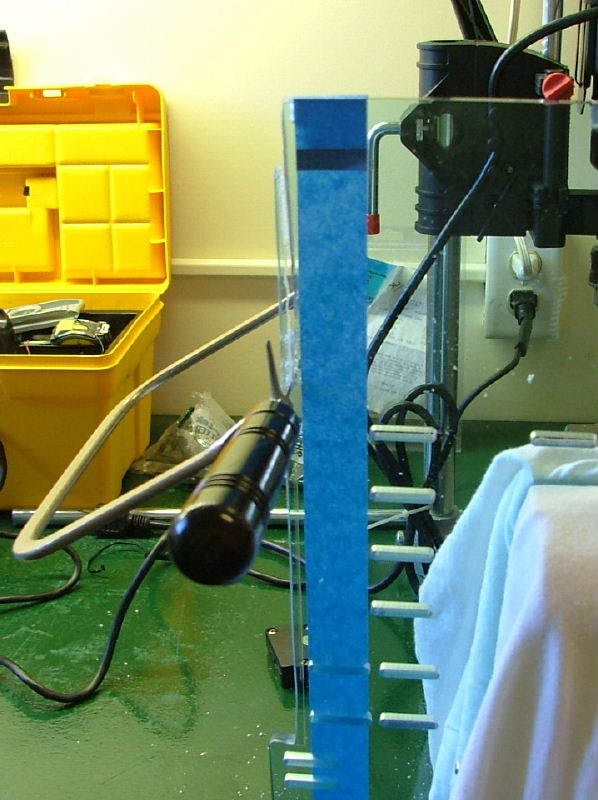
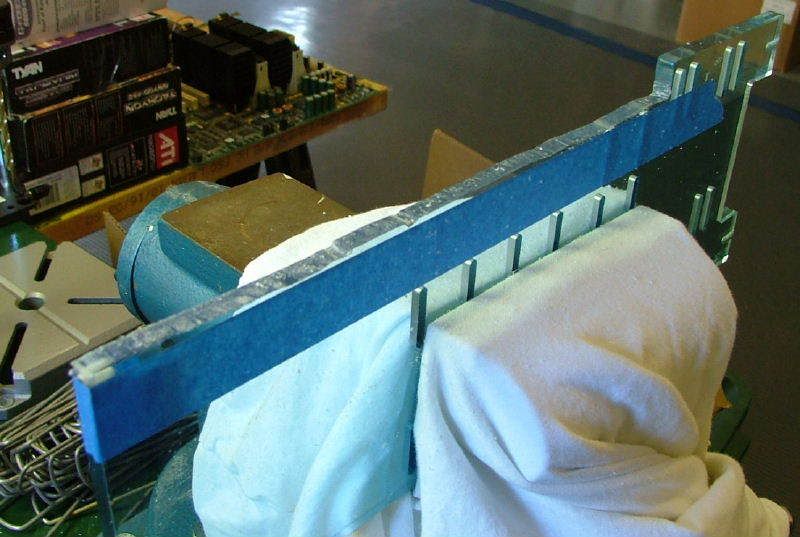
Tied down ready for the jig saw (not!)
And it was down hill from there!
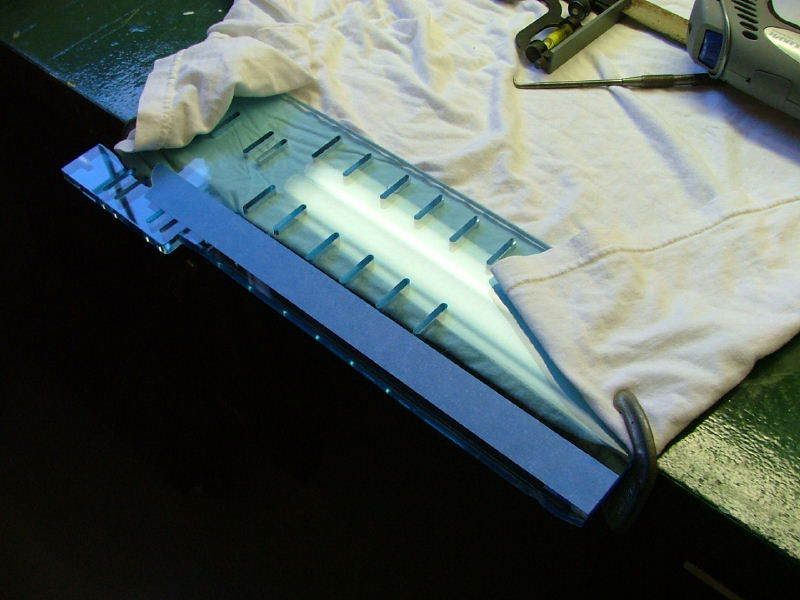
It âpolishedâ (filed & sanded) up okay and as you can see here did give a little âwiggleâ room for the mobo.
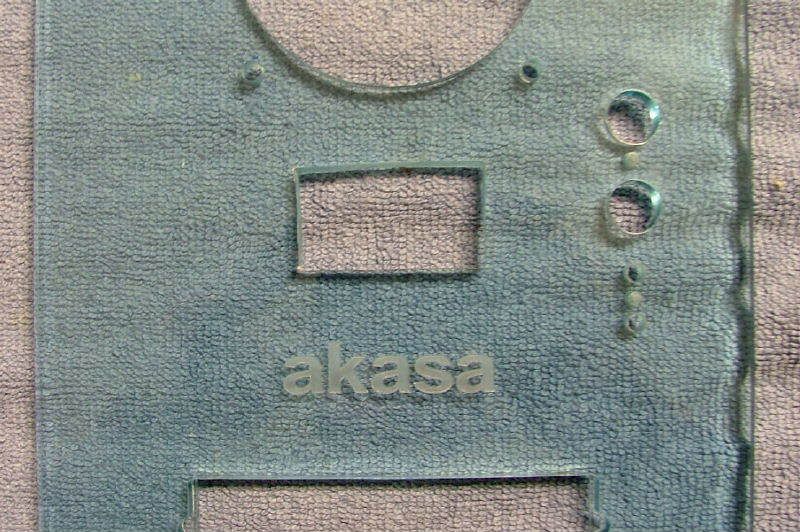
With everything apart I also took the opportunity to do the temp gage cutout in the front. After experimenting on a âspareâ 5.25 cover plate it was again decided to go with the coping saw. Thanks be to the man that developed the file!
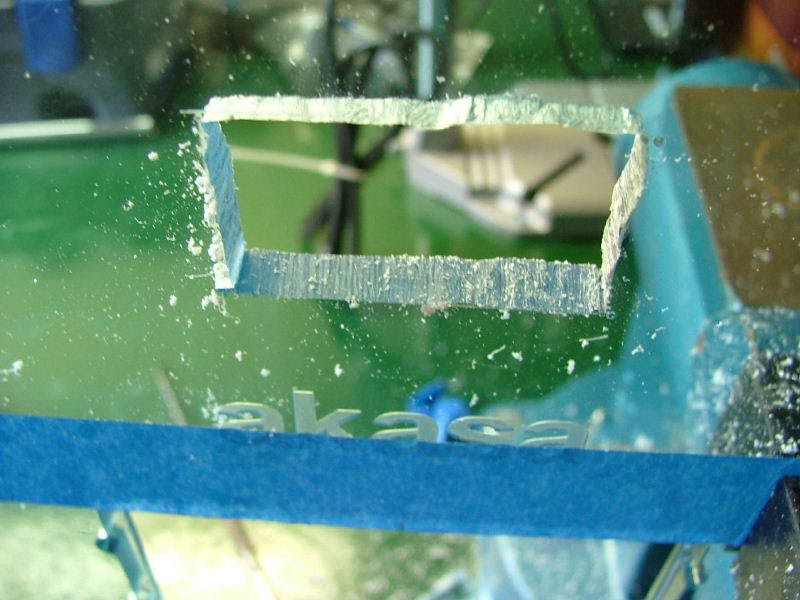
I âdimpledâ the corners using an awl and then scribed the cut lines on the front plate. Next came the starter hole for the saw blade, then the saw.
Here are some shots of the rough (and I do mean rough) cutout before filing.
 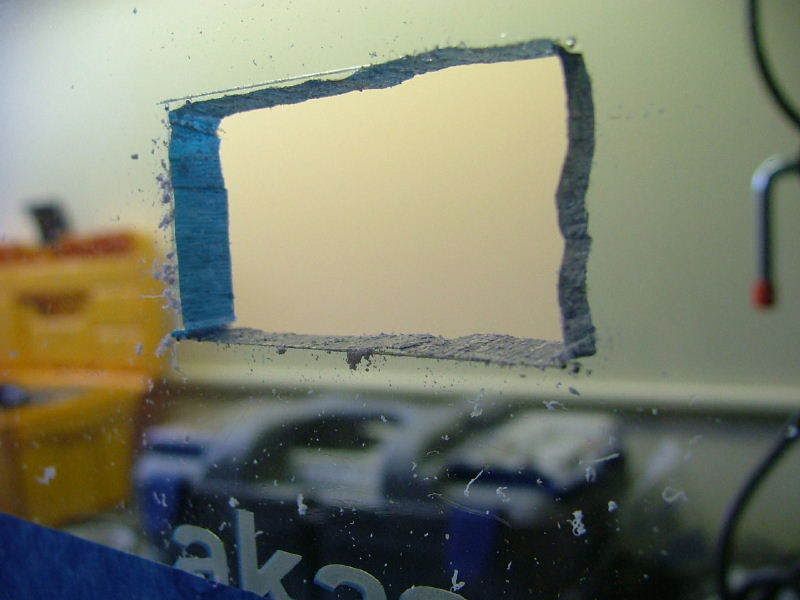
After filing for over a half hour, the gage kinda sorta fits and this is the opening.
03/11/07
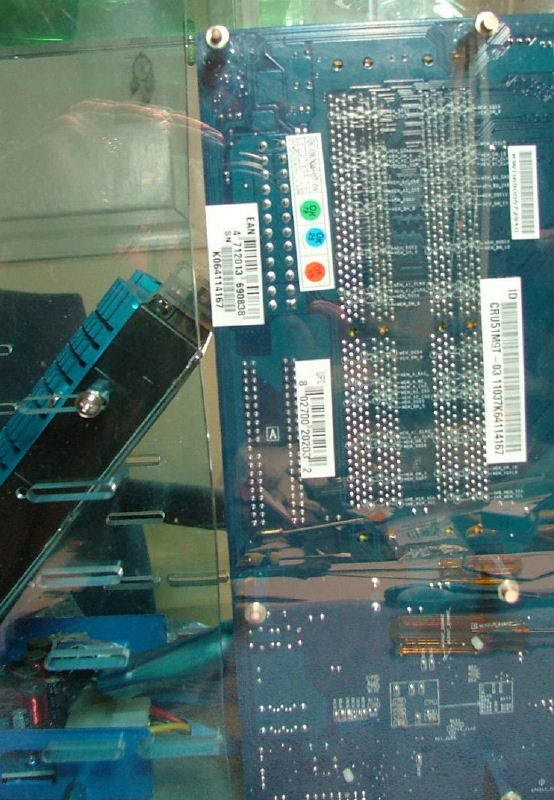
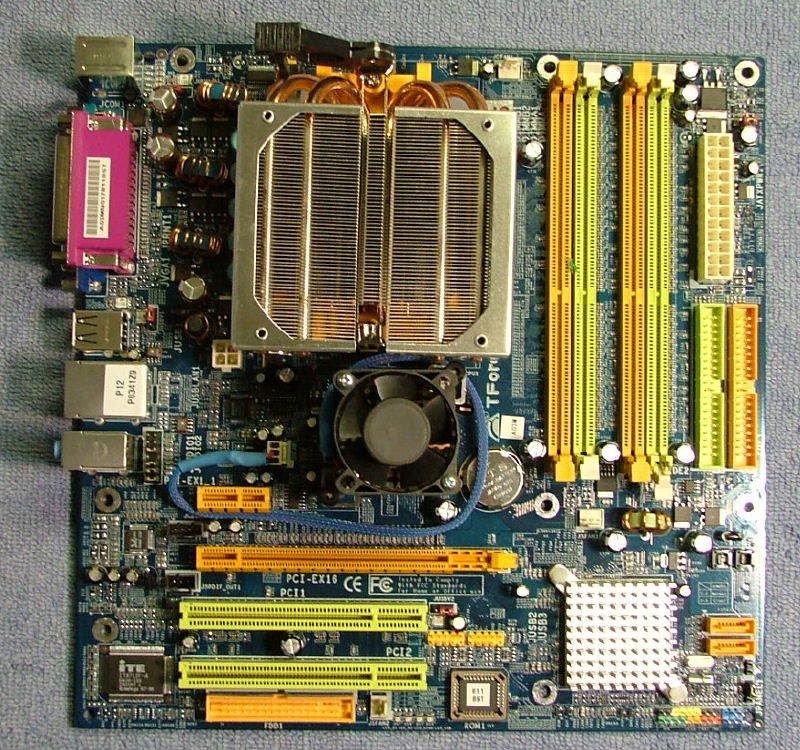
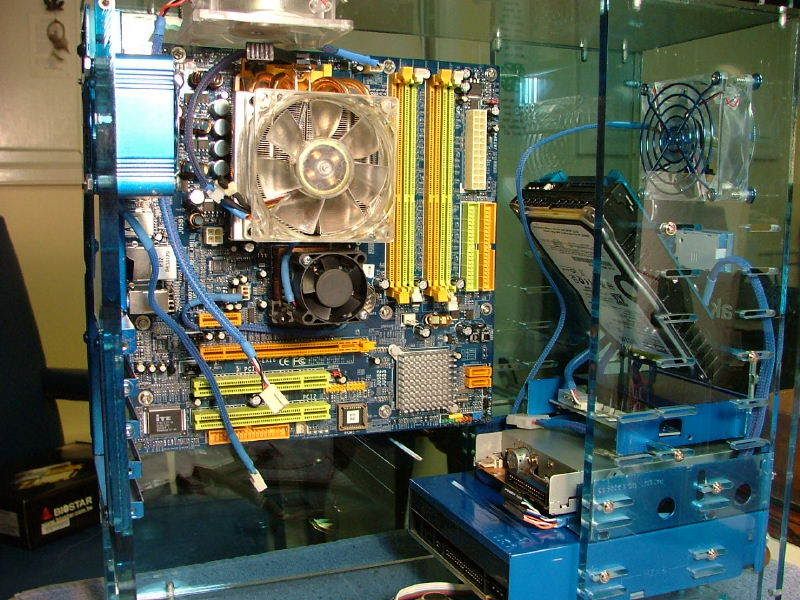
Iâve gotten around to mounting the swiftech 159A, 3700+, & the HS from my Opty 175. Now Iâm just waiting for the Tt Smart Fan to arrive!
Here is two views of the board awaiting the fan. I used Shin Etsu G751 for the thermal paste for the first time as Iâve read a lot of good things about it. HOWEVER, it does not spread like any other Iâve used! IF interested refer to this âhow toâ on spreading it: http://forums.pcper.com/showthread.php?t=230649
04/13/07 & Into the wee hours of 04/14/07
While getting DreamCatcher together, a few parts for BluHaz reDux came in and I just threw them on with no attempt to document for the work log. However Iâve now jumped back in with intent to finish! Had to totally disassembly the thing (the biggest pain about the case design) to clean, do the new cutting, and look at possible hardware rearrangements. After all was said and done, I started putting things back together.
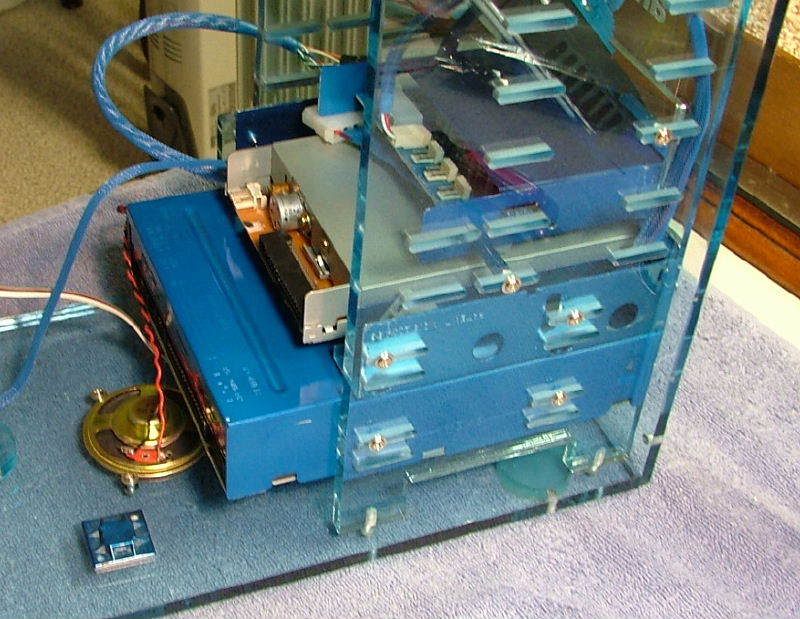
The Maxtor 80gig IDE has been pulled (going into the Tech Station) and replaced with the 74Gig Raptor originally for Celtic Spirit. Here are a couple of views as it is going togetherâ¦â¦
 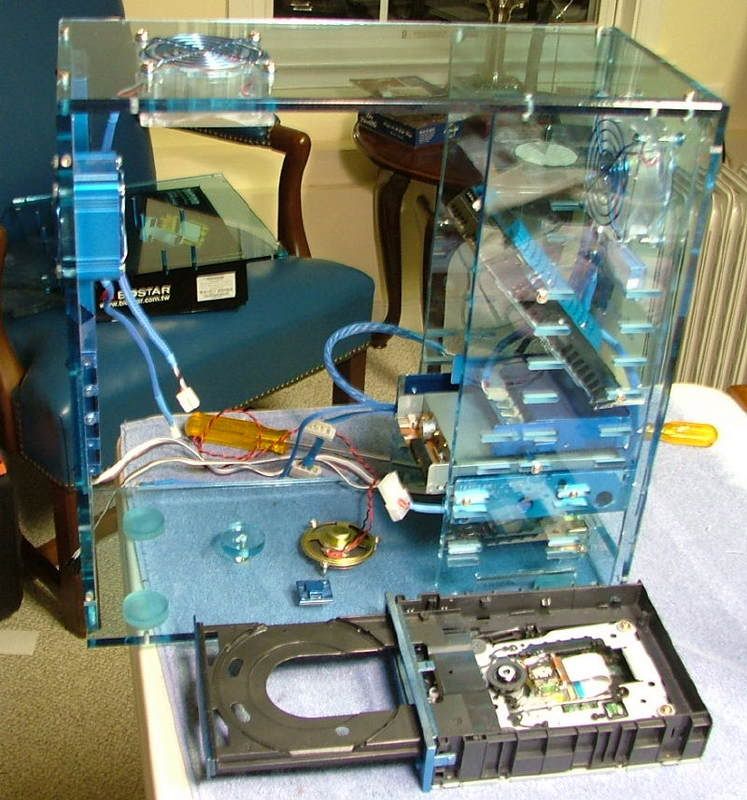
You can see the Optical device is out and apart. After looking and looking at it, I just couldnât stand seeing all of the bare metal (ref earlier test fitting shot
 ) )
So sometime around oâdark-thirty (02:00?) took things apart again, remove the drive cover, and went outside and painted the thing! I have a single halogen work light that I setup in the garage and dried it with that. Ahhhh⦠much better!
Mounted the mobo and started figuring out how to hook up the cabling as the biostar is really laid out different from the 7NIL1 I had in there.
After running into a problem of hooking up the front audio âportsâ, several other hummmms, meds kicking in (coming off of an inner ear infections & vertigo over Easter), and the coffee no longer âusefulâ decided to crash until latter. Also the fact it was 04:15 might have helped too. It seems I had allowed myself to get distracted by working on the Tech Station several times too! |
|