jedihobbit
Rated XXX

|
 Posted: Sat, 20 Dec 2008 22:45:51 Post Subject: Posted: Sat, 20 Dec 2008 22:45:51 Post Subject: |
 |
|
Okay getting off the duff and doing some leak testing this weekend.
Started out with a wee bit of a static test and let it sit for an hour or so. First shot shows getting ready. Excuse some of the shots as I apparently either had “fuzzy eyes” or “nervous twitch” when I took some of the shots!
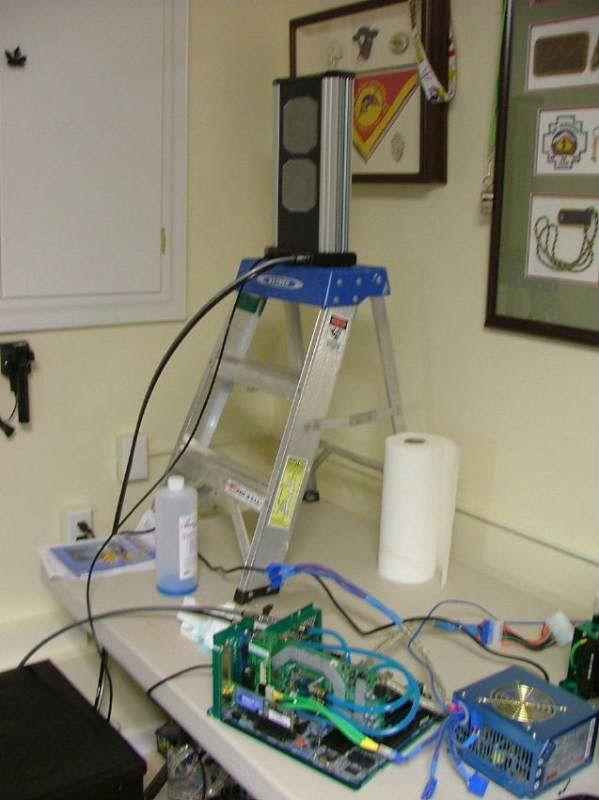
First off started getting ready by placing the 240 Pro on a short latter to simulate the desk layout.
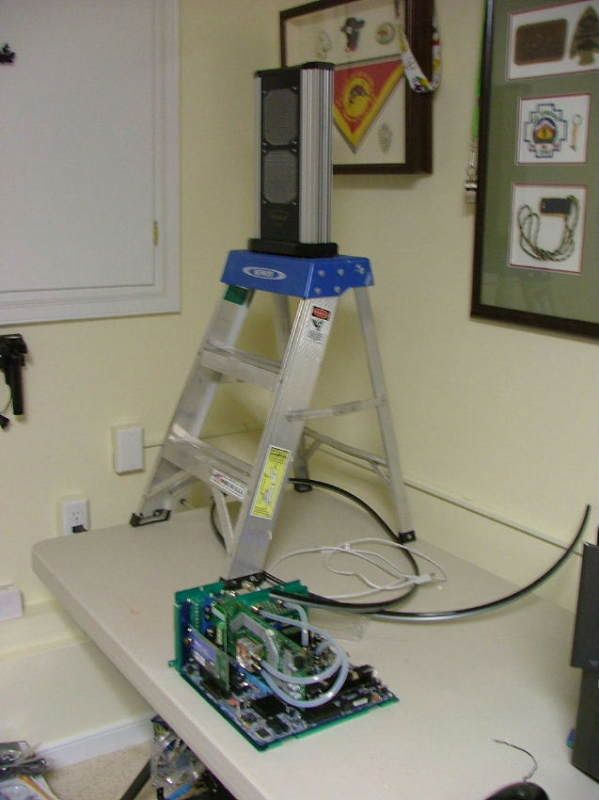
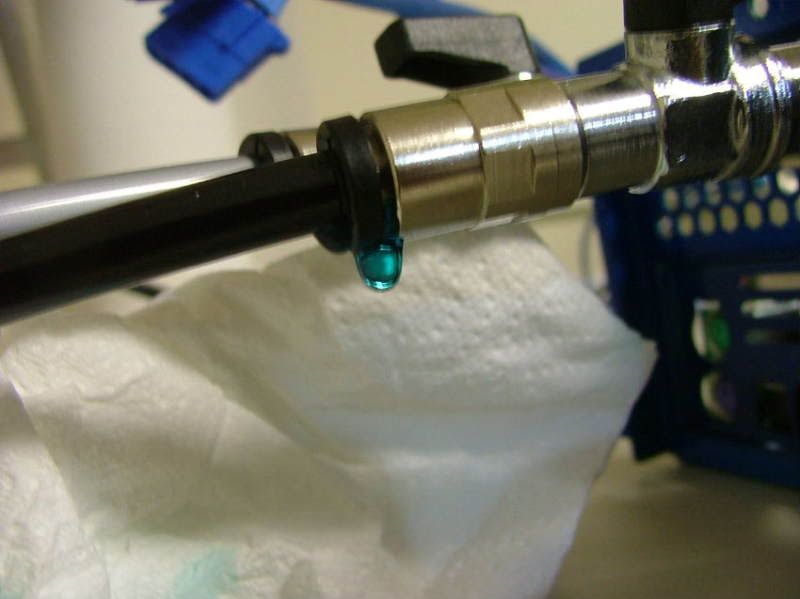
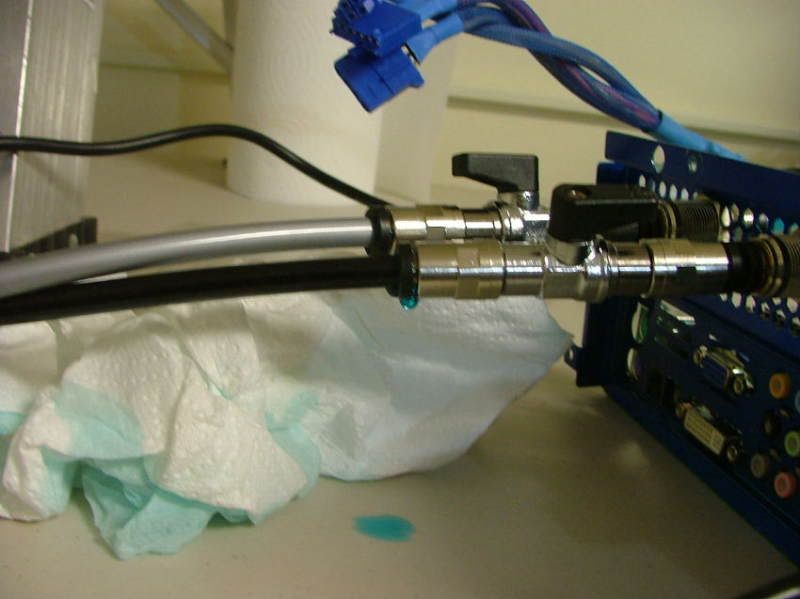
I ended up having to put the 240 on the bench to do the initial filling. At this time would like to point out my only “complaint” so far with the system. They built shut off valves into the bottom of the unit, which is neat and useful, however: The valve levers are too tall to leave in place! I would have liked to been able to easily shut off flow at the rad unit considering my setup. After opening the valves at the 240 I ended up having to place the mobo assembly on the floor to help get the first major air bubbles out. Then I placed it back on the table……..good thing as I have my first leak!! Light carpet and blue coolant would not mix. The first two pics show my first and so far only leak. Don’t know if it is hose or coupling. May have to shorten the hose a bit to see if it will stop or change out the coupling if that doesn’t do the trick. The third pic shows the system loop with bubbles as I let it “static” test and then hooked up the PSU.
Like I said please excuse the picture quality!!!
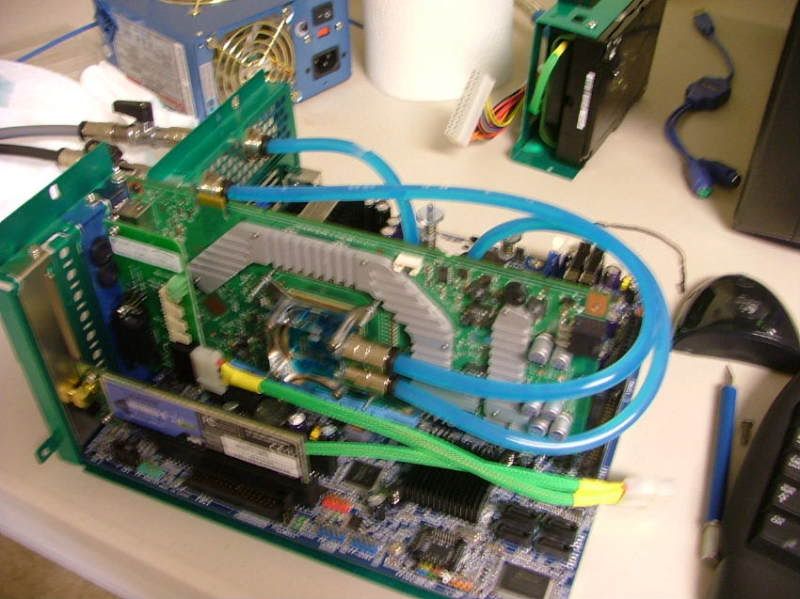
After I let is sit “static” for a while I fired up the PSU to pump the coolant through the loop and top off the res. When running the res level is about a half inch low with the fluid running across the top as it is supposed to. Not sure but believe that should work as this will be where any air bubbles can “pop”. Here we have the whole scene
However I did notice a couple of bubbles in the GPU block (look at the top of the inlet and outlet)…….
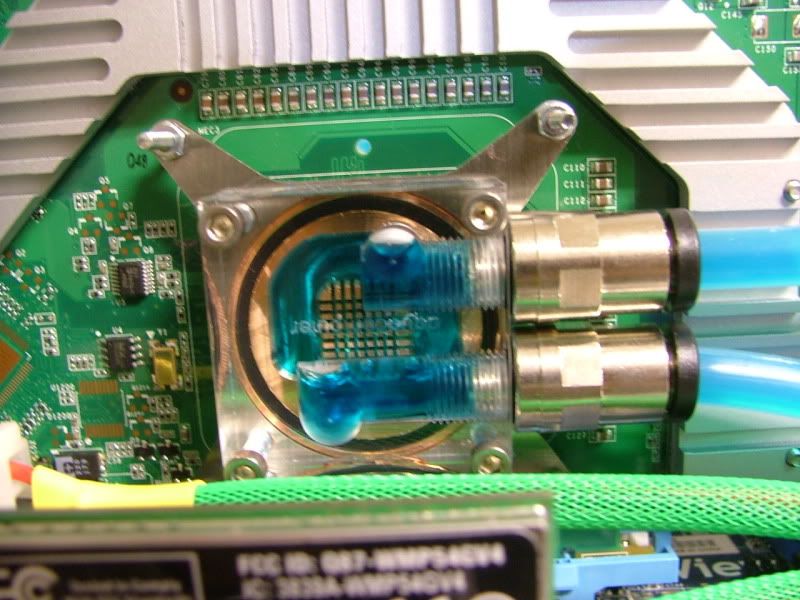
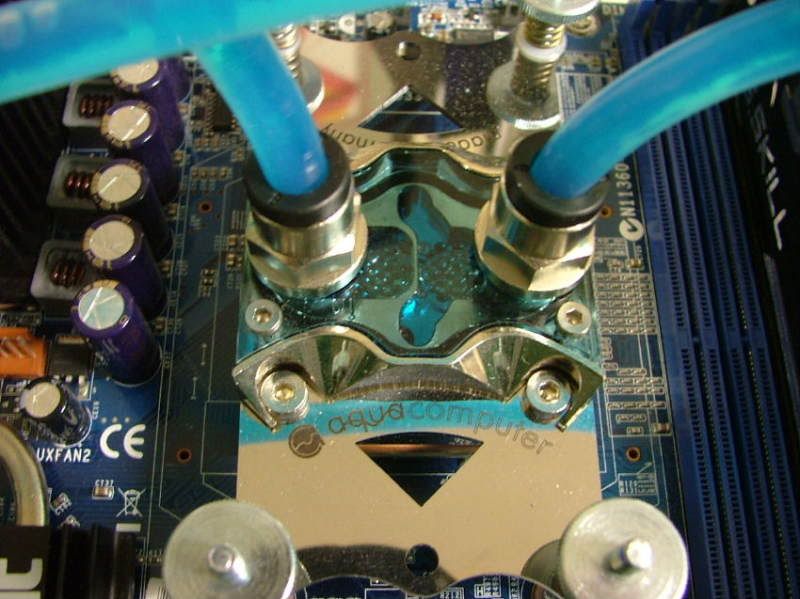
One would hope that that will eventually “go away” as the system runs. It appears the CPU block is okay……
I’m now going to let it sit overnight to see what will happen. Open to suggestions on the one leak I have. Having shut off the valves “top & bottom” it stopped leaking but I’m sure in the running mode it will. Do wished I had thought ahead and ordered some of A C’s plugs for the lines as that would make it a lot less messy when I try to repair the issue and then set it up on the desk. If I don’t see any “other” leaks in the morning I’ll start hooking everything together in the box for the “full” run test.
Now on over to BluHaz reDux v2.0 to do some “moving around” in prep for its 9600GSO that is supposed to be coming!
_________________
As of 02/01/11
DreamCatcher AM3 >> (Down Again) >> SG01 Evo, MSI 785GM-E65, PII X4 955(AQ H2O Cooled), XFX GTX285(EK H2O Cooled), Seagate 7200.10 ST380815AS 80GB, 2 x G.S. F3-12800CL7D-2GBPI, MODU82+ EMD525AWT, XP Home SP2
KestrelFlight >> (Under Construction) >> Zalman Z7+, MSI NF980-G65, PII X4 1055T, 2 x Galaxy 580GTXs, Zalman 32GB SSD, WD V'Raptor 300GB, 2 x WD 1 TB Blacks, G.S. F3-16000CL9D-4GBTD, Zalman ZM1000-HP Plus , Win7
Oz1a v2.0 >> XFX MDA72P7509 750a, PI X2 8870BE, 2 x XFX GTS250, WD 250GB, F2-8500CL5D-2GBPK, Tt TR2 600W, XP Pro SP3 |
|