jedihobbit
Rated XXX

|
 Posted: Mon, 12 May 2008 18:01:43 Post Subject: Posted: Mon, 12 May 2008 18:01:43 Post Subject: |
 |
|
All righty nowâ¦..time to get on with it! Going to kinda start over on the water cooling stuff now that everything appears to be here!
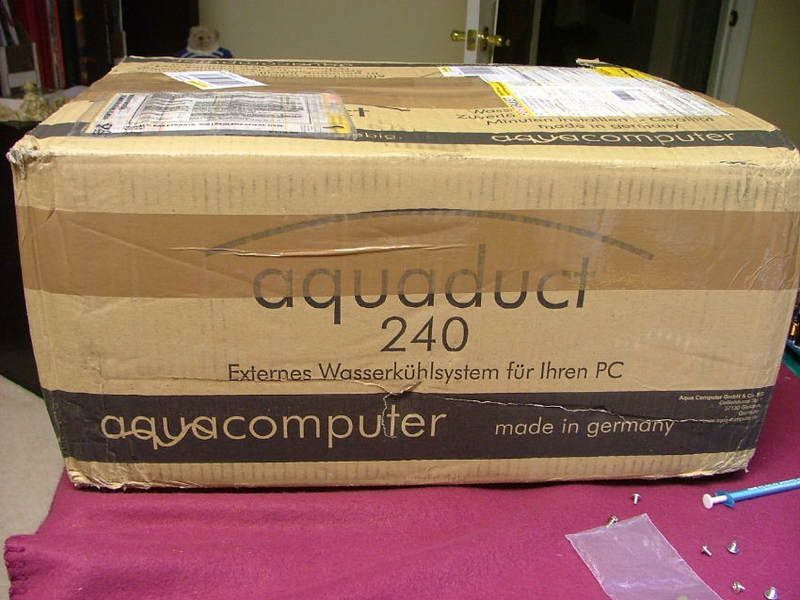
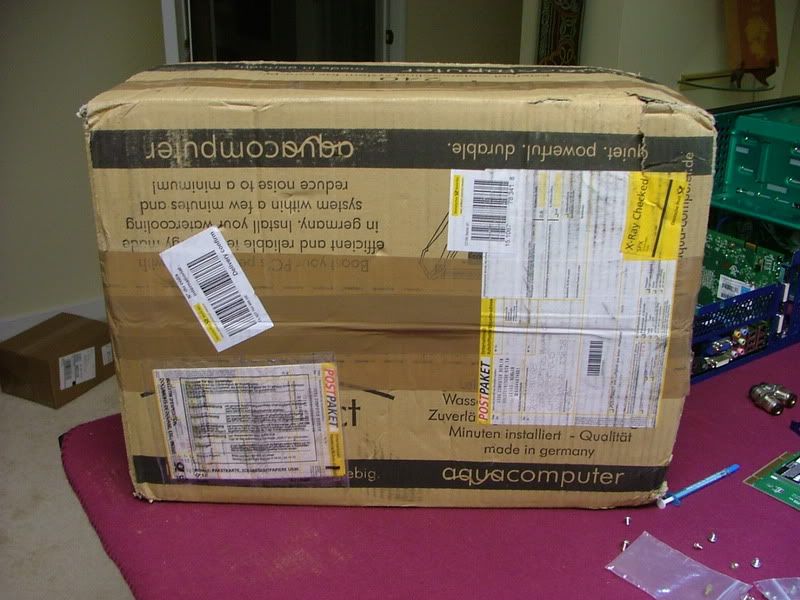
Initially when I got home on the day of arrival I was greeted by THE BOX
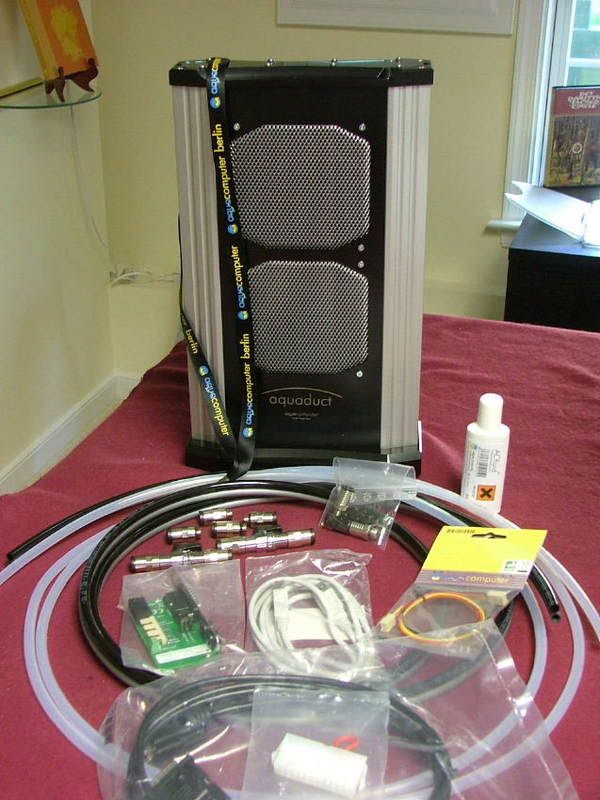
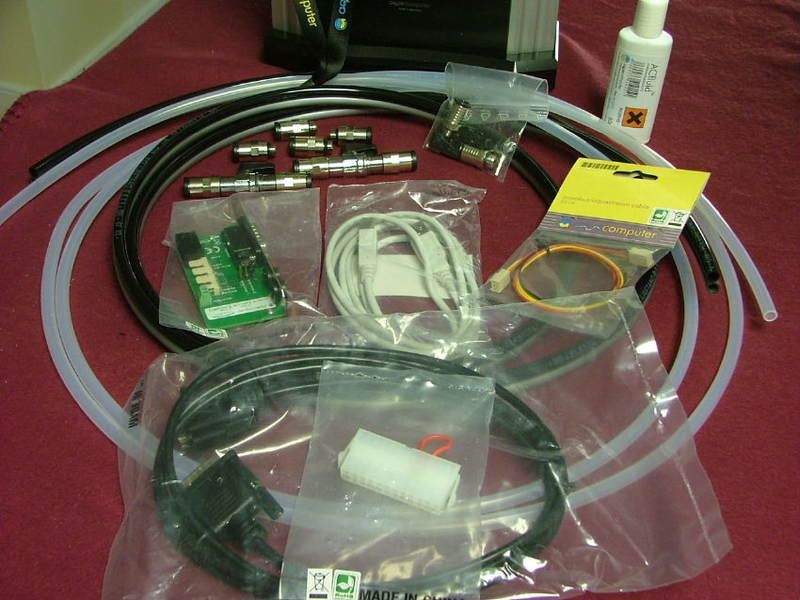
And inside were all of the goodies as well as some extra, thanks slame!
Just, for me anyway, there is still one major thing missingâ¦.a set of instruction for setting up the 240 IN ENGLISH. Slame any suggestions for a source I can download?
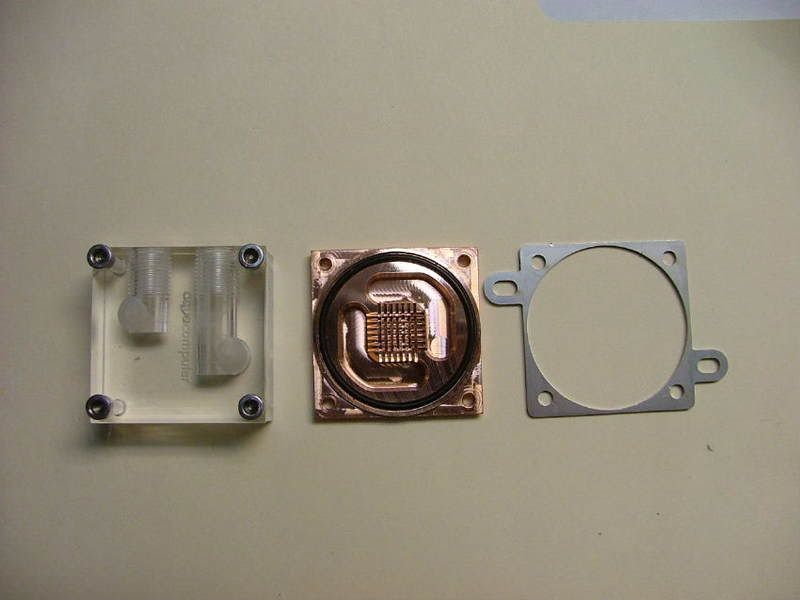
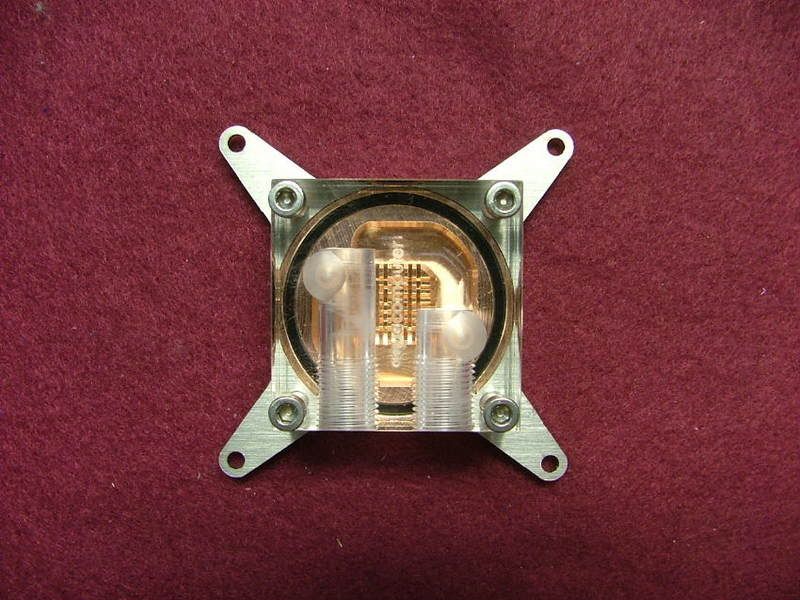
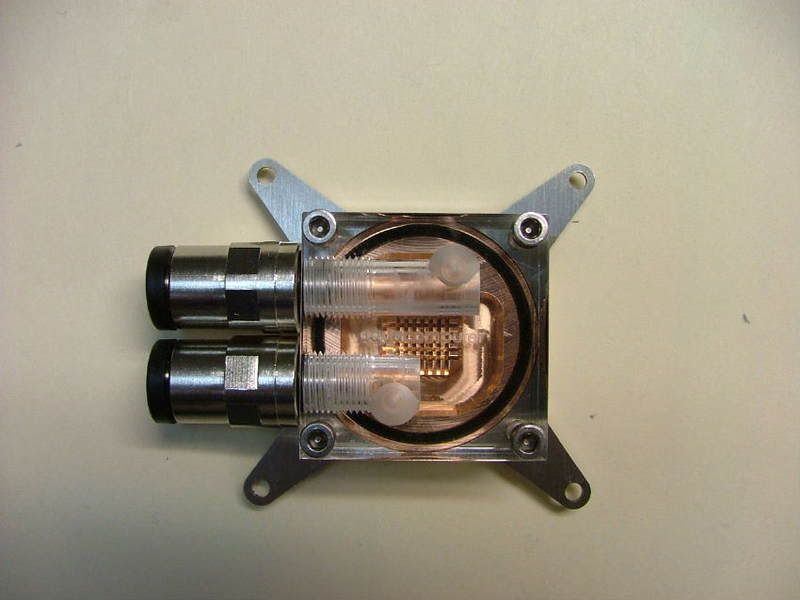
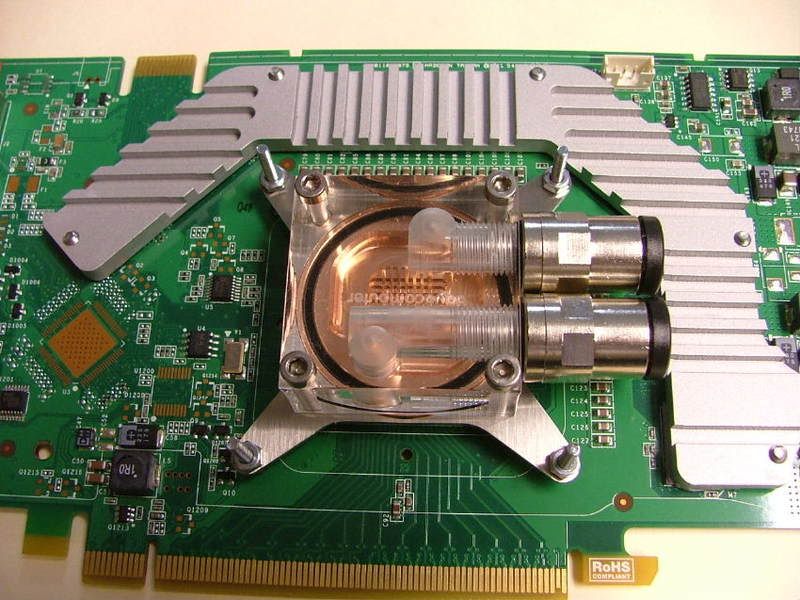
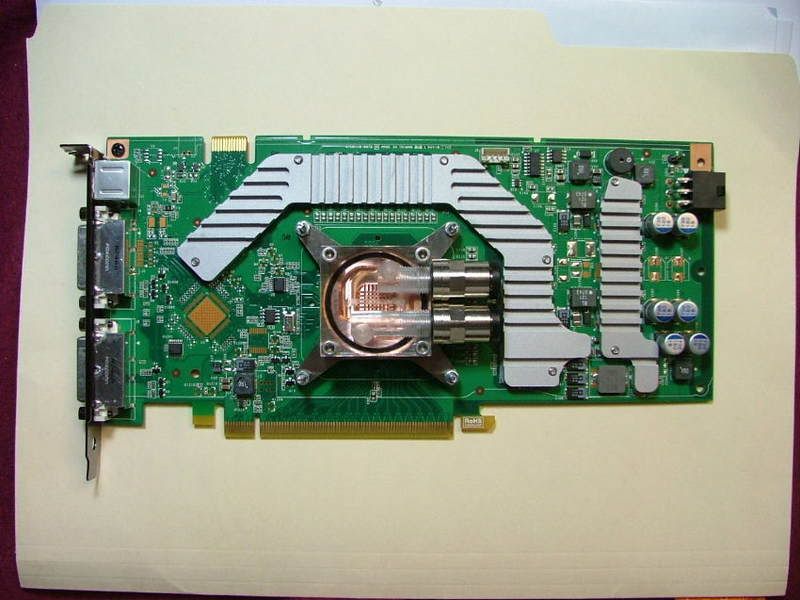
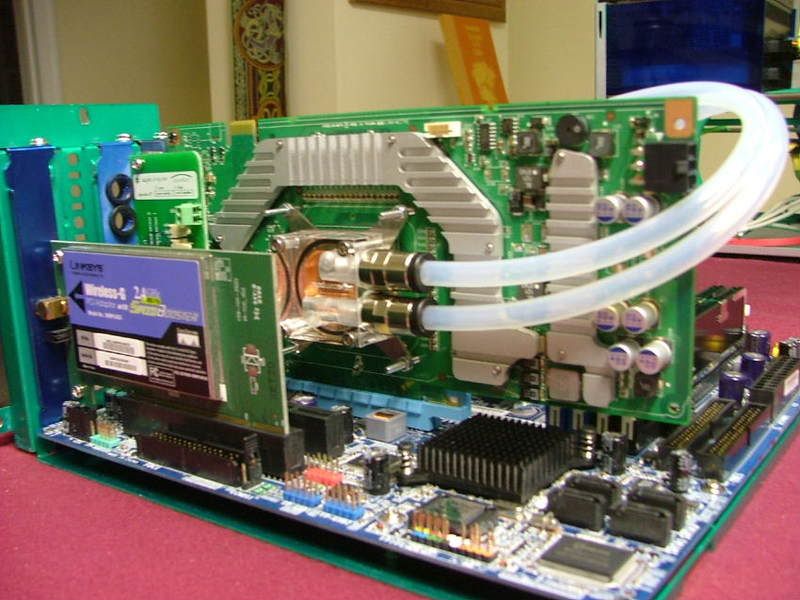
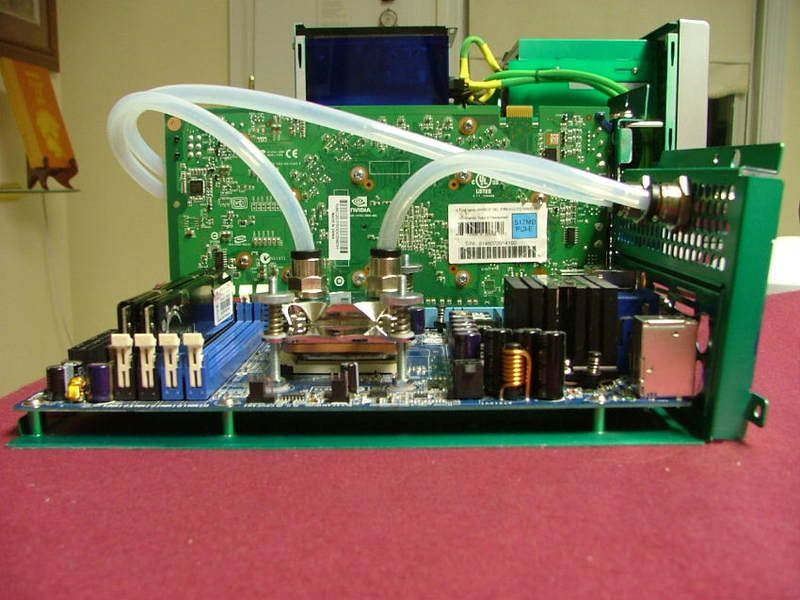
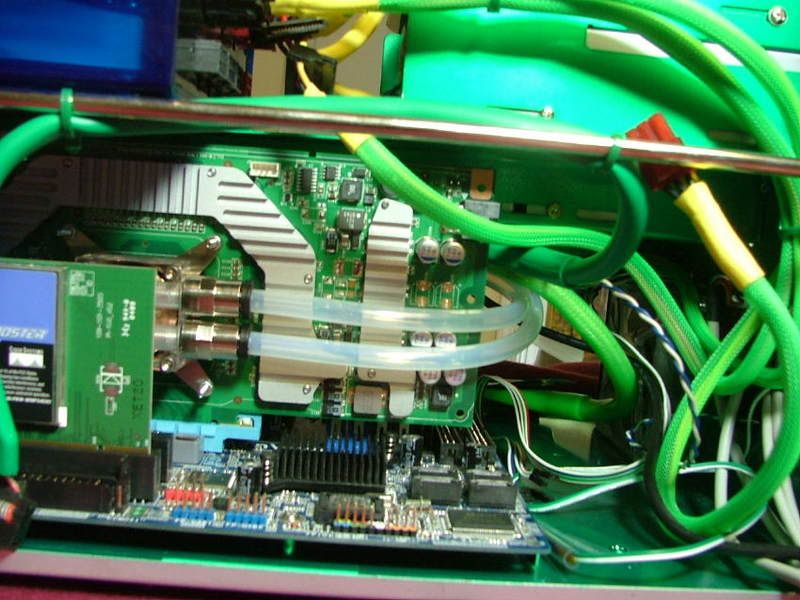
The letter with the GPU bracket arrived Saturday and between trying to finish a friends MicroFly build (link) I started puttsinâ with the w/c stuff. First off was to convert the GPU block from ATI to 8800GT. The bock is a beautiful example of engineering and simplicity. Still regret that the case design didnât let me use the full coverage version though. What you see is the unit apart, then it is nvidia, and then with the connectors. When I mounted it on the card I had to make a few assumptions as there werenât any instructions (guess it mounts like a chipset cooler!). Youâll see it up close and the whole card.
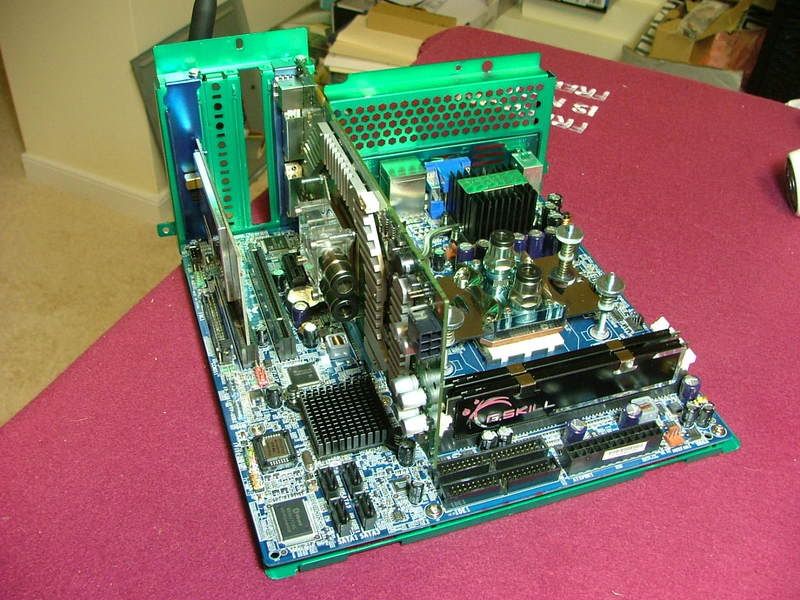
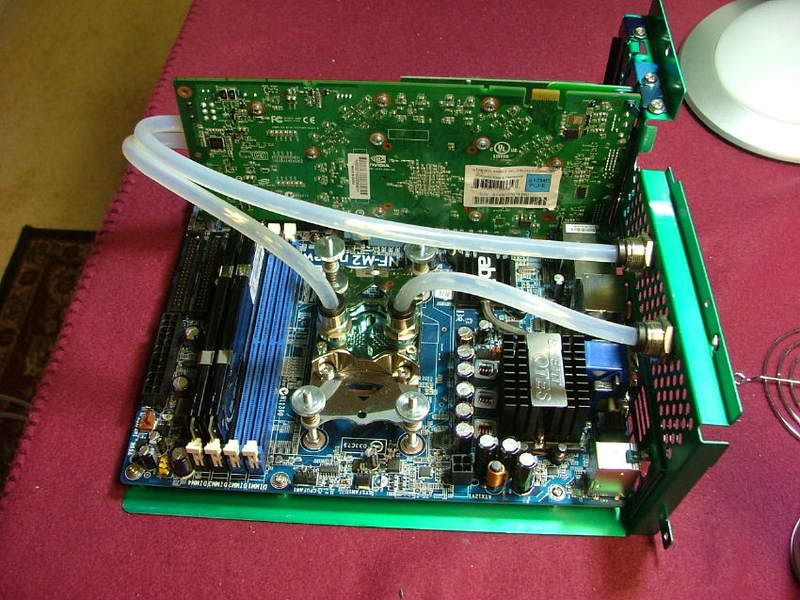
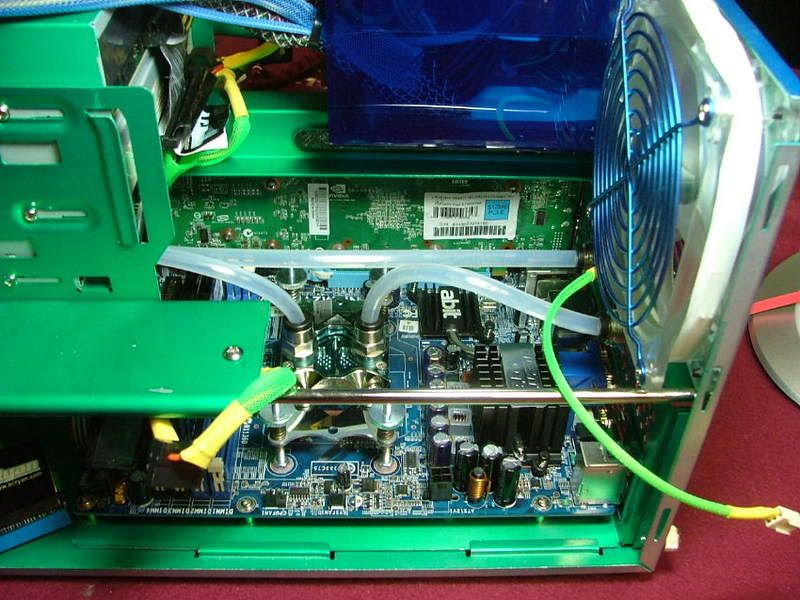
Now on to mounting everything to the moboâ¦.figured the best way to locate where I wanted the bulkhead connectors was to lay out the plumbing as the Plug & Cool tubing is very rigid and needs a large bend radii to work. Have everything ready to go, added the Aquaduct 240 controller and started laying out tubing.
 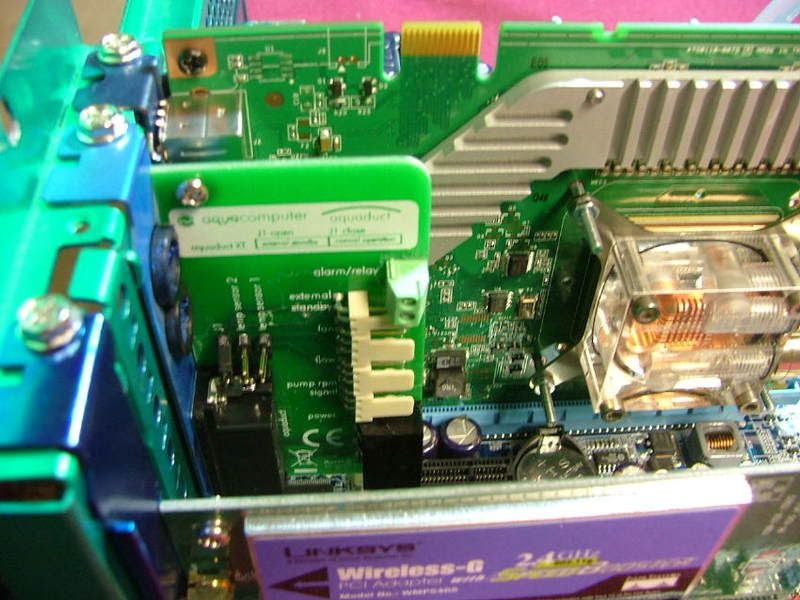 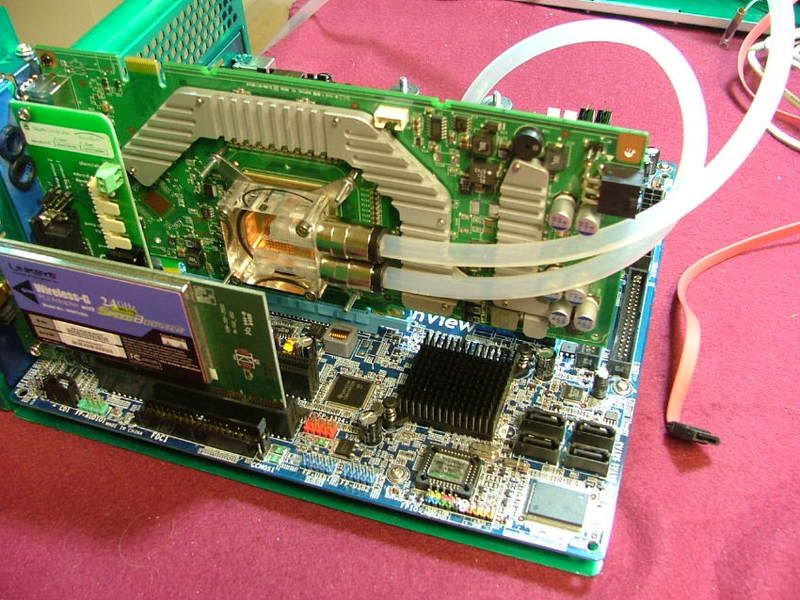
Then it dawned on me that I better ask about the CPU block in and out points (see above) and as luck would have it was âupside downâ to what I wanted to do so had to reseat the water block! Spotted where I wanted to mount the bulkhead fittings and realized I didnât have a drill bit large enough. However with the hole pattern it turns out all I had to do, using the dremel, make a few cuts, hand file, and mount the units. So here you have the internal plumbing. The last picture kind of shows just how rigid the hose is as it is pushing the vertical part of the mobo tray outward. Luckily the mounting screws will keep it in place. Really canât shorten the tube as it will want to kink at the block.
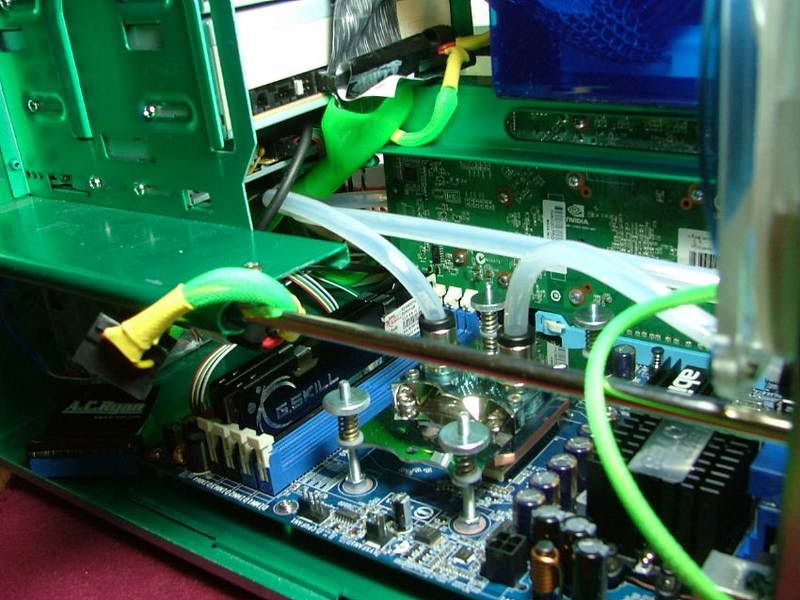
Now it is time to see what the tubing will interfere with once the mobo tray gets shoved into place. As it turns out the only âobviousâ interference seems to the double loop coming from the GPU as 1.) when you first start (catches on the chassis opening) but easily handled by just pushing them down, and 2.) Working around the IDE cable as it comes down from the optical drives.
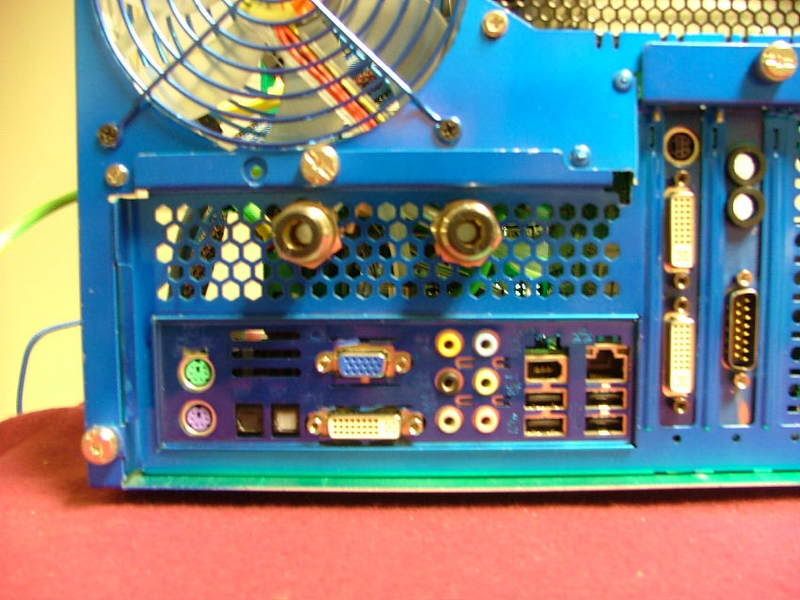
With the final installation wiring management should clean up a lot of the other âsecondaryâ issues. And in closing here are a couple of views âfrom the rearâ with the mobo mounted in the chassis showing the bulkhead fittings. So it seems I may have accomplished on of my goals on this build and that is being able to remove the mobo tray and leave the internal water loop intact.
_________________
As of 02/01/11
DreamCatcher AM3 >> (Down Again) >> SG01 Evo, MSI 785GM-E65, PII X4 955(AQ H2O Cooled), XFX GTX285(EK H2O Cooled), Seagate 7200.10 ST380815AS 80GB, 2 x G.S. F3-12800CL7D-2GBPI, MODU82+ EMD525AWT, XP Home SP2
KestrelFlight >> (Under Construction) >> Zalman Z7+, MSI NF980-G65, PII X4 1055T, 2 x Galaxy 580GTXs, Zalman 32GB SSD, WD V'Raptor 300GB, 2 x WD 1 TB Blacks, G.S. F3-16000CL9D-4GBTD, Zalman ZM1000-HP Plus , Win7
Oz1a v2.0 >> XFX MDA72P7509 750a, PI X2 8870BE, 2 x XFX GTS250, WD 250GB, F2-8500CL5D-2GBPK, Tt TR2 600W, XP Pro SP3 |
|