jedihobbit
Rated XXX

|
 Posted: Sun, 06 Apr 2008 15:17:34 Post Subject: Posted: Sun, 06 Apr 2008 15:17:34 Post Subject: |
 |
|
| SUSHRUKH wrote: | The HTPC is looking quite cool jedihobbit . Nice build & thanks for showing it to us.  |
My pleasure & thanks as I can always use warm fuzzies!  BTW believe it or not it isn't a HTPC - I just like mATX systems! BTW believe it or not it isn't a HTPC - I just like mATX systems!  This is only one of three ( you've already found one other) systems currently being worked on. This is only one of three ( you've already found one other) systems currently being worked on.
So now on to the latest and greatest.......... errr latest anyway.
Worked on putting YsSMN together over the last couple of days as the wife recoups from her foot surgery. Using DreamCatcher as my template I figured it would be a quick and painless effort. So much for the painless part! Just making 2 â 3 hardware changes made a big difference in how the cables and wiring go! Also add to the time frame of having to respond to the wifeâs requests for help and you about double the required time for assembly. However for a mATX case it went fairly quickly.
The stuff different from DC consisted of:
1. HDD cooler
2. 3-speed I/O switch
3. âUnsleevedâ PSU cables
4. A last minute âLaser Light Modâ
5. An EL lighted FDD cable
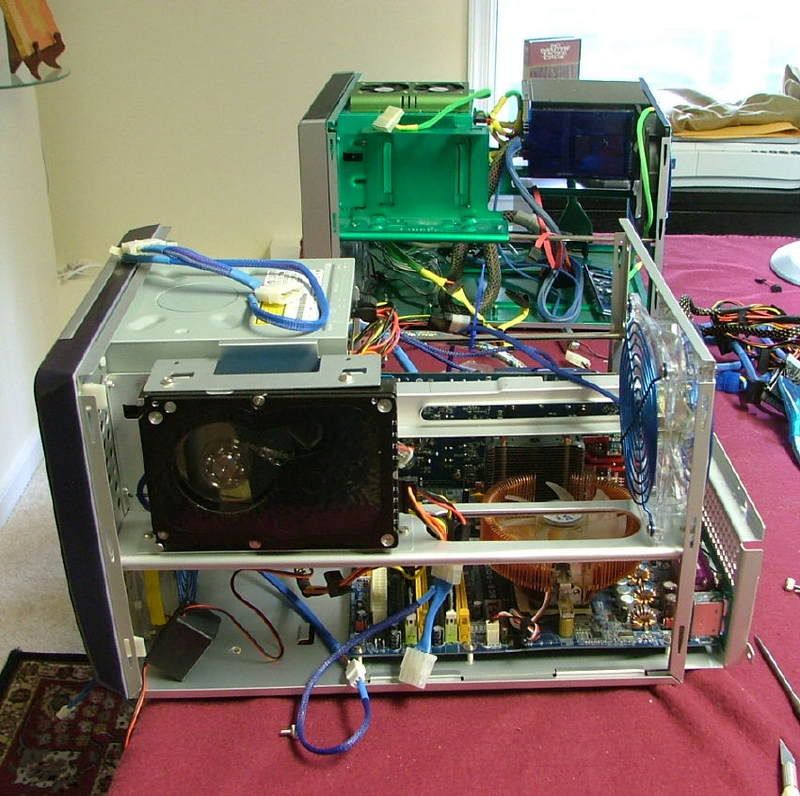
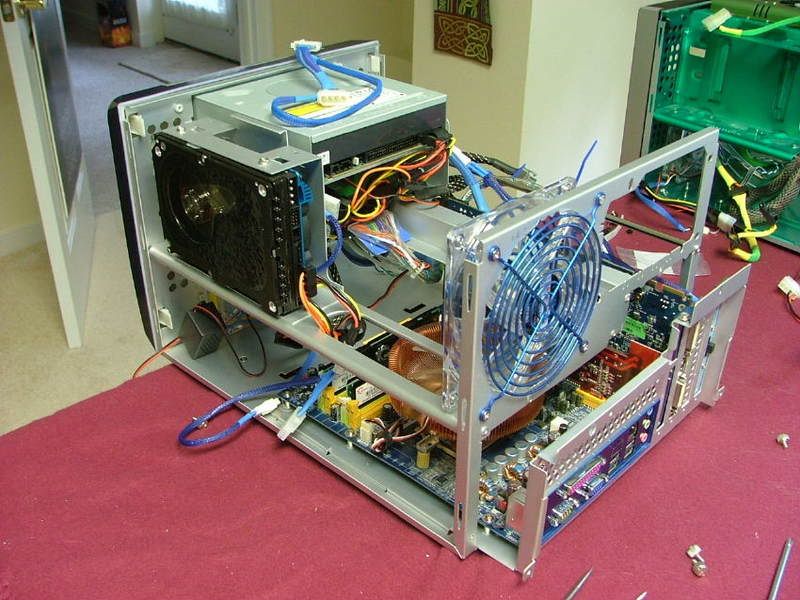
Here we have YsSMN (front) and DreamCatcher v2.0 (rear) together on the table with me trying to get âmentallyâ prepared to start stuffing things into the box!
The following pictures show YsSMN from several angles as I started to figure out where I wanted stuff to run. Some of the power distribution ended up being different from DC because of the new items added. Also one of my âmajorâ disappointments came from the Liberty 500âs power cables. As I had not sent them to performance-pcs to be sleeved I had planned on âborrowingâ a couple already done. Unfortunately the PSU plugs are different between the 500W and the 620W, it seems the 620W just blanks off one of the 6 pens whereas the 500W only has 5 pinsâ¦..oh well.
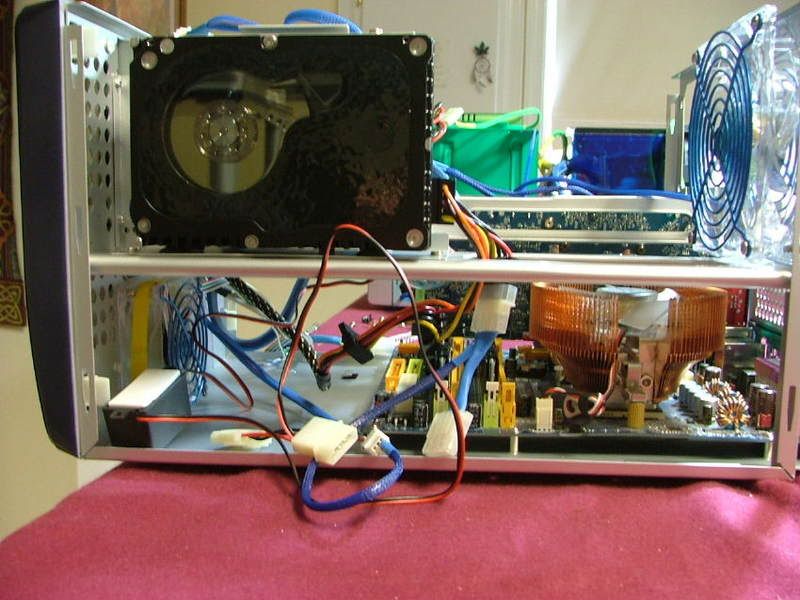   
Canât quite remember when I got to this point, but here is everything in its place with me getting the nerve to power it up.
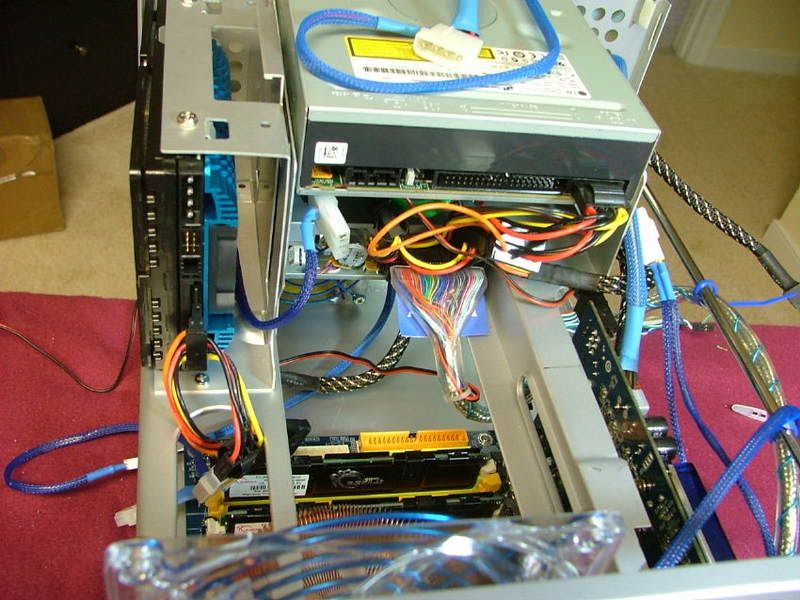
First off here is what it looked like from the rear with the PSU and everything in place.
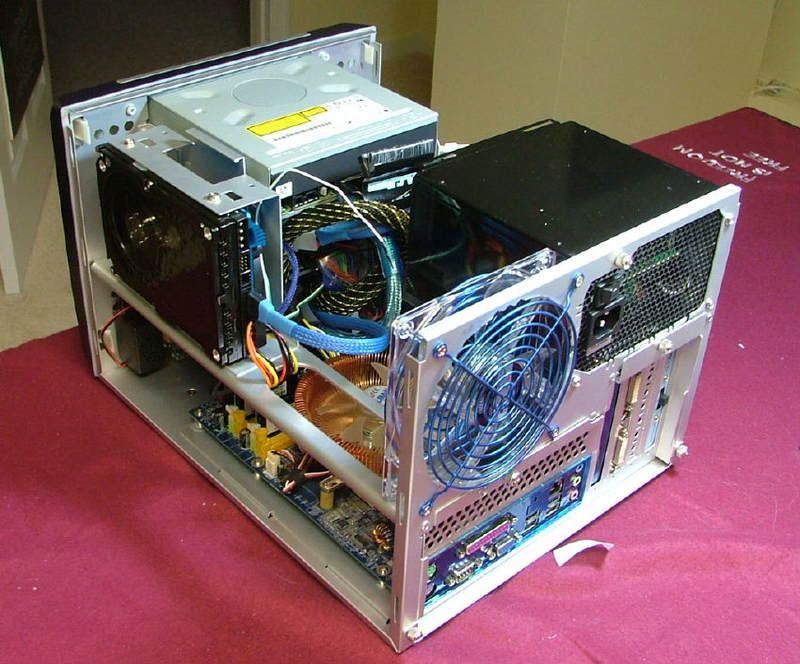
On this side youâll notice where I mounted the converter for the EL wire on the FDD cable (lower left) on the front next to the 80mm fan. The PSU cable comes through an opening in the cross brace and is wire tied with everything going to it under the brace in two places. If you look closely in the middle I still have one molex open. As it turns out this PSU cable is handling the front 80mm, the Raptorâs HDD, EL converter, temperature gage, and the Laser Light Mod.
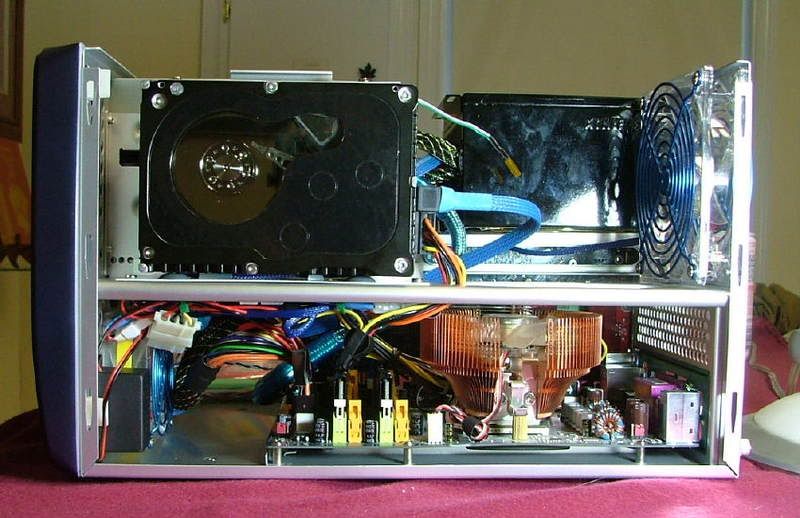
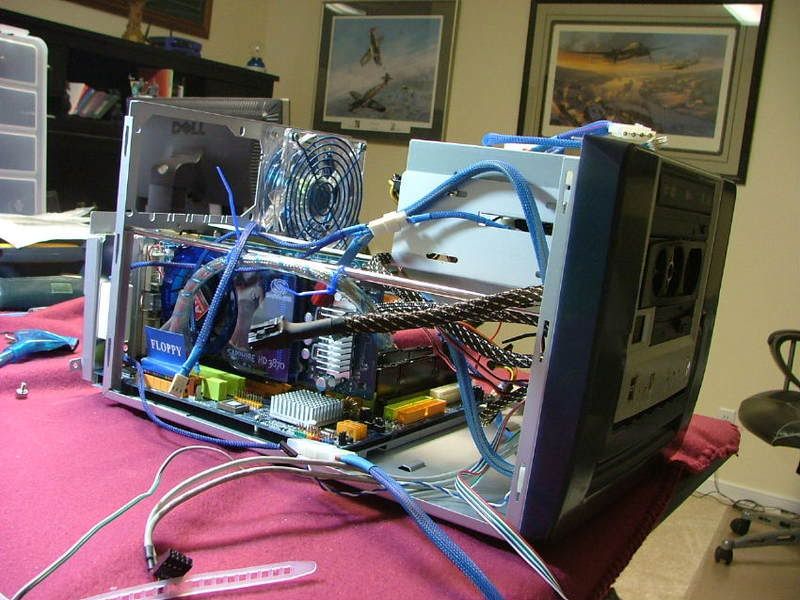
On the opposite side if you look on the right hand side (front) youâll see where I crudely attached the Laser Light Mod with a wire tie to a couple of cooling holes. Also you can see the GPU power cable (blue) and the second PSU power cable powers the Raptorâs cooler, the bay mounted cooler, the DVD-RW, and FDD. On the left hand side is the 3-speed controller (white block) with the top wire going to the 3-fan cooler and the bottom one plugging into the cable attached to the PSU.
When I powered the system up M$ decided to pull some BS. When I started it up it would âboot go to windows - boot go to windows - boot go to windowsâ.....you get the picture. Anyway out of desperation I reset the cmos jumper. Finally go it to go into windows when
"Need to initalize windows before....." okay no big deal, that is until it doesn't want to do it on line "can't find internet connection". So I had to do the telephone bit, well at least that part worked.
I had done some initial ocâing when this combo was still DreamCatcher, which settings were lost when I had to do the cmos thingy. Then it dawned on me....."I DIDN'T DOCUMENT MY OC SETTINGS FOR THE 170!!!!!!!!!!".  The worst part is I don't remember the mem settings, the rest I can fake. The worst part is I don't remember the mem settings, the rest I can fake.
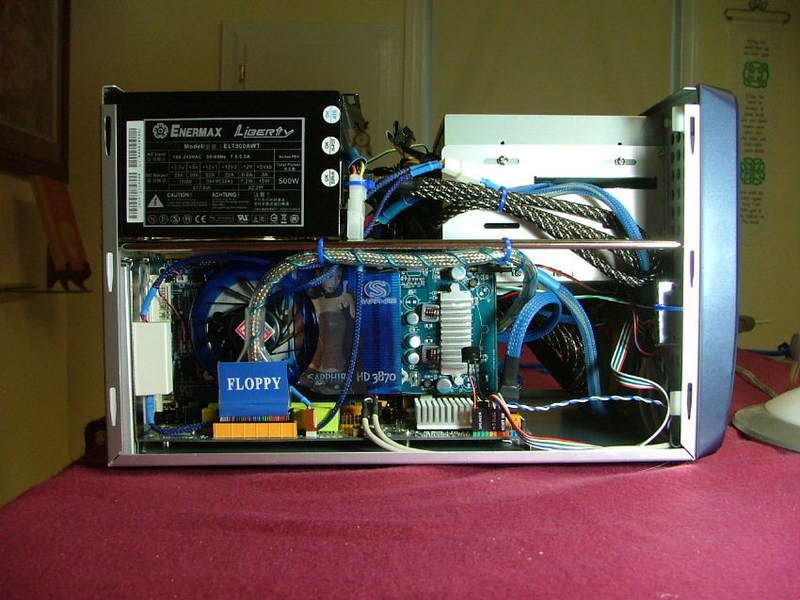
Before working on the OCâing part again, here it is running âin the darkââ¦â¦.left side, right side, and two ¾ left front views.
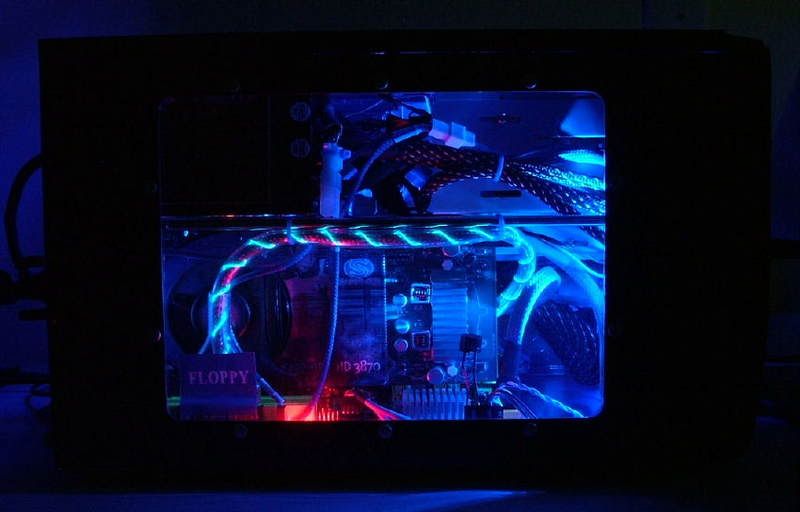 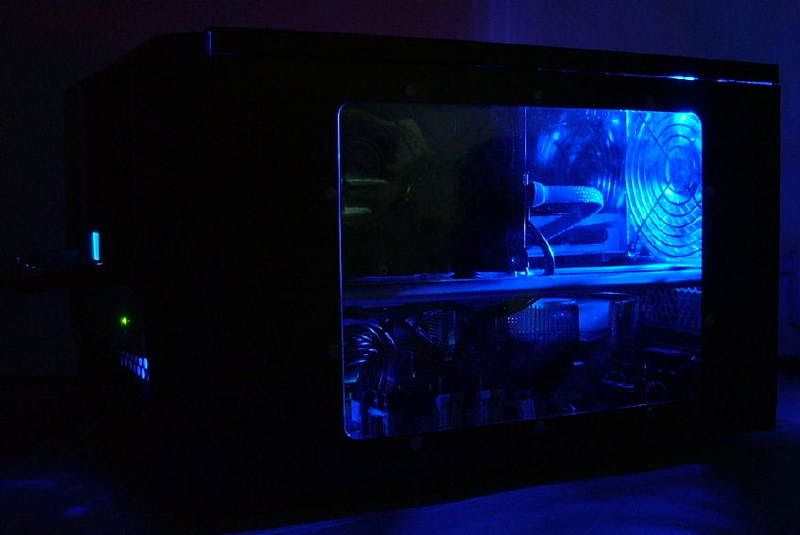 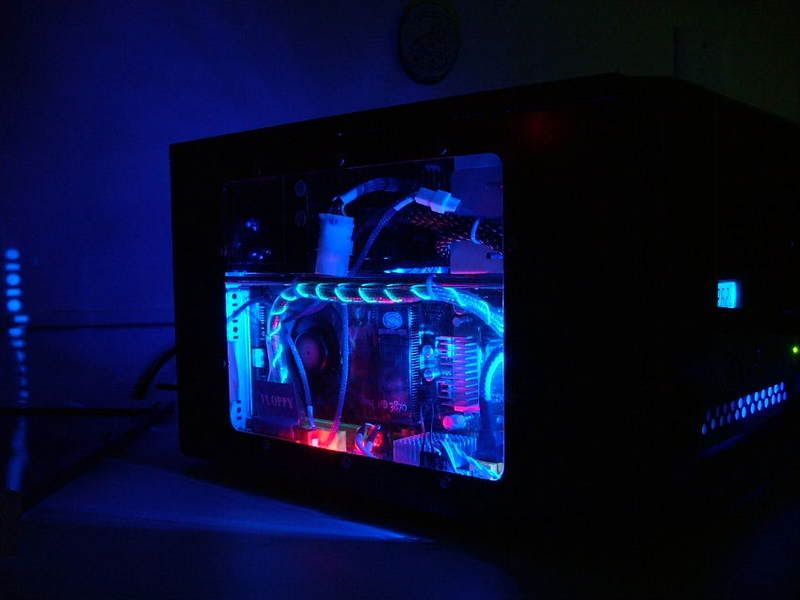 
Now on to the overclocking!  |
|