jedihobbit
Rated XXX

|
 Posted: Fri, 04 Apr 2008 17:02:58 Post Subject: DreamCatcher v2.0 âWorklogâ Posted: Fri, 04 Apr 2008 17:02:58 Post Subject: DreamCatcher v2.0 âWorklogâ |
 |
|
I have a large build called Celtic Spirit that has once again been placed on indefinite hold. This, wanting to bring DreamCatcher into the realm of AM2, and seriously taking a look at water-cooling, I made the decision to move on to v2.0. My initial W/C design and issues may be presented in another thread (got to get that going!) and if there is an interest, my testing & ocâing of the DC v2.0âs mobo/cpu assembly on air can have a thread done. Then as each area starts converging for âcompletionâ they can be merged with this one.
Here are the major component changes that helped me to decide to call it v2.0:
Case: Convert MicroFly to MX6 âHybridâ
Mobo: Abit NF-M2 nView
CPU: AMD 4000+ Brisbane
HSF: Zalman CNPS8700
Memory: Corsair CM2X1024 â 6400C4
These components were in the pipeline long before the idea of water-cooling came along therefore running the system on air influenced the original update.
Case Conversion: While I love it, Ultraâs MicroFly case has a couple of âflawsâ. One of which was airflow. Even though it uses a 120mm exhaust fan, intake is a little limited. The front of the chassis has a lot of holes and an 80mm fan, but the front bezel is somewhat restrictive for air intake. The MX6 was the next version of the chassis design and fixed that problem. The bezel uses a mesh surface that is very âbreathableâ and solved any restrictive airflow issues.
I had won a MX6 was about to sell it when I realized I could swap the exterior pieces to give DC better cooling â it just took a while to get around to doing that. Also as e-bay would have it I ended up with an nView, so in late February I startedâ¦â¦â¦
Here sit the two boxes waiting to be âhybridizedâ and then with everything removed but the bezels.
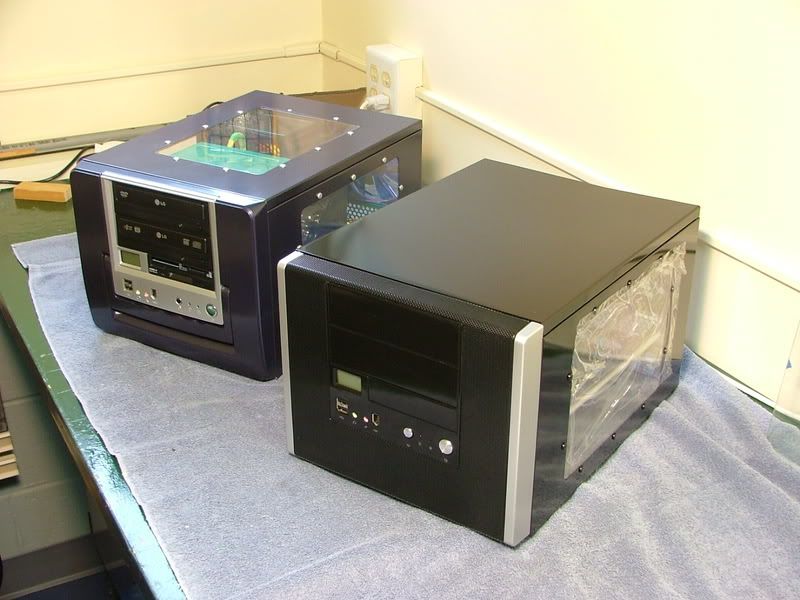 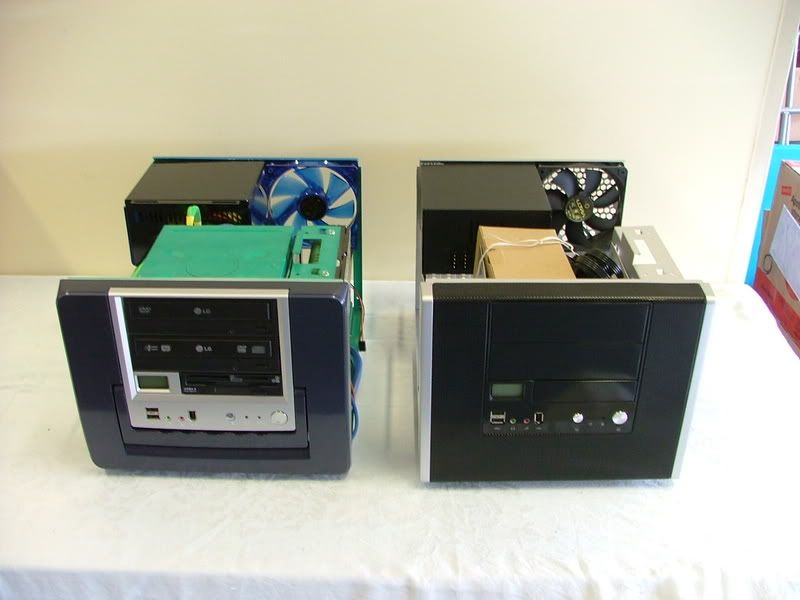
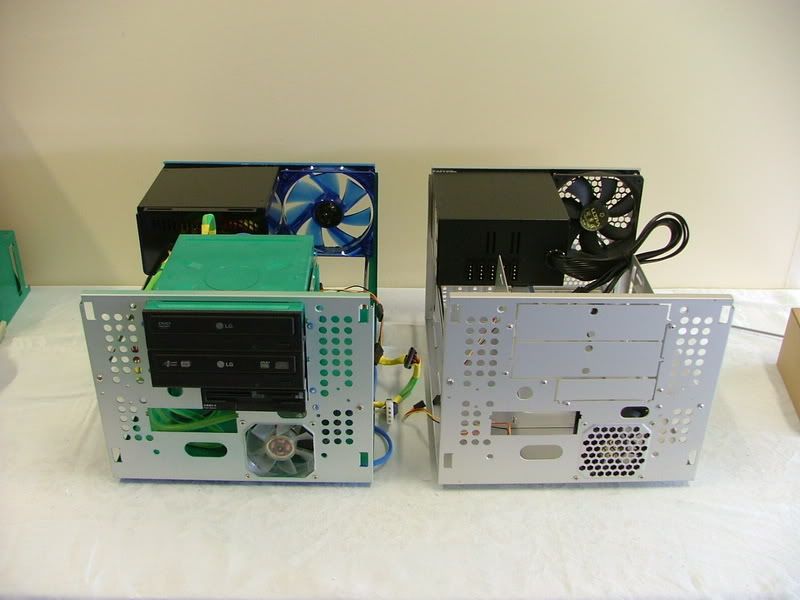
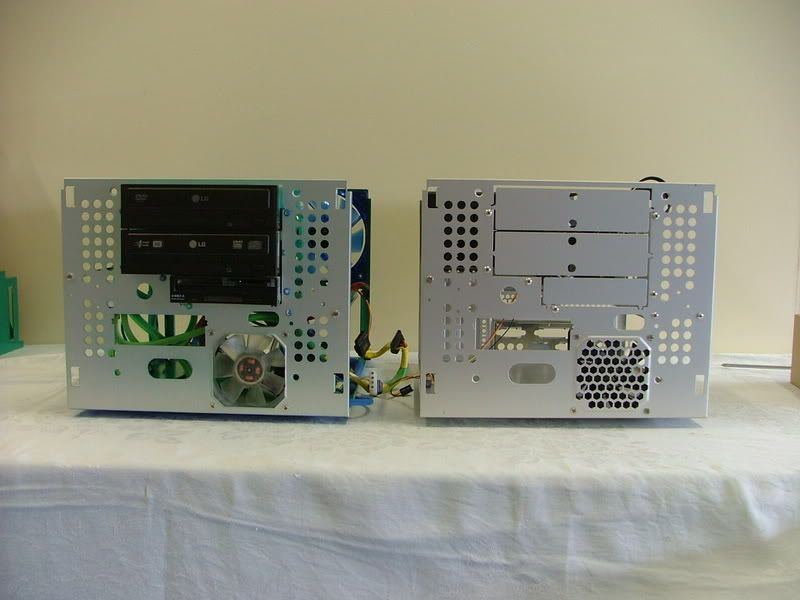
It was interesting to note that when I started taking the boxes apart Ultra opted to drop the four mounting screws used in the MicroFly and rely solely on the four retention clips with the MX6. Admittedly it makes life easier as one does not have to remove the HDD tray and the requirement for a short screwdriver if a PSU is in place. Here we have two views with the front bezel removed and finally a side view with everything together.
  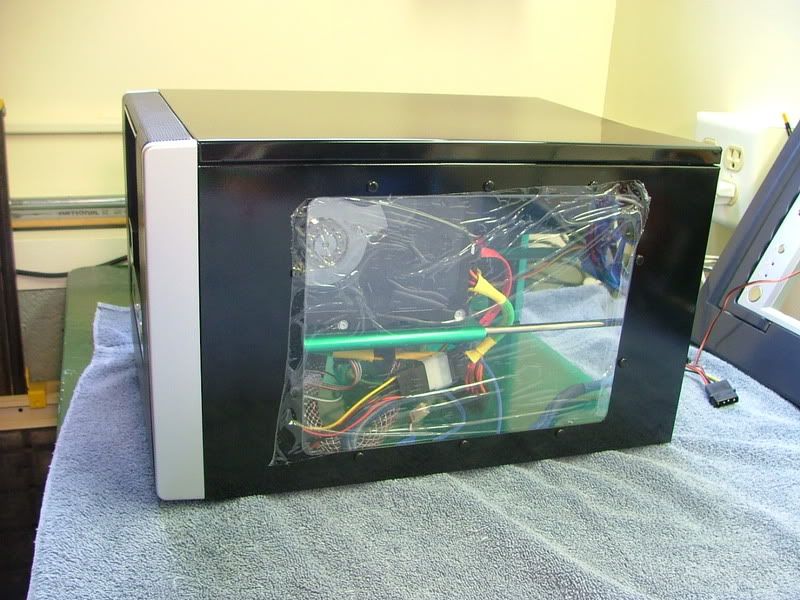
The left over chassis and exterior parts are headed for a build called Yodaâs SMN, originally an attempt at a home server build (or excuse to build another computer!).
As one that does a lot of his stuff based on the âblingâ factor, Iâm going to miss the top window (may do one at a later date) but was compensated by the fact the new case matches my new office furniture the wife decided I needed! It is black with pewter knobs so
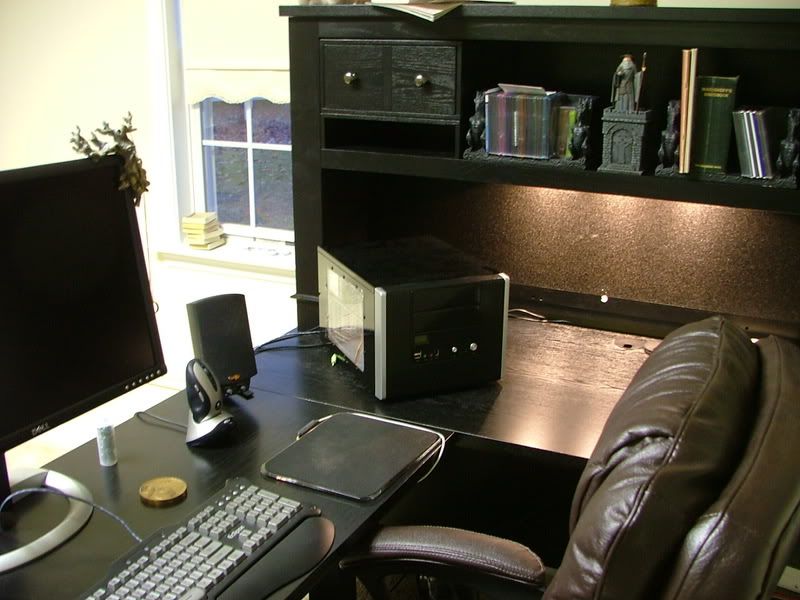 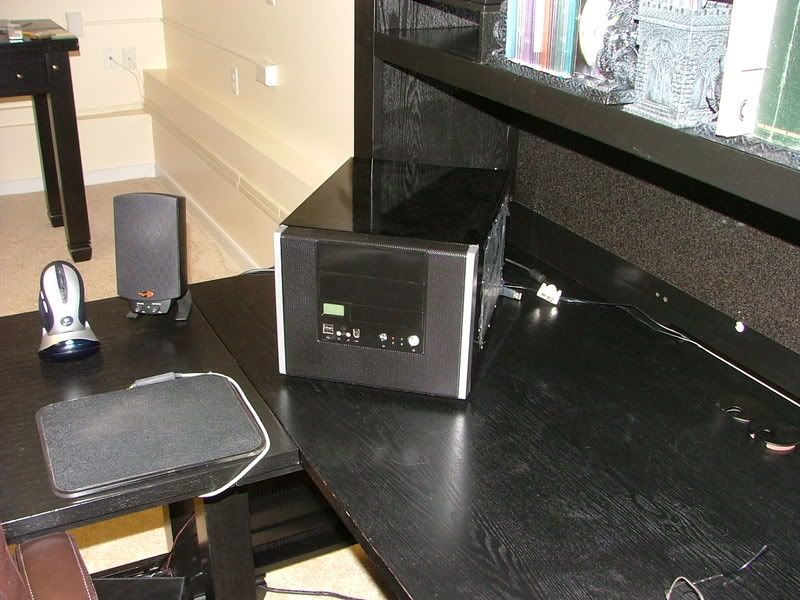
Sad isnât it!  
The rest of the stuff was the result of e-bay (whatâs new) and a few âFor Saleâ threads here and there. Initially I was going to update DC by using Celtic Spiritâs Opty 175 and G. Skill PC-4000. Then it was decided to have a contest to see which would perform better Biostar / 175 or nView / 4000+ Brisbane. However after the frustration of reinventing the wheel (couldnât get it through my thick skull 2 x 512 will always out perform 2 x 1024), ending up with an Opty 170, and running out of time it was decided to go with the theoretical ocâing ability of the Brisbane. It was decided to test the nView / 4000+ using a Tech Station I had modded for all kinds of altruistic reasons.
Besides swapping box parts I threw the mobo assembly and Tech Station together. With fingers crossed and my eyes shut I pushed the power buttonâ¦..
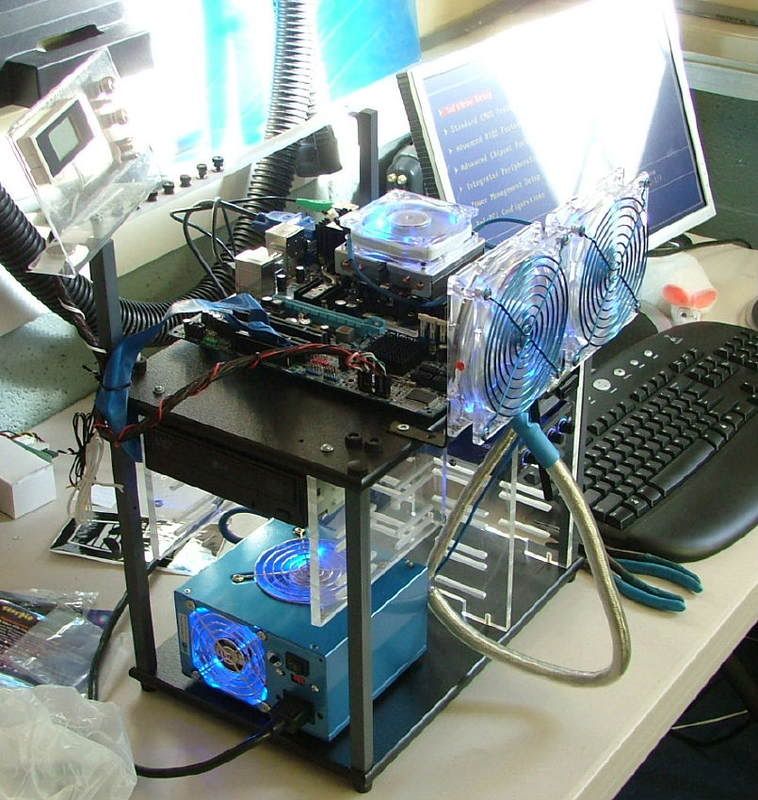 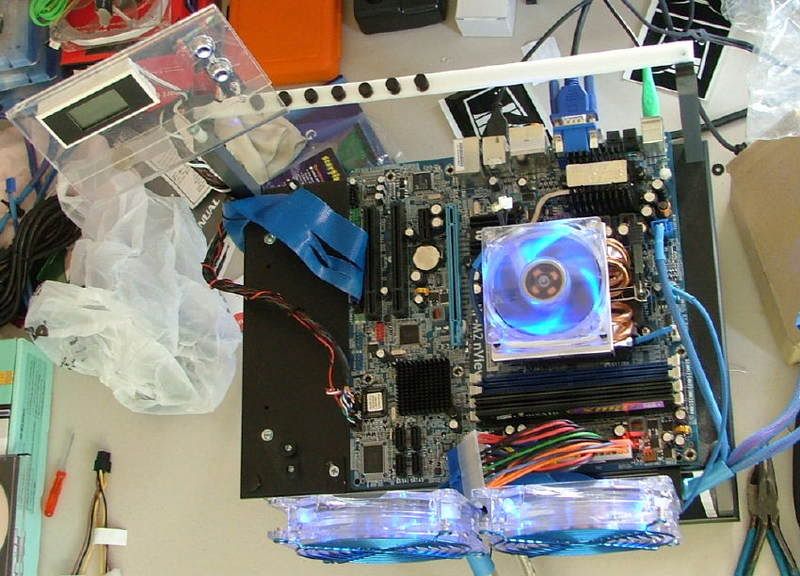
and was immediately reminded of two things:
1. the board was open box âYou will need to reset you bios as the cpu has changedâ
2. I need to flash the bios to correct the Brisbane temperature issues as I was showing 51 C for idle in the âHealth Status Screenâ
So now was time to stop the physical assembly and begin the testing and ocâing. As mentioned above I can do a thread for that if there is an interest.
Chow for now! |
|