jedihobbit
Rated XXX

|
 Posted: Tue, 15 Apr 2008 03:16:39 Post Subject: Posted: Tue, 15 Apr 2008 03:16:39 Post Subject: |
 |
|
This will be the first entry where the overclocking and water cooling parts of this project are now going to be part of the primary worklog.
For all intents and purposes the overclocking part (on air) is finished. After the water cooling has been installed and the system has gone through a âshakedownâ period further ocâing may be attempted.
So this is what the final settings are:
HTT: 291 for 3.06GHz
Vcore: 1.450v
Vdimm: 2.1v
Chipset Vcore: 1.24v
Hypertransport V: 1.22v
Rm temp is 22Cish, CPU 54C, Core 23C (per SpdFan)
This was backed up by a 12+ hour run of Prime.
While the setting didnât run âstableâ (long term prime or equal) did have on late night S & Gs session where I was able to run PCMarks â05 and CrystalMarks at
HTT: 299 for 3.14GHz
Vcore: 1.500v
Vdimm: 2.1v
Chipset Vcore: 1.24v
Hypertransport V: 1.22v
PCMarks = 7436
CrystalMarks: ALU = 23308 / FPU = 25523 / MEM = 16397 with a TOTAL of 129348
Now here is the summery of the WCâing thread and whatâs happened!
In the end it was decided to go with aqua computerâs âplug & coolâ fittings and not compression. It was felt that in the tight spaces of the mATX layout they would make installation easier.
In the final configuration it was decided to drop the NB and Mosfet coolersâ¦..financial issues and the sinking dollar being the major considerations. It also didnât help the NB cooler would be âhiddenâ under the PSU. As it turns out all major components are from Aqua Computer
Went for a combo 1 â 2 punch to cover rad, pump, res, etcâ¦.that will be handled by a Aquaduct 240 PRO Mark II . As Iâm using ACâs plug & cool the tubing will be 6mm x 8mm with clear on the mobo and I believe black and gray (comes with the 240) from the 240 Pro.
Then for the CPU: cuplex XT di and then for the GPU: twinplex pro for FX8800 .
The cuplex XT di and a few fittings came from a state side e-tailer but the rest is coming from Berlin and shipping is â¦.. OUCH!
Anyway looking at the following loop: 240 >> CPU in >> CPU out >> GPU in >> GPU out >> 240
The following pictures are just things that Iâm doing while waiting on the balance of the stuff to arrive.
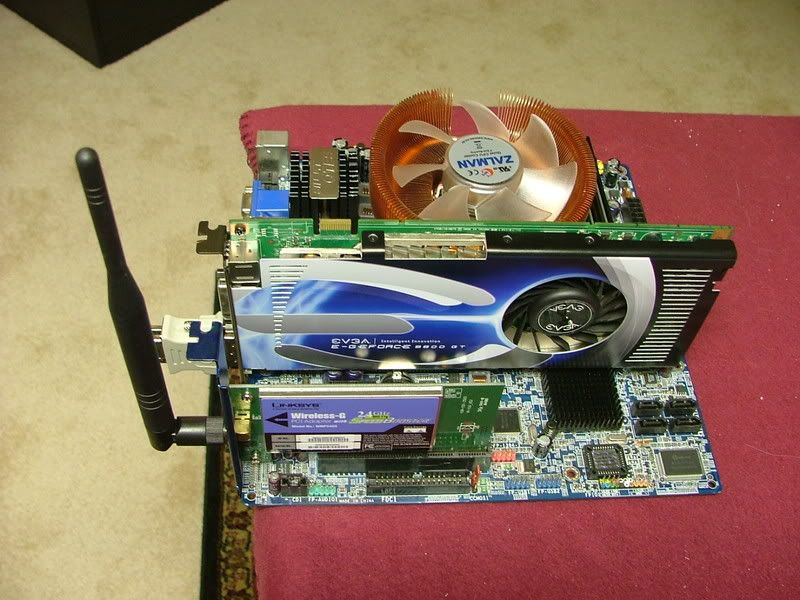
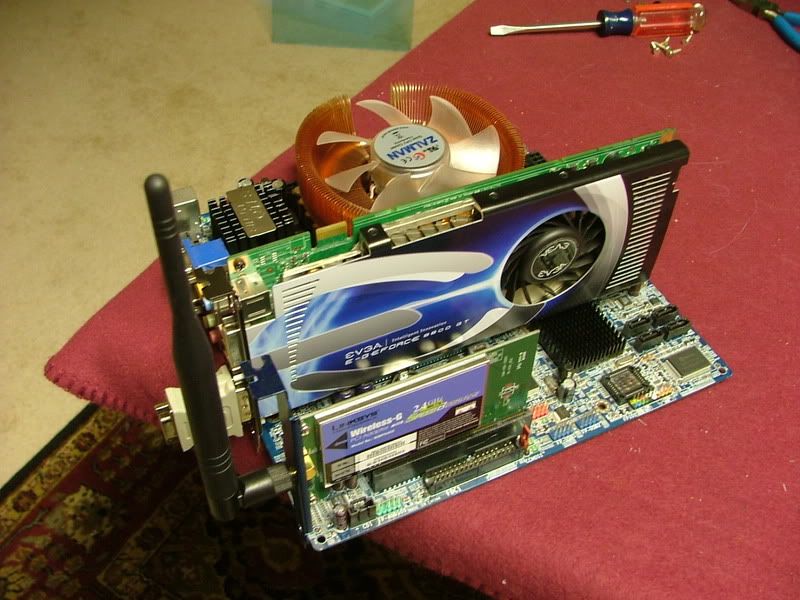
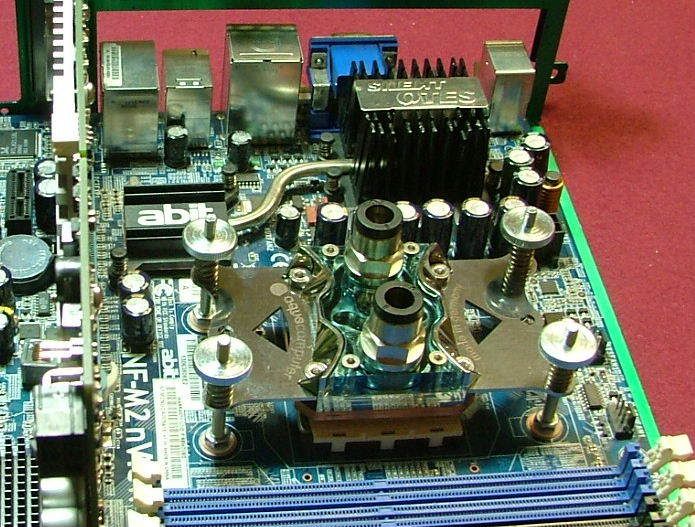
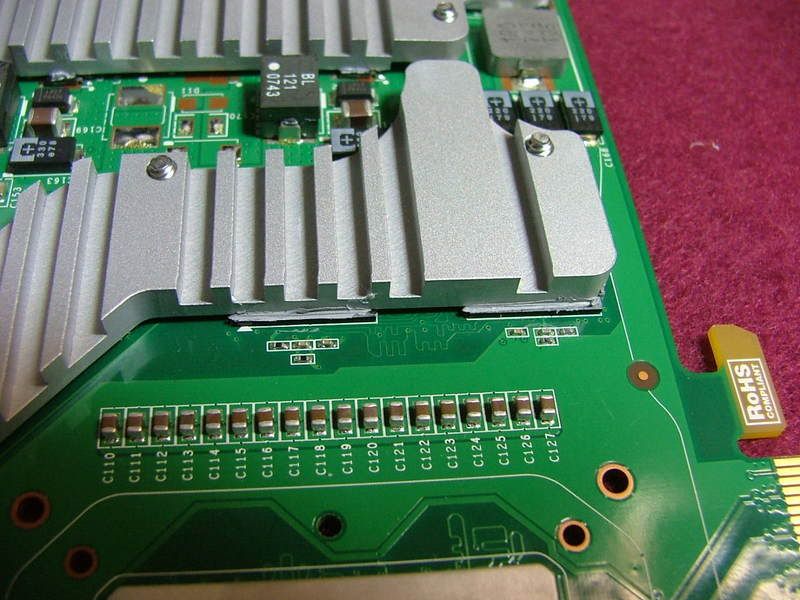
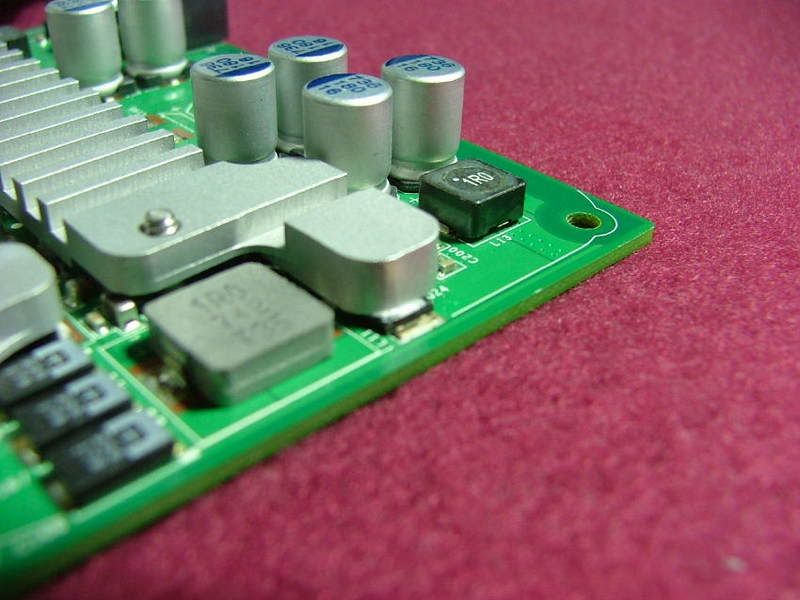
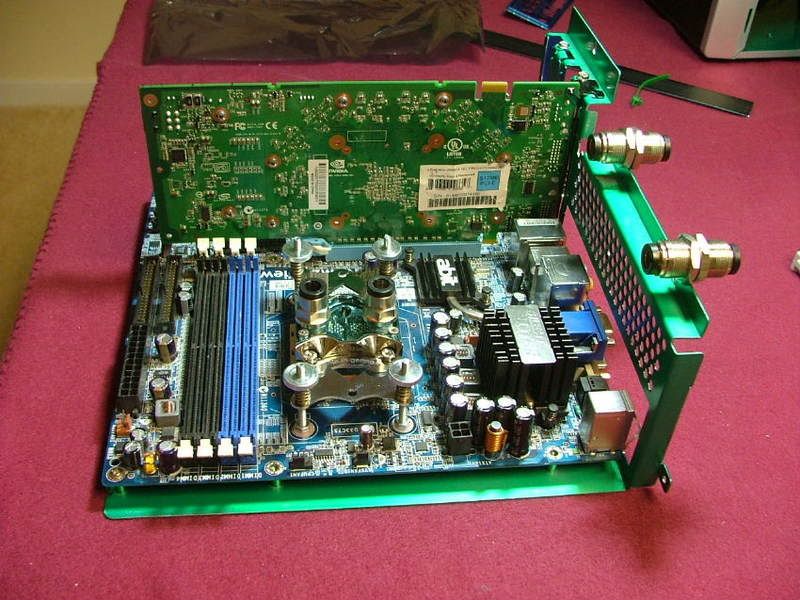
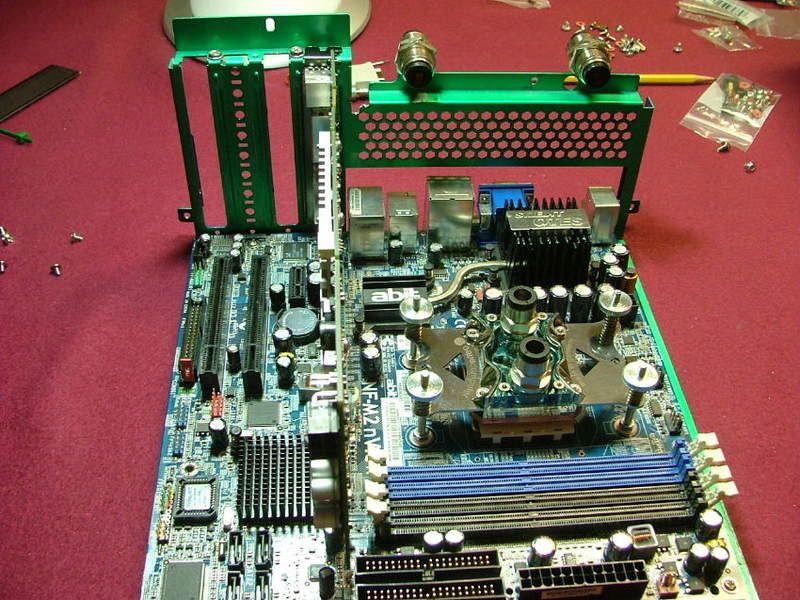
Here we have the last views of the mobo assembly on airâ¦.
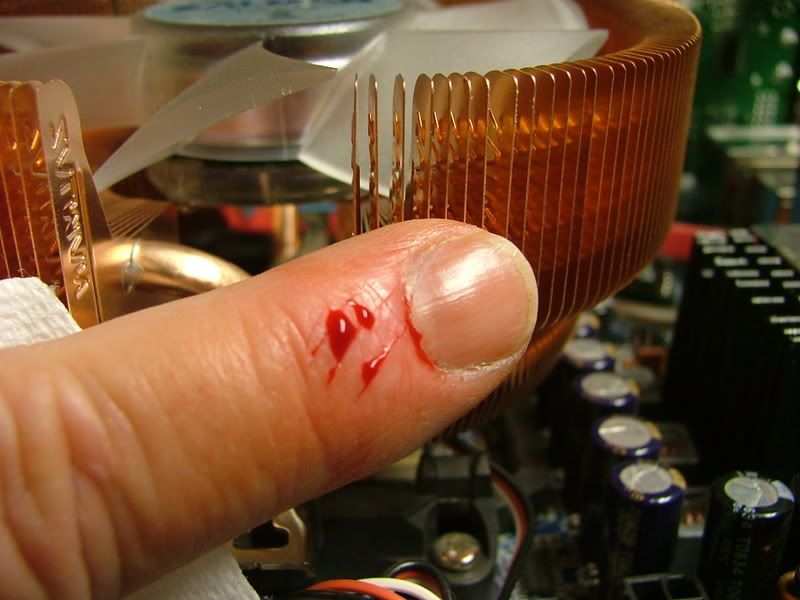
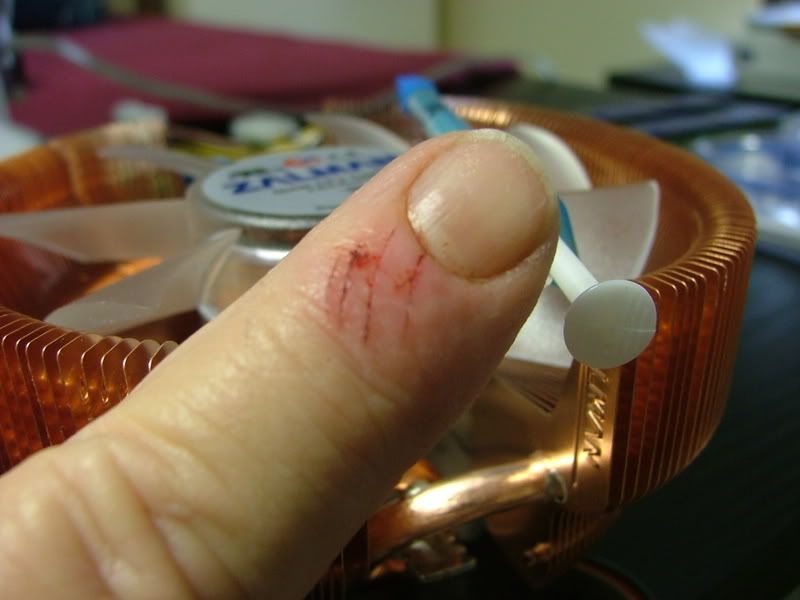
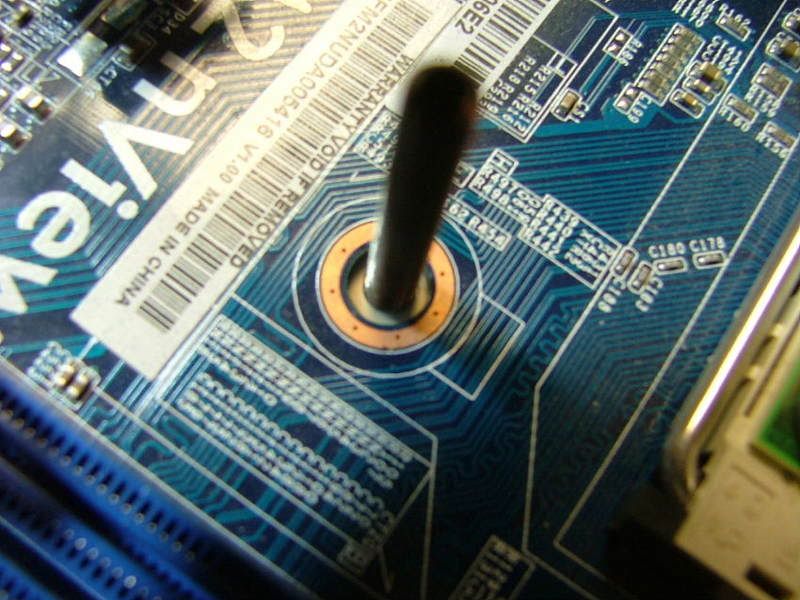
While unplugging the zalman CNPS8700 from the boards fan header I managed to smack my finger in the hsf as I pullâ¦..lets just say the blades are sharp and anyone care to guess the blade spacing??
Okay when I pulled the CPU cooler out of it box, I suddenly realized something â no mounting instructions! Hay, remember Iâm a NOOB to this and a bit more paranoid than I probably should be. As it turns out my supplier from Germany has a great set of tutorials covering everythingâ¦..
http://www.aqua-computer-berlin.de/catalog/tutorials.php?osCsid=4j30suemja98u673ani7v4kml1
Stefan aka [MMM]slame has done them in both German and English!
Anyway I mounted the two straight fittings to the CPU block and then went to mount it to the mobo. One think I did notice (on the nView anyway) is the mounting holes are noticeably larger than the mounting bolts for the block. One of the disappointments that I had with this block was the finish on the base. Sadly my picture was fuzzy so I couldnât use it, but it was discolored and had plenty of machine marks. After all of the shinny goodness on the top parts this was a bit of a let down.
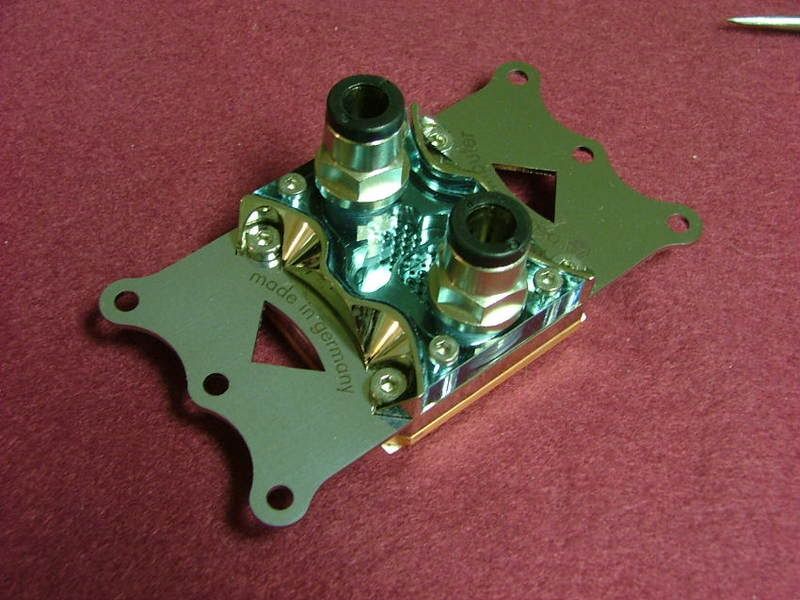 
Here we have it mounted in place and I would defiantly change one thing if I ever have to remove it â shorten the mounting bolts.
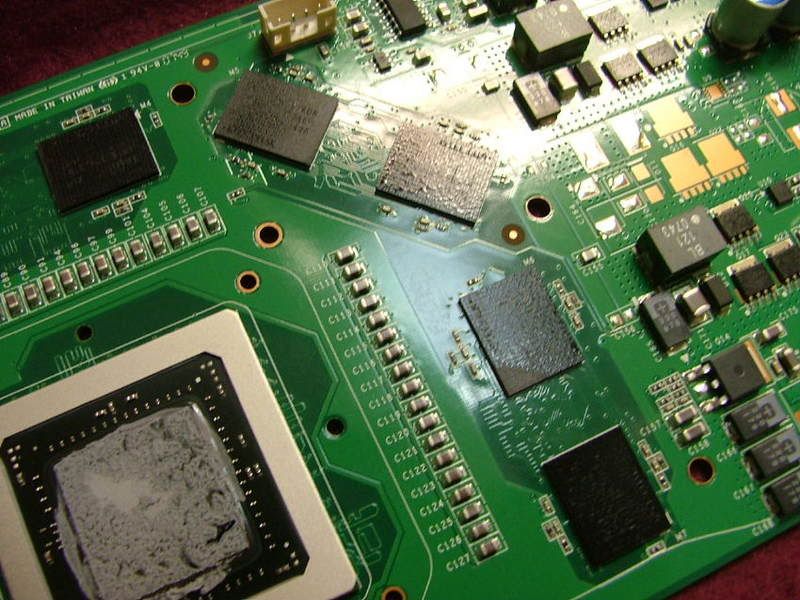
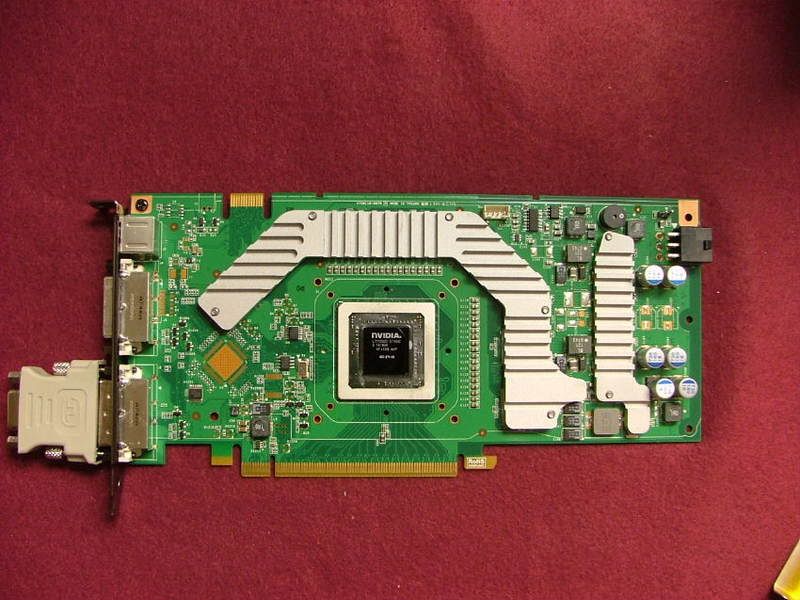
Now on to the GPU:
Here it is âneckedââ¦â¦.. and of course the chip!
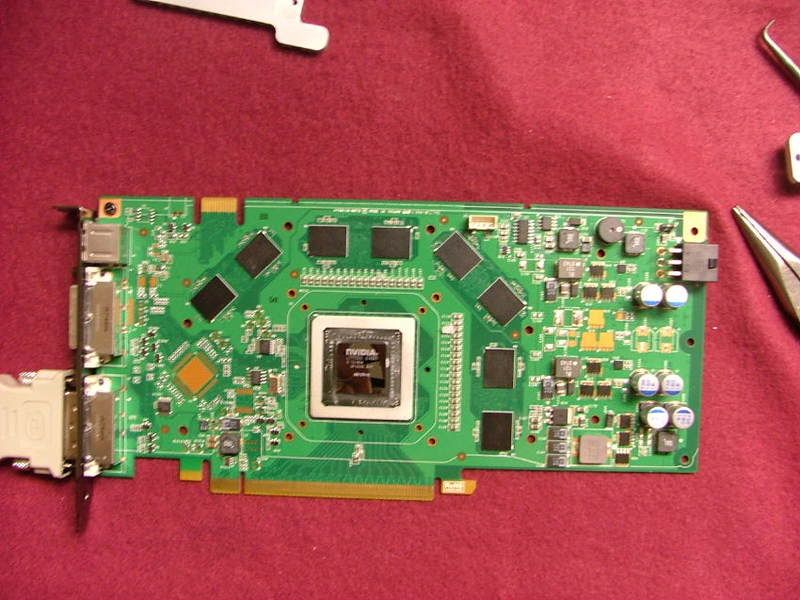 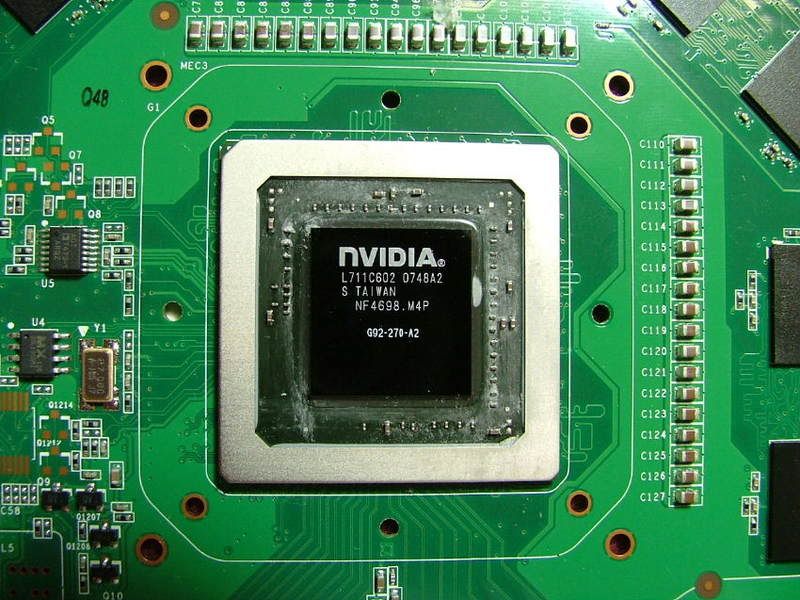
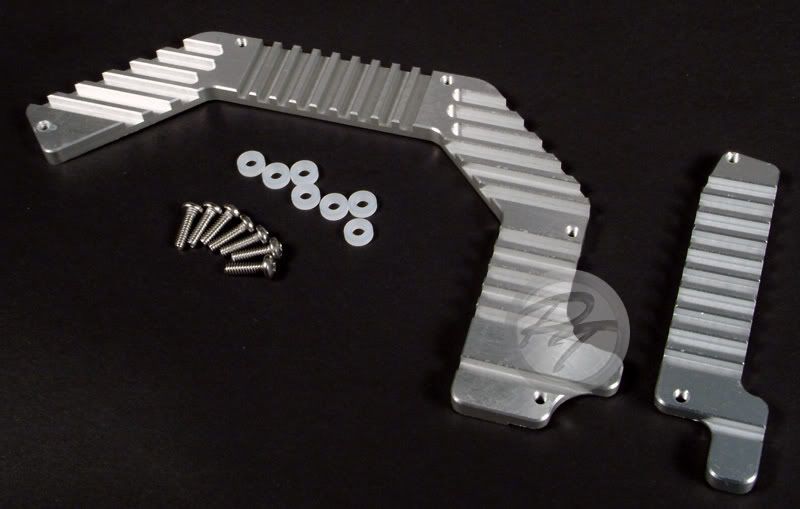
Since space limitations didnât let me use the cooler I wanted ( AquagraFX 8800 ) which offered full coverage I had find a way to cool my mem and volt reg chips. So enter these nifty pieces, "iandh 8800GT/G92 Memory & VRM cooling kit". I like these because they bolt on and one doesnât have to rely on epoxy or pads to hold âem in place.
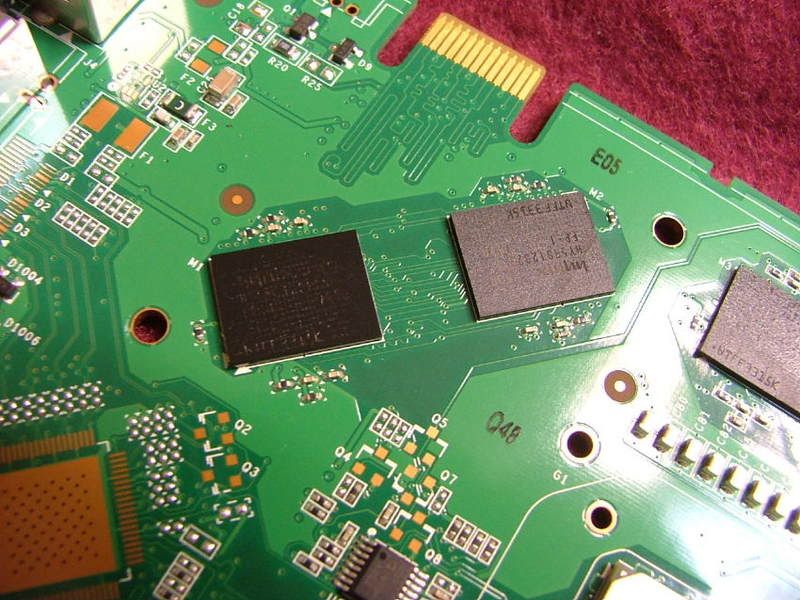
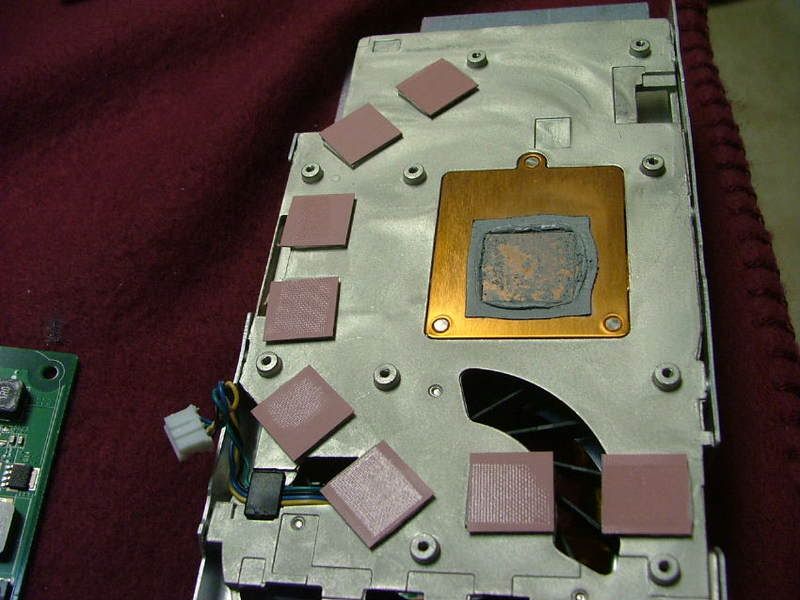
Now I believe it was TheGlasMan at pcper who stated he preferred individual sinks as the memory chips arenât always the same height. When I took the cooler off of my evga 8800GT SC one could see proof of that. One mem chip wasnât touched at all and another only halfway. While looking at the following pictures you can see where there was contact (dark/rough areas) and wasnât (light/smooth areas). Also if you look at the cooler itself you should be able to pick up contact âimprintsâ on the pads. It looks like the volt regs are okay though.
 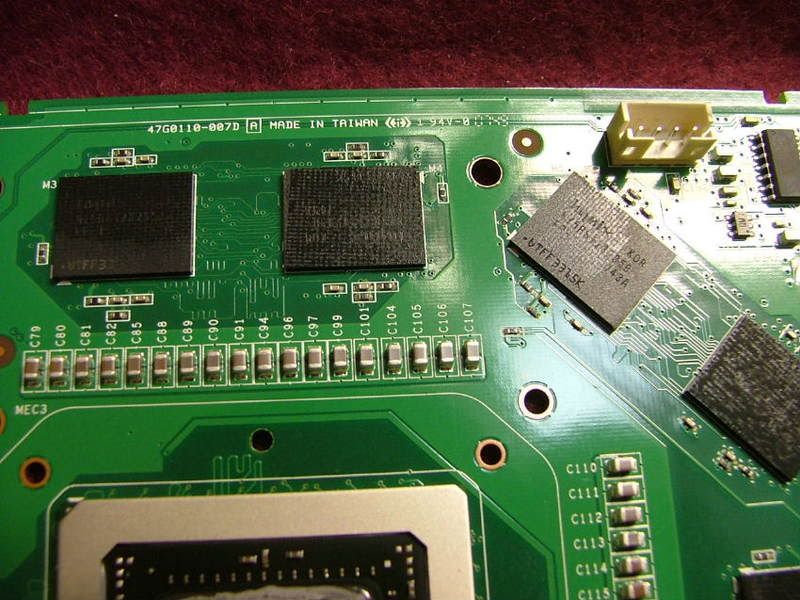  
Now back to my âiandhâ sinks (interesting side story can be found over at xtremesystems on these things). Because of the potential of unevenness I kinda sorta âpilledâ on the thermal paste. Good example would be prepping the volt reg chips!

When everything was bolted down I did notice a couple of âpositioning issuesâ. Two of the memory chips were not completely covered at the volt reg end of the card as well as one of the volt reg chips (sorry for the fuzzy pic for that one).
And then here is the GPU with the sinks on waiting for the water block.
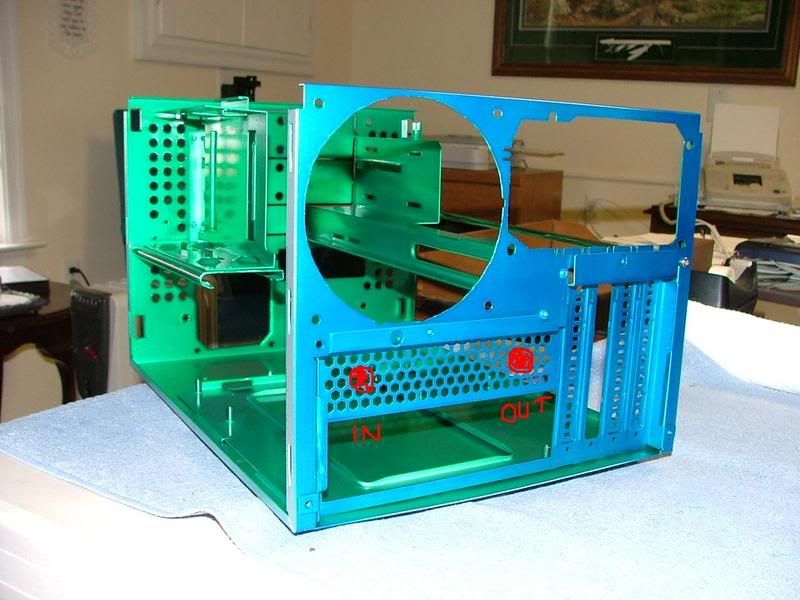
Now Iâm trying to figure out how I want to locate the in and out line from the 240 Pro. While an I/O plate is provided with holes and grommets to accommodate the tubing I had planned to use two bulkhead fittings to do the job. Again the final objective is to be able to remove the mobo tray with the mobo in place without having to disconnect any of the plumbing. Guess my question would be do I space them out as shown or should I move them closer together. If I mount them together, do I center, mount left (nearest the PSU), or mount right?
 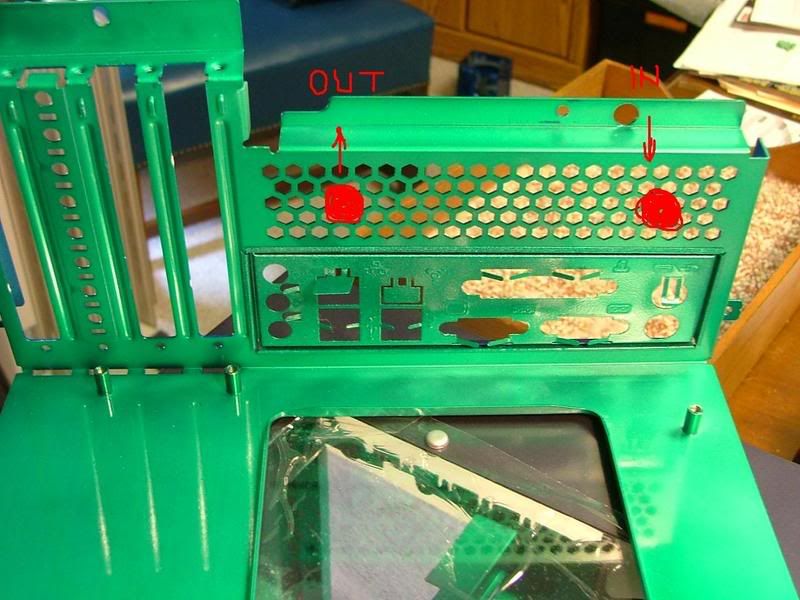
So this is where I be until the rest arrives! |
|