|
 Posted: February 23, 2004 Posted: February 23, 2004
Author: Jason Kohrs
Manufacturer: Enermax / Maxpoint
Source: N/A - Search PriceGrabber for Best Deal
The Installation:
Included with the case are all of the accessories pictured below: A standard ATX back plate, motherboard standoffs, various screws, and several zip ties. The inclusion of zip ties is a nice touch... they come in very handy for managing wires, and I used several of them during my installation.

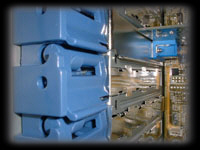
As with all of the unique features of this case, there is a sticker describing how to use the PCI bays. Basically, each slot has a latch that flips up and then slides away from the PCI bay for installation of the card.
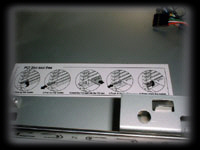 
Once the card is in place, the latch is slid back into place and pushed down to secure it. That's if it works right...
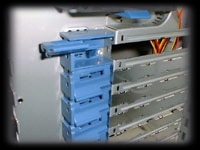
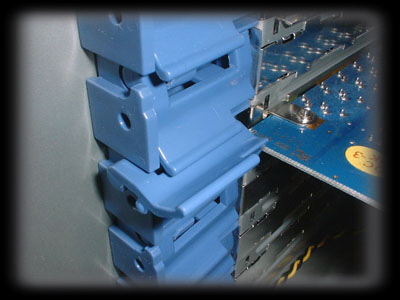
If the PCB of any PCI or AGP card extends further than the end of the metal bracket, it will interfere with the latching mechanism and prevent it from closing (as pictured below). For example, my Hercules sound card and Leadtek TV tuner both fell into this category and prevented the latch from functioning properly. The blue latches are removable though, and there is still the standard screw hole available for securing your cards the old fashion way.
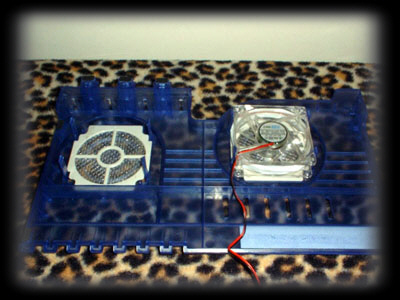
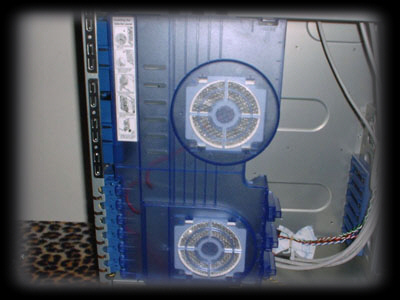
With the blue plastic door removed, you can a good look at the tool-less fan mounts. The clips hold the fans in place, and sandwich the filter between the fan and door. For kicks, I added in some blue-led fans I had previously purchased from Jab-Tech.
In case you need it, there is another sticker describing the use of the side door.
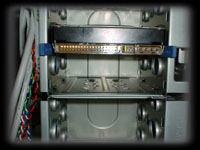
A unique feature of the CS-10182-BA (at least to me) is that the internal 3.5" drive bays are all mounted sideways. This allows the drives to slide in and out of the bays easily during installation, and leaves all of the jumpers and connections easily accessible.
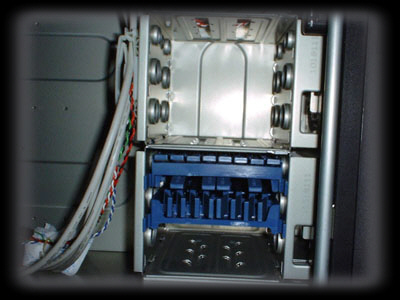
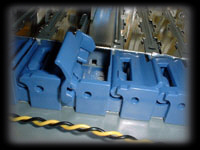
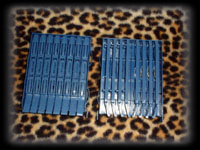
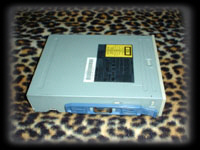
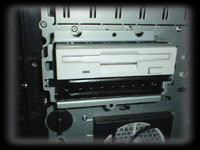
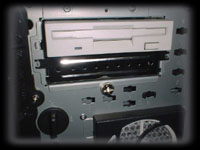
Shipped inside the drive bays are all of the tool-less drive rails. The ones on the below left are for the 5.25" drive bays, and the ones on the right are for use in the 3.5" drive bays. The rails just pop into the drive screw holes, as pictured in the below right image with a 5.25" optical drive.
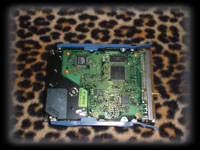
The below left image shows the 3.5" drive rail attached to a hard drive, and slid into position in the below right image. The drives slide into the slots of the drive bay and latch into place when fully installed. The system seems to secure the drives well, and by squeezing the tabs together the drives can be removed easily.
The floppy drive cage is held on to the front of the case with one chromed thumb screw. Once removed, you can mount two 3.5" drives into the drive cage using screws as usual. Slide it back in, secure the thumb screw, and the drive cage is secured.
Please read on to page six for more on the Enermax CS-10182-BA... Next
Page 1 | Page 2 | Page 3 | Page 4 | Page 5 | Page 6 | Forum | Review Index
|
