In Use:
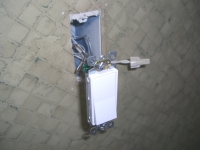
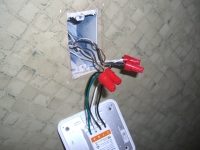
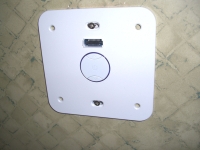
The hardest part of the installation, which honestly is not that hard, is replacing an existing switch with the NuBryte Touchpoint. If you have the confidence to replace / install a typical light switch, you will be just fine with this project. Be sure to kill the appropriate breaker, verify that power is off to your chosen switch, and then proceed by removing the old switch. The below left image shows the existing switch hanging from the wall, with the neutral line bypassing the switch and going straight to the light fixture (the white line with the beige wire nut). After disconnecting the three wires from the existing switch, you want to connect them to the corresponding wires on the NuBryte, and then connect the NuBryte's neutral wire to the previously unused Neutral wire. The middle image shows the device all wired up, and then the image on the right shows it secured to the wall with the two included screws. From the time I killed the breaker until we have what is seen in the below right image, I believe 6 minutes had passed. Not very complicated.
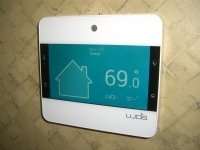
I then popped the touchscreen on to the back plate, and went and flipped the breaker back on. I returned to find the device powered up and ready to be configured. In this section we will look at several shots of the touchscreen in use, and then in the next section we will check out the mobile app interface. The first thing that impressed me is how nice the screen is... It is bright and sharp, and the viewing angle is very wide. You can be fairly close to the wall the Touchpoint is mounted to - and at a good distance from the device - and still see the displayed information very well. When directly in front of it, it looks great. It can be difficult to photograph a screen, but the fact that (most) of my pictures look really good tells you how nice the screen is.
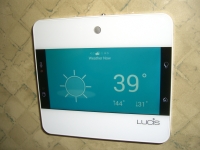
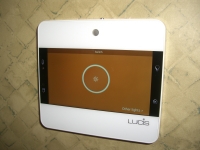
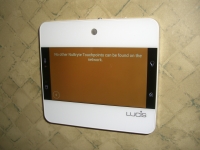
The below left image shows the device in screensaver mode, which you can configure to show a variety of things... Obviously showing a clock right now. When the device senses your presence, you see four icons appear around the edges... intercom, security, light, and home. These soft buttons help with quick navigation to supplement the main touchscreen controls. We see indoor temperature and humidity reported on the middle screen and outdoor conditions reported on the righthand screen... current temperature, plus forecasted high and low.

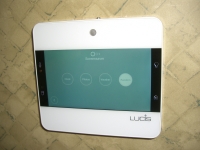
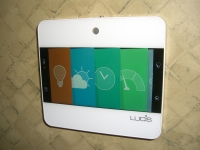
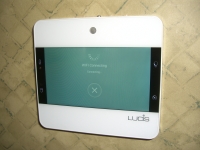
The below left screen shows the basic light control, which we will configure later. In the middle we see confirmation that the intercom will not work, since there is only one Touchpoint installed. The below right screen is what you get when you press the home icon, which includes tabs for each of the main pages... light, climate, schedule, power, and settings.
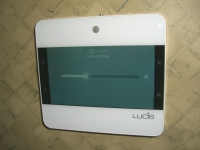
The next collection of shots will look at some of the various configuration options available on the Touchpoint. The below left image shows the main settings screen, where there are icons to set the options for eight different features. The middle screen shows a part of the initial WiFi setup, which is required for many of the features to work - including local weather, video streaming, the mobile app connection, etc. And the below right image shows the setting of a security code, which is primarily needed for disarming the alarm.

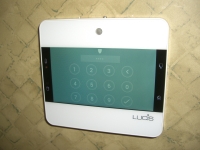
Continuing with the security code, the below left image shows the nice big numerical touchpad you get for setting your PIN. Next we see the setting of the screensaver type, including clock, photos, weather, or random. You can set the panel's volume so that touches make as much sound as you want in the screen shown in the below right image.