The Basics:
The DIR-880L is a sleek looking device that may be all black, but the variety of textures used on the housing gives it some visual interest. The front portion of the top features a high gloss finish, while the back portion of the top cover features an aggressively knurled pattern. The antennas, the bottom and the sides of the router have more of a matte finish, so even though it is monochrome it has an interesting look. With dimensions of 9.72 x 7.5 x 1.86 inches, it is about the size of your typical router, and it should fit well in just about any setting.


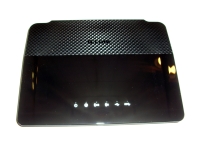
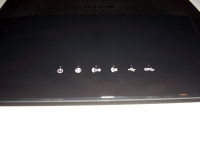
The below left image shows the entire top surface of the review sample, which is hard to photograph given the high gloss front section, as well as the reflections from the various facets in the knurled area. Taking a look at the below right image provides more detail of the indicator panel, which features six LEDs for the status of (from left to right) power, Internet connectivity, the 2.4GHz signal, the 5GHz signal, USB 2.0 connectivity, and USB 3.0 connectivity.
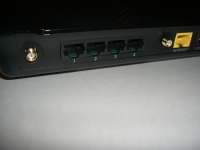
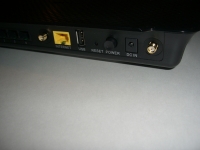
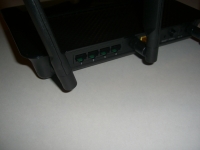
The next image shows the back of the router, where the bulk of the items of interest are located. From left to right we have: the first antenna connector, four RJ-45 Gigabit LAN ports, second antenna connector, RJ-45 WAN port, USB 2.0 port, reset switch, power button, DC power connector, and finally the third antenna connector.

The next two images take a look at the same features, but zoomed in a bit closer for more detail. Of interest in the below left image may be that each of the RJ-45 ports has an LED built in to indicate the status.
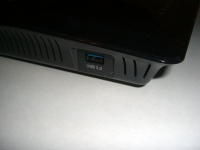
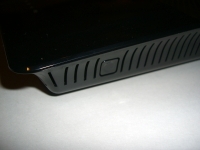
While most of the connections and buttons are found on the back of the router, not all of them are. We see the front left corner of the router in the below left image, where the USB 3.0 port is visible. In the below right image we have the front right corner of the router where we find an unmarked button. While labeling would have been nice, this is the WPS button, and it is much more convenient to have it up here than around back.
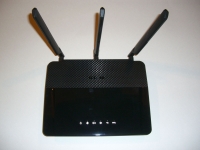
The next two images show the antennas connected to the router, which really changes the overall size and look of the device. The antennas are large, but thanks to the hinge/swivel mechanism you should be able to optimize their orientation whether you install the router on a horizontal or vertical surface.
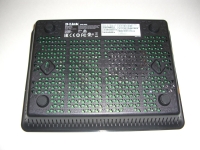
Finally, we have a look at the bottom of the router which is wide open for ventilation purposes. Around the sides there are slots molded in to the housing, while the bottom uses a cool looking triangular perforation pattern. Inside the router we can see a large green PCB which itself has a cut out in it to allow for even better cooling to components above that area.